
-
 2632 Hits
-
 73.06% Score
-
 3 Votes
|
|
Route |
|---|---|
|
|
30.50900°N / 98.817°W |
|
|
Trad Climbing, Sport Climbing |
|
|
Half a day |
|
|
5.6 (YDS) |
|
|
3 |
|
|
Overview
Harder Than It Looks, on the wall known as Devil's Slide, begins just right of Easier Than It Looks and shares the second and third pitches.Many people just do the first pitch and then rap back down, but there are two distinct advantages to doing the entire thing, aside from the additional climbing:
- The first pitch is about 140' and requires two ropes to rap unless you happen to have an 80 or you want to downclimb Class 5 terrain unprotected.
- You can top out on the dome and then walk off.
Depending on where you make your final anchor, the climb is from 250 to 300'.
The photo below, linked from Mountain Project, is an excellent representation of the routes in this area of the dome.

Getting There
Set out on the Summit Trail and then take the Echo Canyon Trail. When that trail reaches a board with lots of information posted, head right on a good trail that follows the Backside and has several spur trails to various walls. Look for the Yellow Trail and take it to the base of the dome. Devil's Slide is to the left. Easier Than It Looks starts up a slab next to a massive boulder leaning against the slab. Harder Than It Looks starts just a few yards right of ETIL. With the picture below, you should have no trouble finding the routes.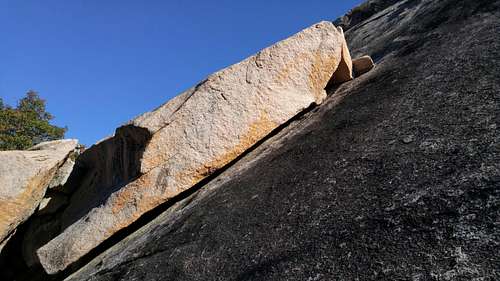
Route Description
P1-- 5.6, app. 140'. This is the pitch that earns the R; over 140', there are just four bolts. They protect the 5.6 moves, and the climbing between the bolts tends to be very easy, but lead falls could be bad on this pitch.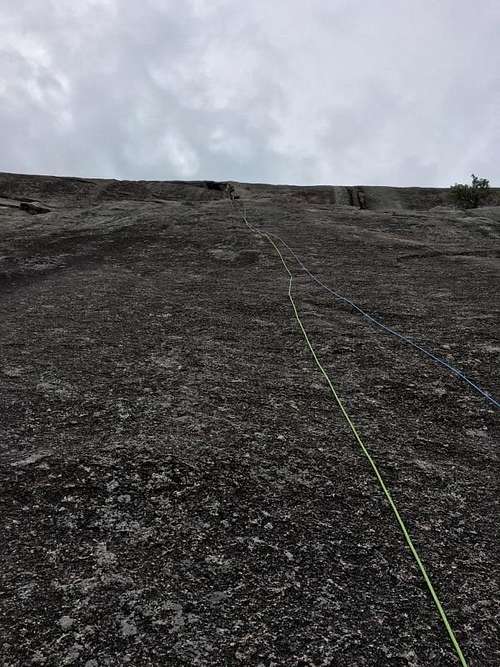 P1 | 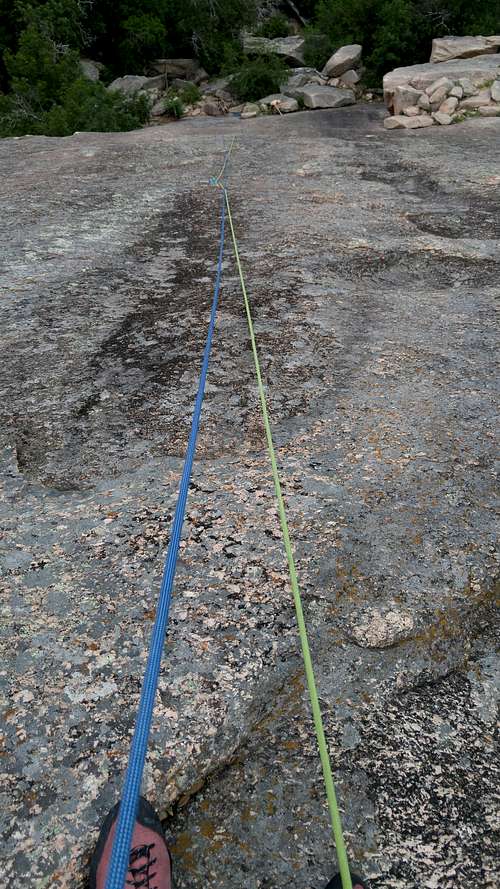 Looking Down P1 As My Kids Prepare To Climb |
P2-- 5.5. Head up and right from the anchors along a flake. You can get two cams in before the flake becomes so thin and flexible that you don't want to touch it at all; this is the last pro you will get in until you build an anchor above P3. Climb to two anchor bolts and belay, or clip one of the bolts and continue; the latter is what I did for both efficiency and to protect against a FF2 on the anchors.
 Looking Up from P1 Anchors | 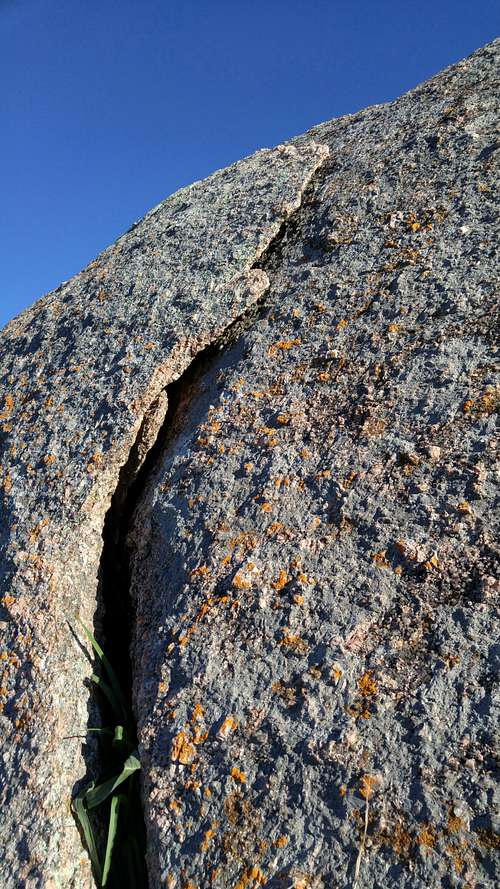 Start of P2 |  P2 Anchors |
P3-- 5.5. The crux of the pitch is the moves from the bolts to easier ground above. After that, it's almost a walk-up the rest of the way. Some sources put the third pitch off to the right a bit. This, too, is unprotected, and it is the third pitch of Mark of the Beast (5.8+), though that final pitch is nowhere close to 5.8.
Essential Gear
A 50m rope works if you want to walk off. If you plan to rap, you will need two ropes to get down P1, though a 70 might get you to the top of the big boulder if you want to downclimb the rest.
As mentioned, you can plug in some cams at the start of P2; I think I used the Dragon Cam equivalents of a C4 .75 and 1.
Still, you will want a "standard rack" of cams and nuts because you need to build a gear anchor at the end.
If you want to go without the trad gear, that certainly is possible, but have some long slings for boulders and trees up top. Because I have always built trad anchors on ETIL and HTIL, I don't know how good the slinging options are.