-
 4434 Hits
-
 72.08% Score
-
 2 Votes
|
|
Route |
|---|---|
|
|
45.82466°N / 114.46007°W |
|
|
Hiking, Scrambling |
|
|
Spring, Summer, Fall |
|
|
A long day |
|
|
Class 3 |
|
|
Very strenuous |
|
|
I |
|
|
Overview
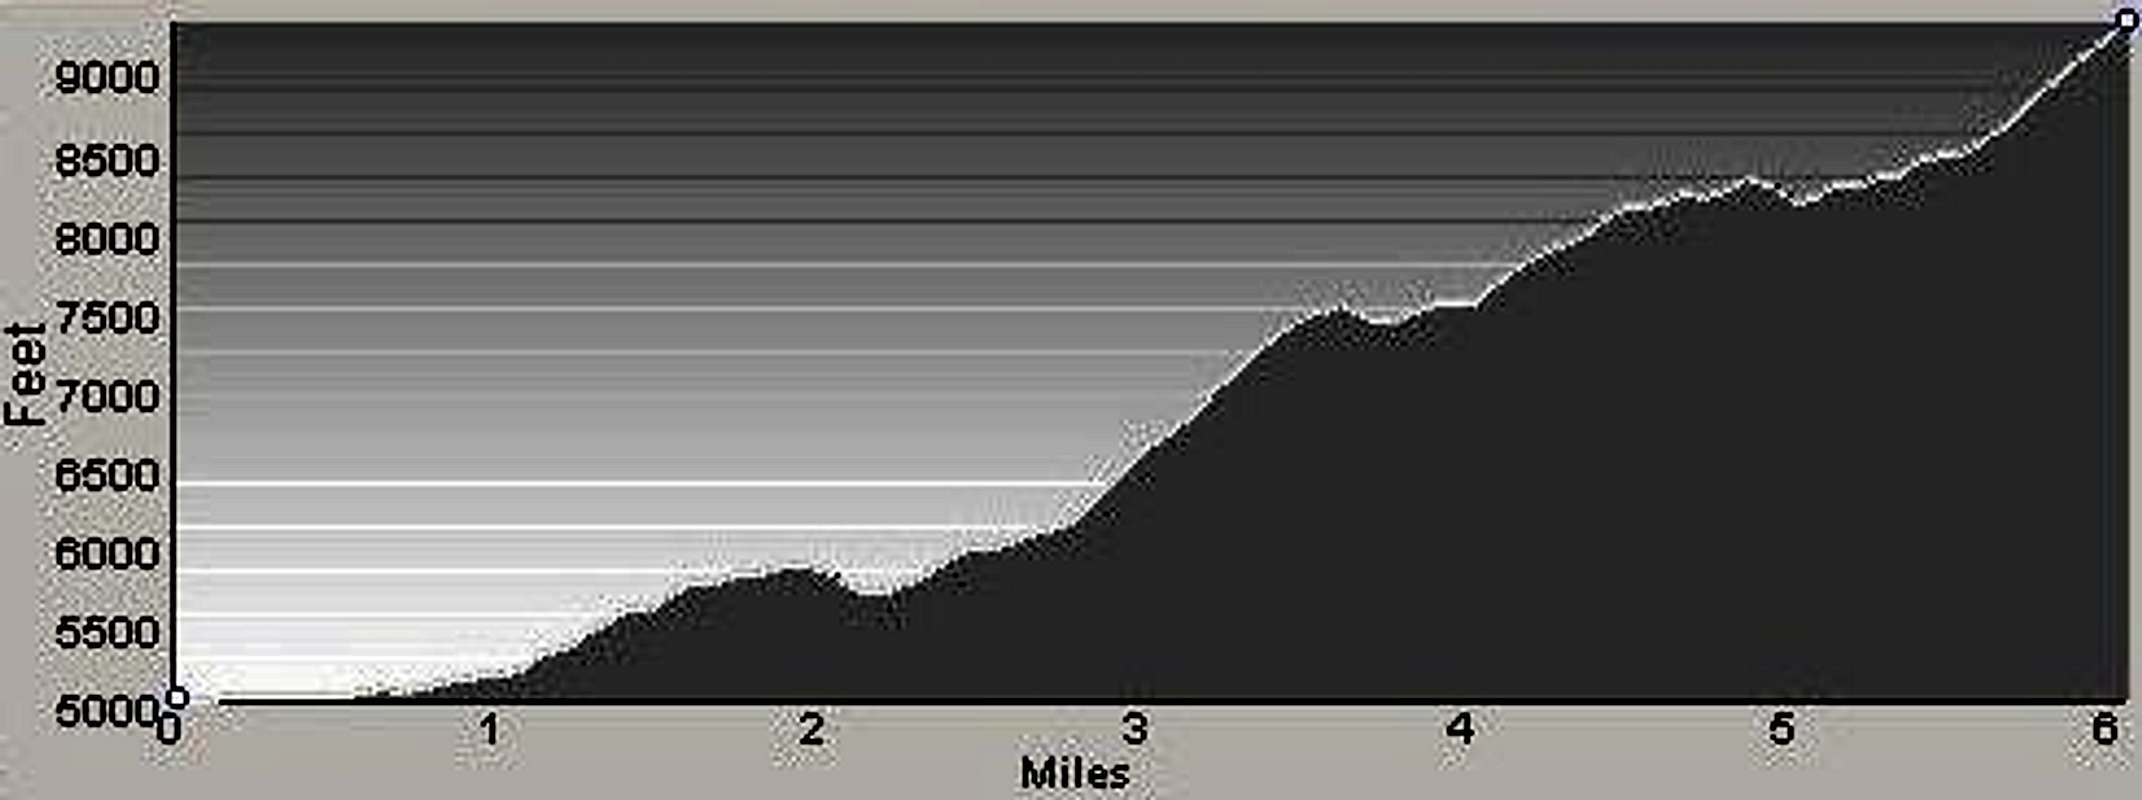
Route Type – Scramble Class Level – Class 3 Elevation – 9,355’ Gain - 5,346' Distance – 12.3 miles (round trip) Length of Time Required to Complete the Route – One Long Day
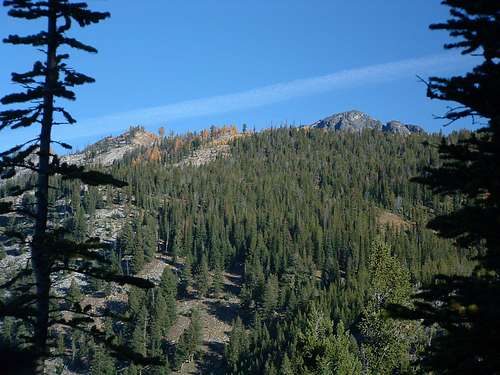
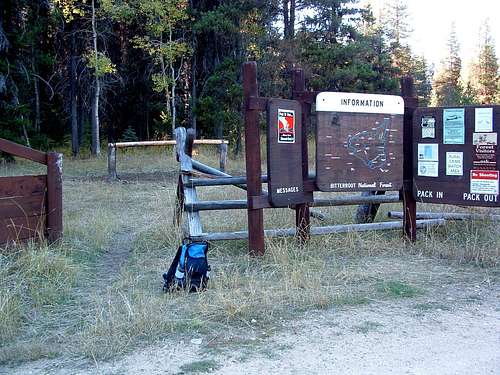
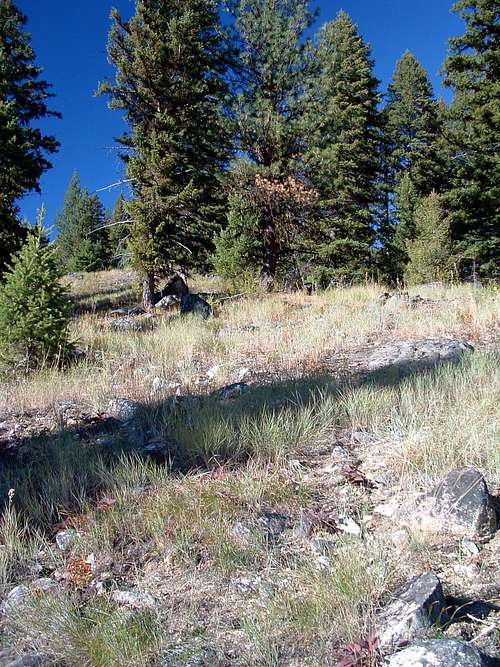
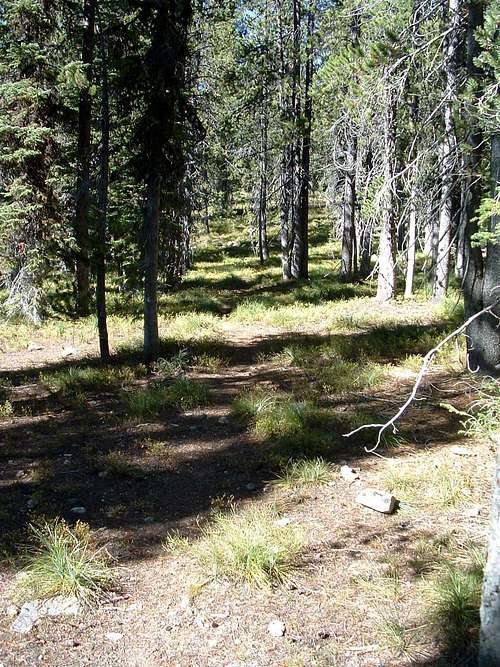
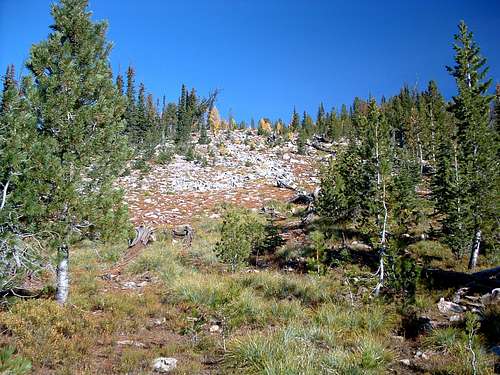
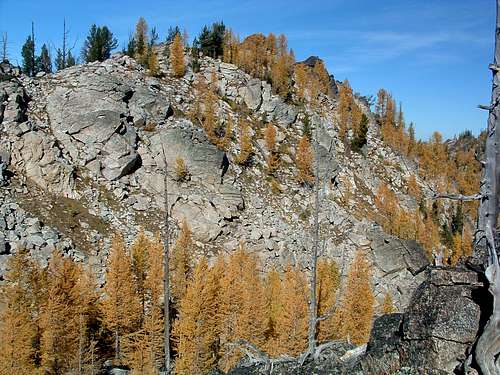
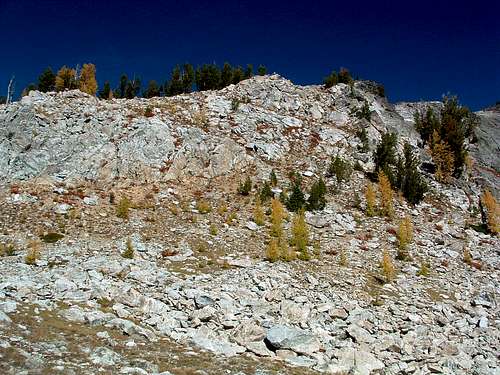
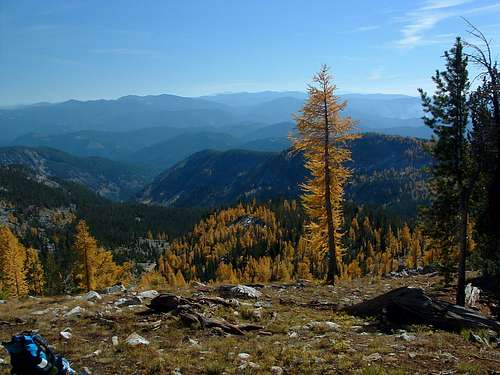
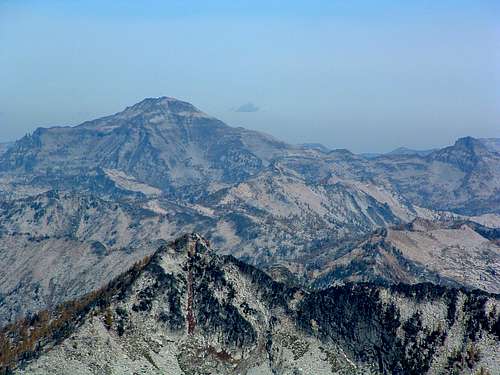
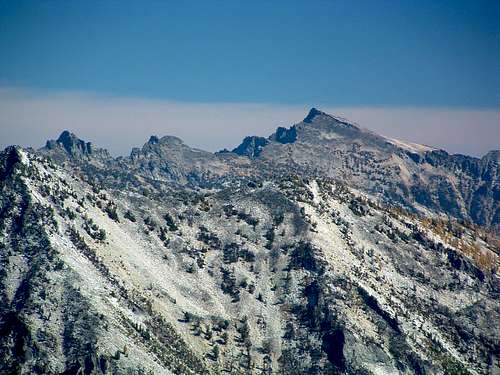
Mount Jerusalem is way "up the West Fork", as we in the Bitterroot Valley say. Very remote and requiring considerable effort to reach, it lays toward the north end of a long north-south ridge between the Little West Fork Drainage to the east and the Watchtower Creek Drainage to the west. Getting ThereWatchtower Creek Trailhead From Hwy 93 take Montana Hwy 473 (West Fork Road) west for 14.3 miles to the junction with Nez Perce Road (468). Follow the Nez Perce Road for 9.2 miles to the signed turnoff for Watchtower Creek Trail (142). Turn right (northwest) onto FR road 5638 and follow it .4 mile to the trailhead loop. There is a spacious clearing with plentiful parking. There is an outhouse plus stock facilities at the trailhead. Route DescriptionBefore reaching this point of departure, the trail crosses Watchtower Creek twice, the first time on a good bridge though the second crossing requires a bit of wading when the water is high. After the second crossing, look to your right for an open slope of grass and talus heading upward from the edge of the trail. This spot is where you begin climbing. For the next .75 mile, as you continue climbing, try to stay near the crest of the ridge as it meanders left and right. Once the incline levels off some, stay a little left (west) of Point 6012, the top of a small hump. Once past the hump’s highpoint you will begin descending toward Mudhole Lake almost directly north of your current position. As you near the lake, the woods thickens substantially and is full of deadfall. Fortunately this only lasts for a short distance. After passing the lake (which is dry most of the year), continue northward until you reach the base of a field of rock flowing down the ridge toward you. At this point you may either climb directly up over the mixture of talus, loose rock, and grass or bypass it by skirting its right (east) edge. In either case, you will soon reach the crest of the ridge, which you want to follow as it turns toward the northwest. It was along this section of ridge that I saw many signs of elk. Judging by the amount of scat, this is obviously a place they spend a lot of time. If you’re lucky you may catch sight of a few. If you continue to travel in a northwesterly direction, you will soon reach the western edge of the ridge with its sharp drops over the sheer cliffs. Although it may be your choice to stay close to the edge as you continue uphill, my route stayed away from the edge as it turned first north then north-northwest toward Point 7601 farther up the ridge. No matter which you choose, for the next .75 mile, you’ll be climbing the longest steep incline of the entire route. Once you reach Point 7601 the steepness of the route lessens enough to give you a slight breather for the next .5 mile (until about 8,200’ elevation) as the route continues along the ridge crest through an ever-thinning forest cover. Above 8,200’, the remainder of the route is mostly on rock and talus. Fortunately, the next mile along the ridge requires little in the way of elevation gain; however the ridge-crest is blocked by several large rock outcroppings. During my ascent I climbed over each of them, expending much more energy than was required for passage. (On descent I passed them to the west and found the going easier and route finding much simpler.) Traveling northward from Point 8412 (about 5 miles from the trailhead) the rate of elevation gain increases, but only a bit. You will continue to be faced with rock outcroppings blocking your advance, but again, traversing them on the left (west) is more efficient than climbing over their tops. As you get within .5 mile of the summit, you will see the top of Mount Jerusalem ahead and slightly to your right (east). The ridge-crest along which you are traveling will begin to rise more sharply. If you look closely, you will notice the ridge seems to split in two with the left (west) portion rising more quickly than the right (east). The easiest route is to initially go between these two lengthy rock piles, then traverse onto the right (east) one as it approaches the base of the last pitch to the summit. This will take you to a perfect spot below some slabs which can be easily climbed to reach the crest leading to the summit. From the top of the slabs, it’s an easy uphill hike over talus to the top of Mount Jerusalem. I saw no sign of human activity on the summit, though I suspect there have been at least a few other visitors. Given a clear day, the views are great in every direction and afford aspects of the area’s familiar peaks that are unique. I found El Capitan and Trapper Peak particularly interesting from this vantage point. Essential GearThis is a long route with plenty of steep terrain, on rock and under forest cover. It also includes some side-hill hiking. All these are hard on the feet and ankles. Good sturdy footwear is a must; otherwise standard hiking/climbing gear is all that’s required.Carry plenty of liquid. After the first mile, Mudhole Lake (2.2 miles from trailhead) is the only place where water is available along this route, and then only during spring and early summer before it dries up. This route can be used at any time of the year. Current weather conditions will dictate the gear you need. When To GoThis route is useable any time of the year, though snow and ice will make travel more difficult.Because the route stays close to ridge crests most of the way, there is little chance of avalanche at any time. At no point along the route did I see evidence of past avalache activity on or over the path I followed. Route Statistics |


