Watchman Scramble

Watchman Scramble
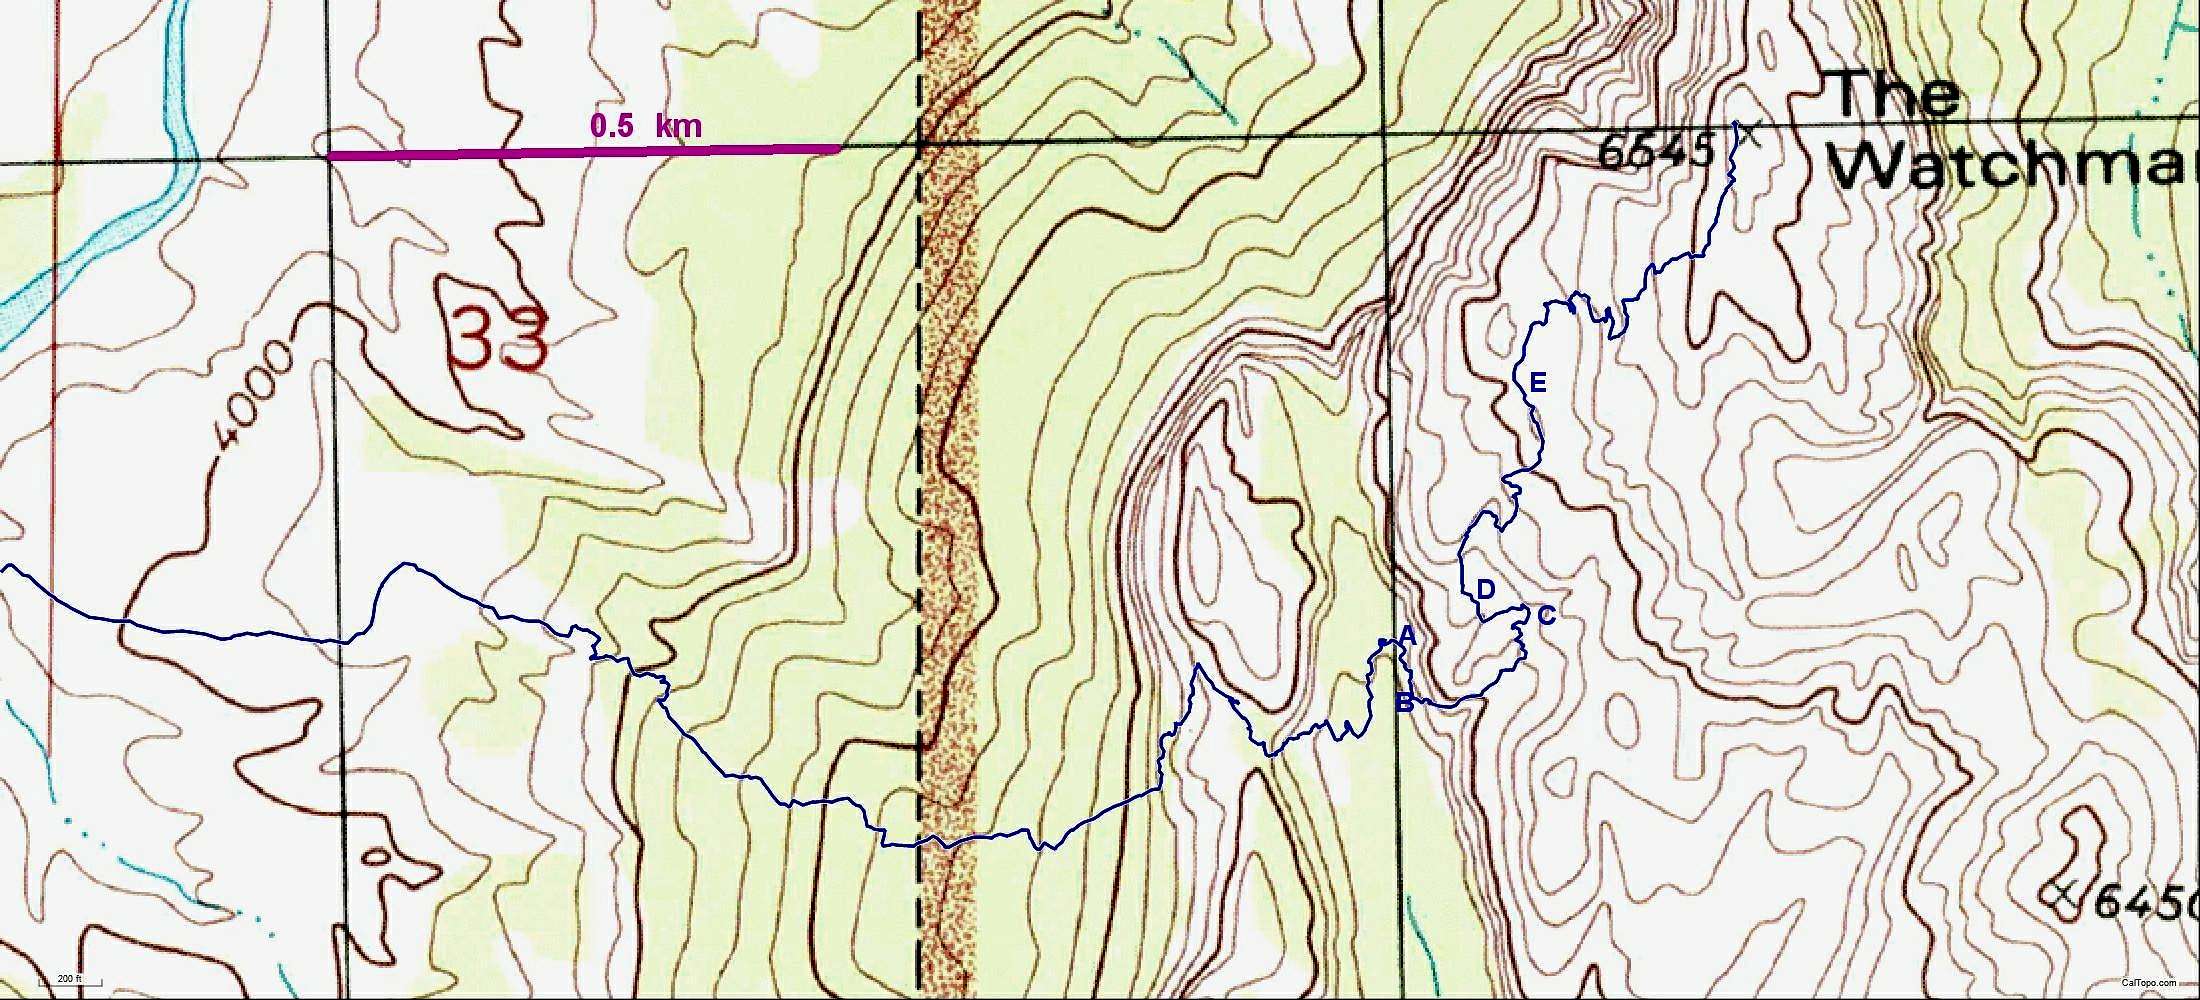
Click on picture to view larger-scale map. NOTE the contour interval is 80' -- this is steep territory. Compare with view of route.
A-- go to N side of hidden, vegetated gully, scramble S, climbing up the R side near an exposed cliff, then descend slightly to...
B-- ...a thin (0.5-1.5') ledge that hugs the cliff on the R (west) face. Turn left at the end of the ledge and walk to 4th class crux. I've free-climbed this, but there was a fixed rope as of Nov 19/12.
Continue following cairns, till you can see a cairn on the left (N), across a deep and wide (6-8') crack. The N rim of the crack is lower than the S rim, and the surface expression of the crack is about 20 degrees from horizontal.
C-- climb high on the south side of the crack, till you can find a section with 4-5' of drop to the N. Cross here and descend the other side of the crack.
D-- descend slightly to cross "bowl." Climb out up a chute and through slabs.
E-- cross another shallow bowl, with short (5-10') gambel oak scrub (on the left, you can walk mainly on sand). After the bowl, turn R and carefully zig-zag across the slabs/ledges.

MoapaPk
on Nov 20, 2012 12:41 pm


Comments
Post a Comment