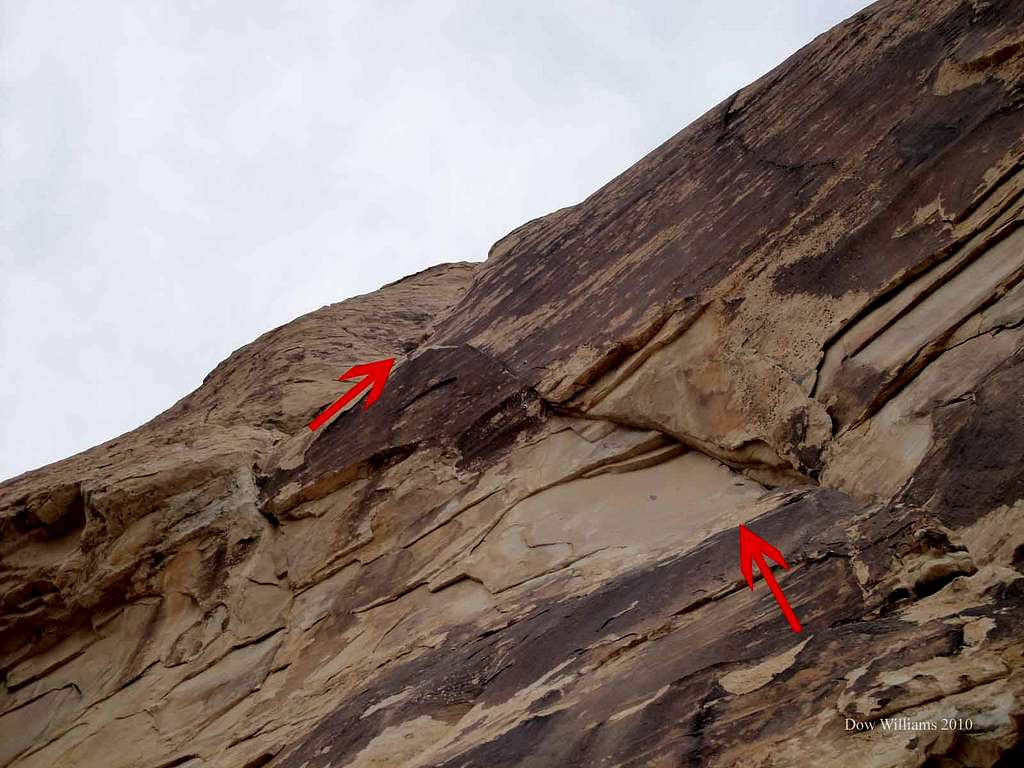
7th-8th Pitches- 100’- 5.10b A0/ It is best to combine these pitches due to the awkward belay stance at the end of the aid pitch and that is what I chose to do. Climb up and left to the first aid bolt. It is a bit run out to reach unless you stick in a trad piece, but that will result in more rope drag on this traverse line. I used double length slings tied off for aiders, but I believe you could swing and grab most of the aid ladder. I few of them might be a bit spaced out for that early on. Traverse left over to a sandy seam that is a bit unnerving as you make the transfer from aid to free climbing right below the next belay station. Clip through the station and ascend four or five bolts up the suspect rock. You can add additional protection in the seam and once the hard climbing is over, you can protect with a few trad pieces until you reach the next station with a small stance. For me this was the crux pitch of the route and I lead the lower 5.10c pitch as well.
Eagle Dance, 5.10c, A0, 9 Pitches, Eagle Wall, Rainbow Mountain, Red Rocks, NV, January, 2010


