Overview
'Droga po głazach', which can be translated as the Route over slabs, is one of the easiest routes leading to the summit of Mięguszowiecki Szczyt Wielki/Veľký Mengusovský štit. The route is unmarked and navigation can become surprisingly difficult, even if the weather is favourable, so it is advisable to go with someone who has done the route before. The best time to go is from July to October, depending on the weather, which should be perfect considering route finding issues, unless you hire a guide.
Approach
From Morskie Oko take the red stripe trail (the eastern variant is a bit shorter) to Czarny Staw (Black Tarn), from where the green marks will lead you to Mięguszowiecka Przełęcz pod Chłopkiem (literally Pass under the Little Bloke) or Mengusovské sedlo (the Slovak name): Please see this page. From the pass, in theory you can only continue with a licensed Tatra guide (see the Red Tape chapter on the parent page).
Route Description
![Prostredný Mengusovský štít]() The beginning of the route - photo by Gorzi The beginning of the route - photo by Gorzi ![Prostredný Mengusovský štít]() Westwalewicz's traverse - photo by Gorzi Westwalewicz's traverse - photo by Gorzi![Mieguszowiecki Szczyt and...]() Made by dynercia Made by dynercia ![Mengusovské štíty]() Gorzi's route ('droga po głazach' and 'via normale') Gorzi's route ('droga po głazach' and 'via normale')![The great ramp]() The 'second ramp' seen from the 'balcony' The 'second ramp' seen from the 'balcony'
![Above the balcony]() Above the 'balcony', heading towards the crest Above the 'balcony', heading towards the crest![First ascenders’ variant]() The funny ledge The funny ledge![Veľký Mengusovský štít]() The 'wrong' chimney The 'wrong' chimney
Above the 'balcony' terrain becomes more difficult. Carry on up towards the crest for about a hundred metres via a shallow depression. In fact, so as not to kick stones on anybody below, it is better to stick to an inconspicuous rib inside the depression until it ends transforming into a couloir. Go up the couloir, which soon forks. Take the left-hand branch. (If you happen to take the right-hand couloir, you will face a little chimney, which is - as Gorzi says - relatively hard: Please click on the photo on the right.) When you are five metres below the crest, to your right, you will see a rather broad, smooth, looking slippery, ledge with a granite block barring the way under the overhanging wall. The classic variant of our route leads along that ledge and requires crawling or at least kneeling. After following the ledge for about ten metres, you resume climbing up. The holds - according to guidebooks and various TRs (neither of the authors of the page has done this variant) - are good.
![Crest at hand]() The crest just a few metres away The crest just a few metres away![Morskie Oko from W ridge]() What you see on the other side of the crest What you see on the other side of the crest![Western ridge]() Looking back at the crest Looking back at the crest![Looking back from summit]() Looking back (west) from the summit Looking back (west) from the summit![Summit register]() The prize The prize |
Remarks on Ratings and Route Statistics
Although the rock difficulty scale traditionally used in Polish guidebooks to the Tatras is said to be almost identical to the UIAA scale used in Slovakia, in practice it does differ from the latter in that it - or at least its bottom, which I have investigated - seems to be tougher, which means that a Polish grade 0+ ('easy') can actually be an equivalent of a UIAA grade I, a Polish grade I ('a bit difficult') will often be like a UIAA grade II and so on. Differences between the ratings of a particular route can be from half to one and a half grade points. Last but not least, the UIAA ratings that most Westerners are used to do not seem to be any tougher than the Slovak ones, which sometimes agree with the Polish version. So, I have come to think that if you want to get a fairly 'safe' UIAA grade for a scrambling route in the Tatras, the following formula will work, most of the time: UIAA grade = Polish grade + 1
Route statistics
Time up: 5hrs from Morskie Oko Hut
Net elevation gain: 1043m
Total elevation gain: approx. 1200m
Rock difficulty: Polish grade I / Slovak sources: UIAA I-II / my guess: YDS 4-5.0
Essential Gear
Under summer conditions: normal hiking gear, a helmet is a good idea; a rope and a few loops may also be useful, especially while doing the crest climb.
Under winter conditions (according to dynercia; in my opinion the route does not make sense under winter conditions): crampons, ice axe, rope, a few loops and ice screws.
Red Tape & Mountain Conditions
Please see the parent page.
External Links
Photo TR by R. Szadkowski, Tatra guide. The party chose 'Droga po głazach' for the descent. The variant they opted for just below the peak is different from what is described here in chapter 3.
TR in Polish by Michał - Projekty Przygodowe


 The beginning of the route - photo by Gorzi
 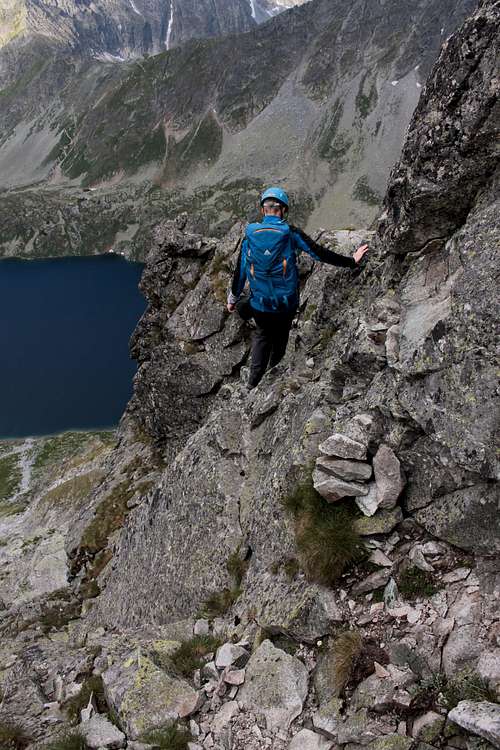 Westwalewicz's traverse - photo by Gorzi
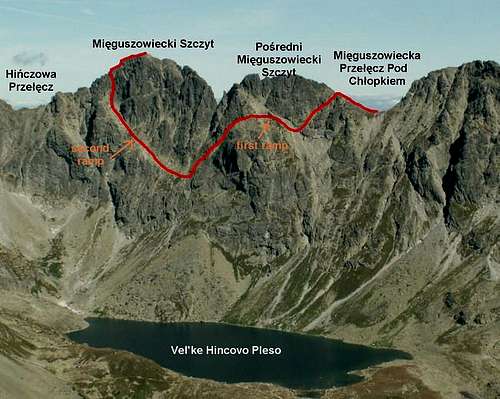 Made by dynercia
 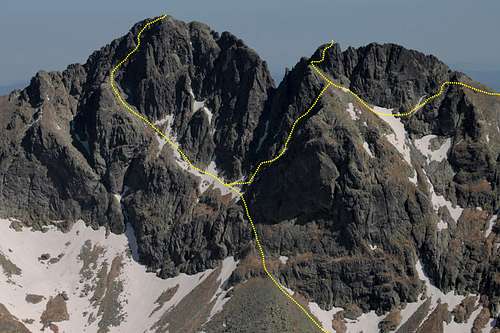 Gorzi's route ('droga po głazach' and 'via normale')
 The 'second ramp' seen from the 'balcony'
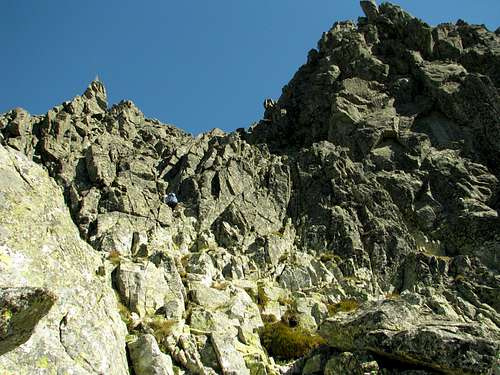 Above the 'balcony', heading towards the crest
 The funny ledge
 The 'wrong' chimney
  The crest just a few metres away
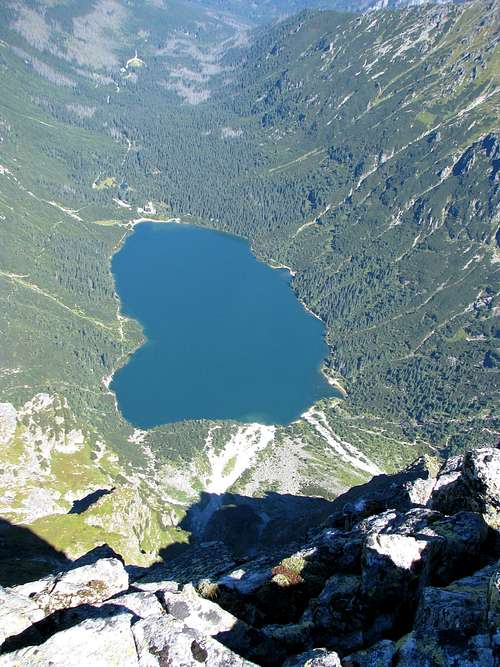 What you see on the other side of the crest
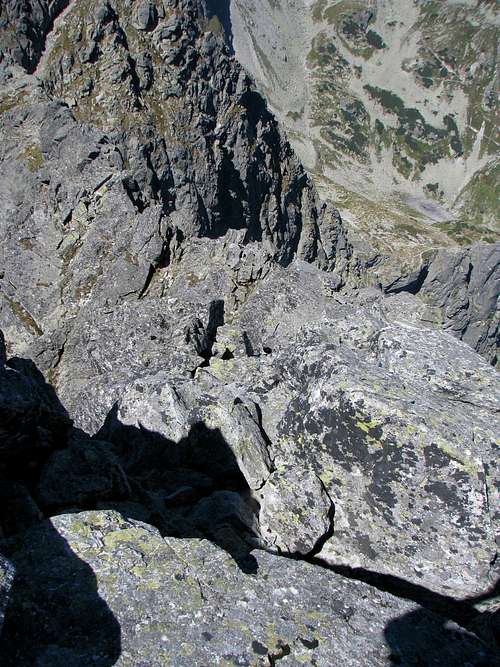 Looking back at the crest
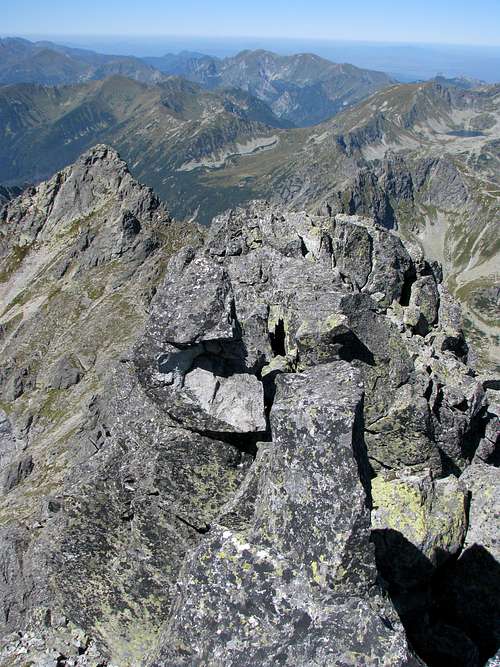 Looking back (west) from the summit
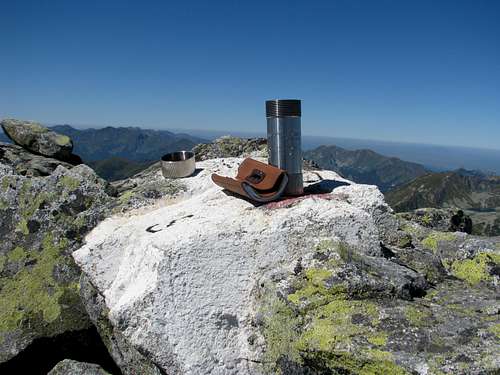 The prize