This is the exit from the top...

This is the exit from the top...

This is the exit from the top of the Kieners Route (the Table Ledge exit from the Diamond deposits you just below this also). From the top of the technical pitches, follow the gulley system NNE towards the large, dark diehedral, staying below and right of the large tower. Avoid the temptation to climb straight towards the cliffs to the right of the Notch. When you hit the cliffs, walk towards the Diamond (east) until you are below this red buttress (there is significant evidence of human traffic here). The route ascends the lower blocks to the middle block in the picture. From here, traverse right to the 'step around' move near the Diamond (that the guidebooks mention). The step around move isn't really terribly exposed... no more than any other part of the route. Taken July 28, 2005.
Chris
on Jul 29, 2005 3:12 pm
Image ID: 117318

Comments

Post a Comment
Viewing: 1-1 of 1
CharlesD

CharlesD - Jul 29, 2005 3:46 pm - Voted 10/10
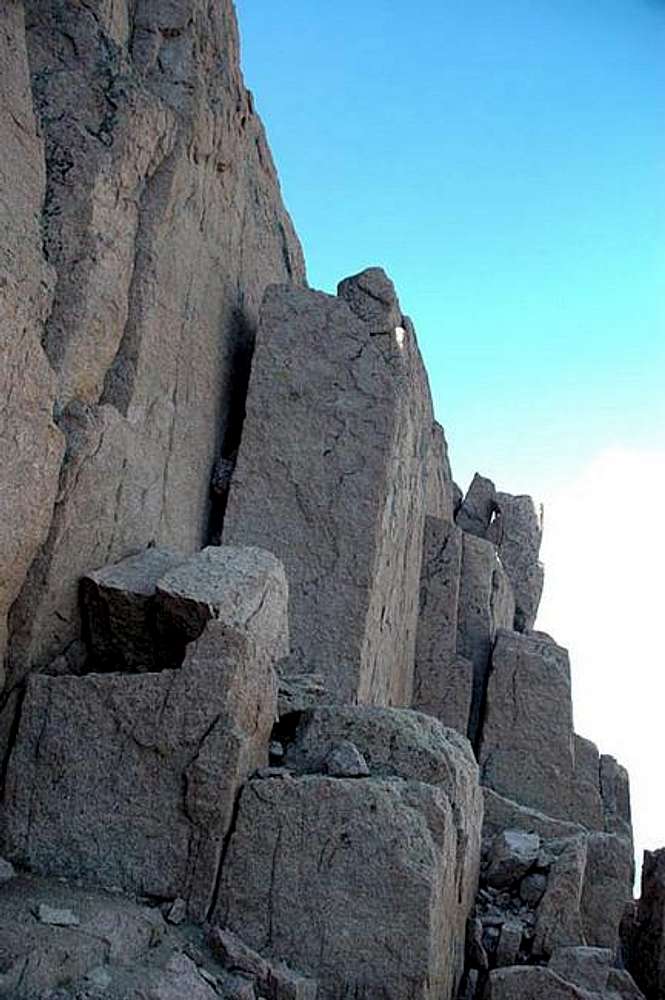
looks far harder than it is.

I'm assuming this is the famous mantle move that the guidebooks mention. It protects extremely well and is a very nice lead. I placed a largish cam (2-3") in the crack behind the rightmost block in this photo to protect the mantle, took a few steps to the right, and pulled the move. 5.4 at most even if you're not 6'2". No problem at all. Specacular climb with great company.

Viewing: 1-1 of 1