


Comments
No comments posted yet.
|
|
Trip Report |
|---|---|
|
|
Sep 13, 2019 |
|
|
Hiking, Scrambling |
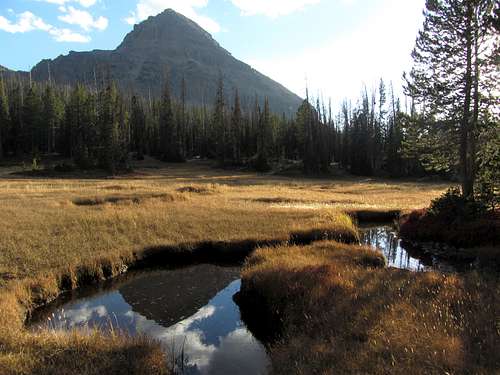
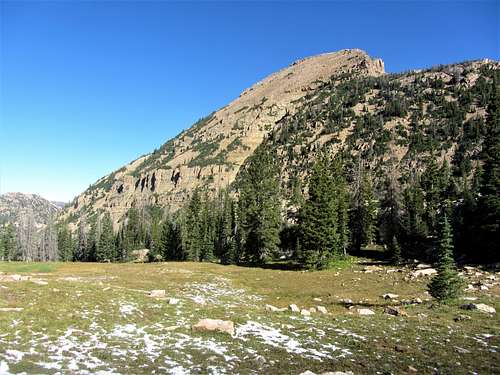
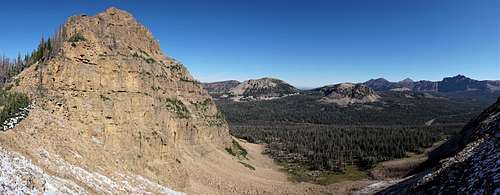
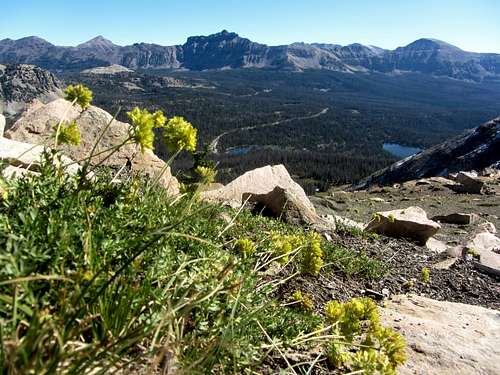
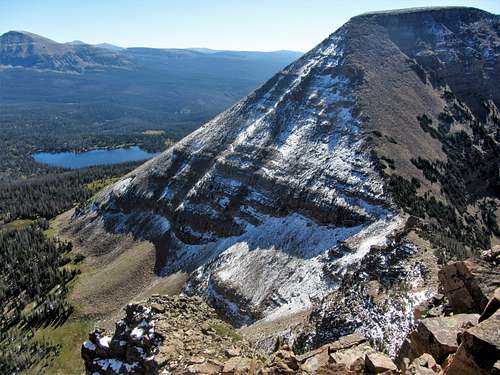
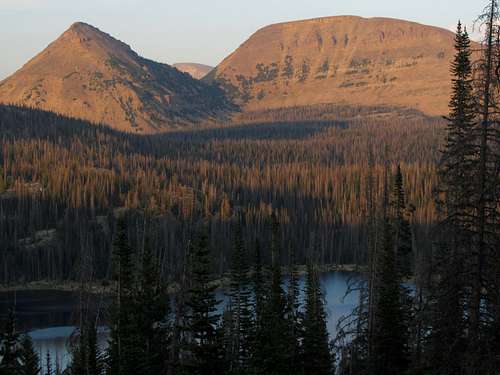
I’ve wanted to go up Reids Peak ever since seeing it near the top of Scott Patterson’s list of unknown classics in the Uintas (he’s done more hiking in the range than many will ever get around to doing in their entire lifetime). With the Wasatch getting ever more crowded as people continue flocking to Utah, I’ve gained a greater appreciation for the Uintas and the solitude they offer. Reids Peak is often overlooked because of the close proximity to its higher and more easily accessible neighbor Bald Mountain, but along with Hayden Peak it offers one of the best quality scrambles up an impressive peak from the Mirror Lake Scenic Byway. Last fall we hiked the Lofty Lake Loop as a family, and Reids’ unique pyramid shape seen while descending from the last lake in a counter-clockwise direction made me especially keen to try it. Hiking Reids Peak is often done in combination with Bald Mountain, so this would give us the chance to take in some unique scenery the entire time in one relatively short half-day loop hike.
Lately, the tricky part of any hike had been finding the time to actually get away to do it. This past year was no exception, with several work deadlines coming up one after the other, and shortly behind that was the honey-do list for projects around the house. We’d been able to do some fun family hikes during the summer (i.e. Primrose Point behind Timpanogos, South Willow Lake in the Stansburys, Harrison Lake in the Selkirks, & later on Circle-All Peak in Big Cottonwood Canyon, as well as a father/son hike of Mount Nebo with Matthew), but it had been a couple of years since I’d gotten in a good scramble. It had also been over five years since I’d hiked with my friend Kendrick, so we were overdue to try a fun one nearby.
Fall and winter were looking to make an early arrival in 2019, so as soon as the first fall snow had melted off of the south face of Bald Mountain, we decided it would be a good idea to get the hike in before the next storm came through. Fortunately, the Bald Mountain Pass webcam was able to give us a good indication of the amount of snow lingering around 11,000 feet in the Uintas, and on the afternoon before the day set aside for our hike, it looked like the sun had melted away most of everything from the previous storm.
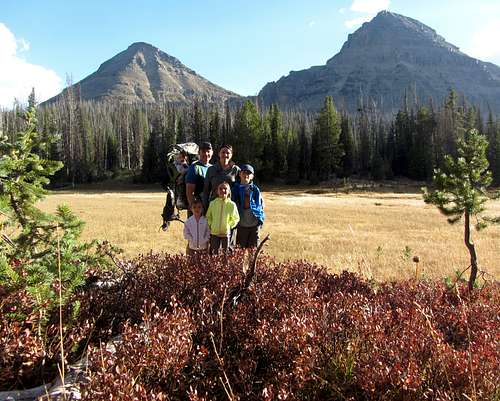
We left Kendrick’s place around 7:30 in the morning and arrived at the Bald Mountain Trailhead around 9. Despite Bald Mountain being one of the more popular hikes around, the trailhead parking lot only had a couple other cars in it. At first I didn’t know where to get onto the Notch Pass Trail (map seemed to indicate that it left the parking lot going west instead of north like the Bald Mountain Trail), but upon walking the first few meters of the Bald Mountain Trail we quickly found the junction where we could take a left for a gradual descent around the south slopes of Bald Mountain.
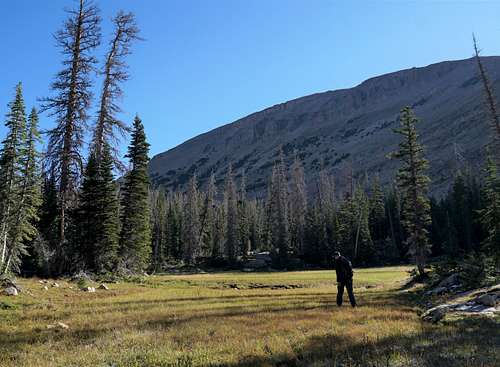
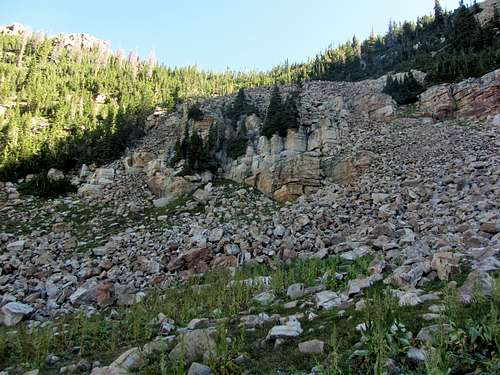
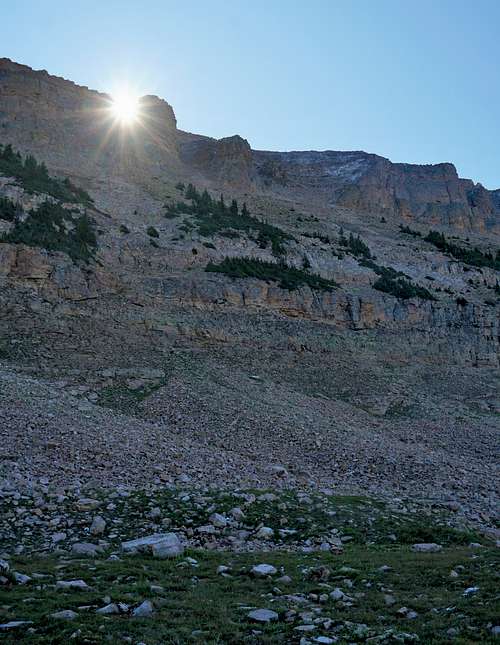
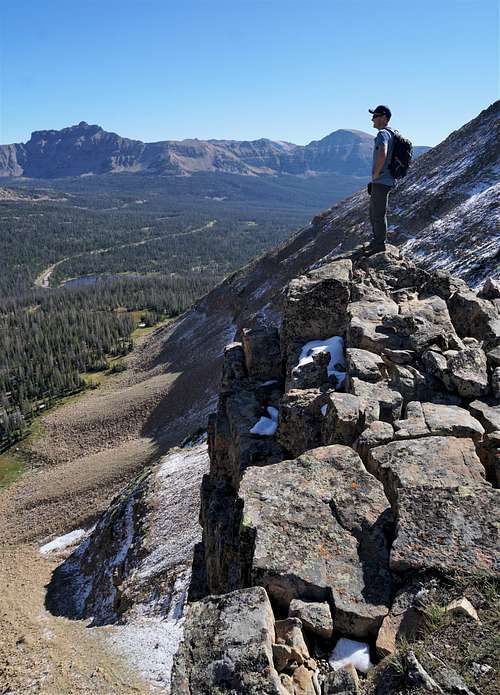
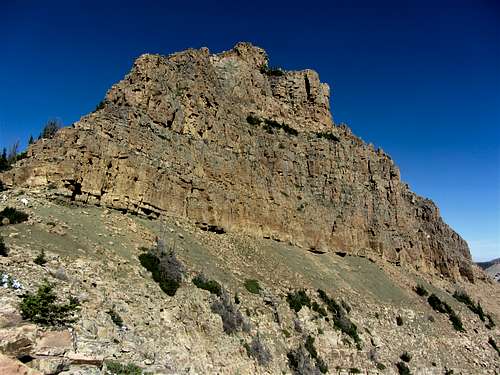
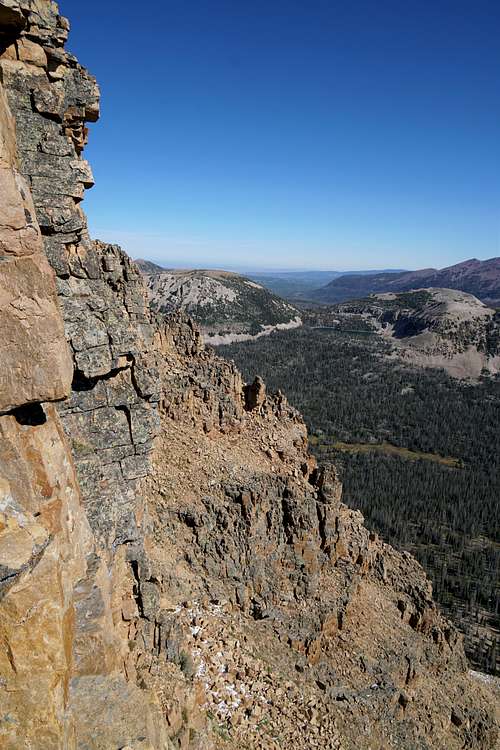
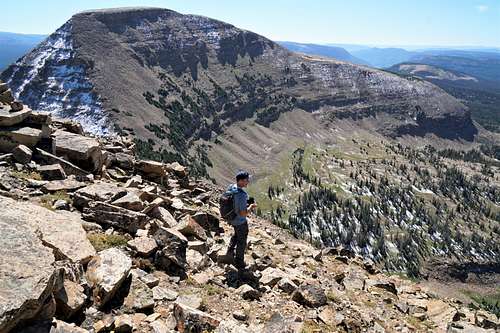
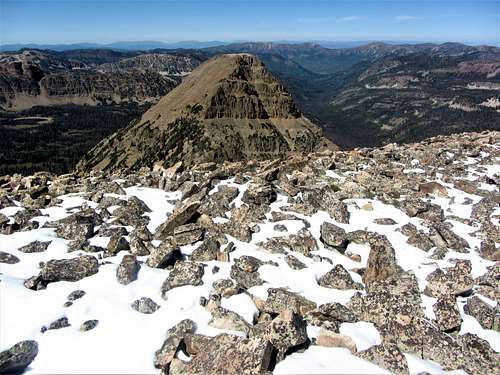
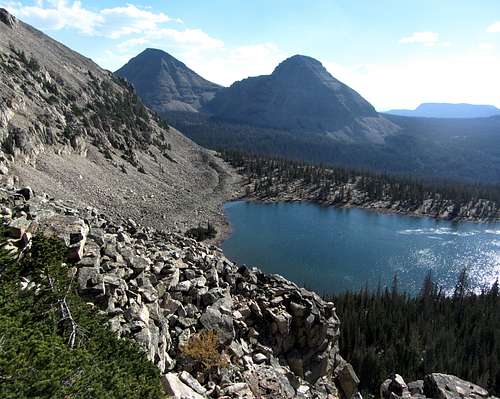
Once we got to the base of the large talus slope leading up to the saddle is when our route became much steeper. With the apparent option to either go left or right, we chose to go right, and took care to not knock any rocks on each other as we ascended the steep talus slope. We encountered a few loose boulders on the way up, but for the most part it was easygoing, despite the fact that neither of us had done any steep summit hikes in a while. Partway up the slope, we ran into a thick nest of trees, which took some minor bushwhacking to get around. Soon enough we made it to the saddle, where we were greeted with a nice view of Hayden Peak and its other neighboring peaks on the ridgeline to the east.
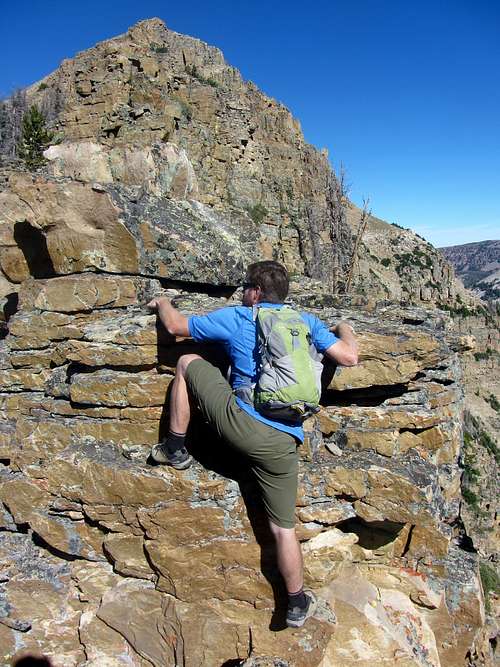 |  |  | 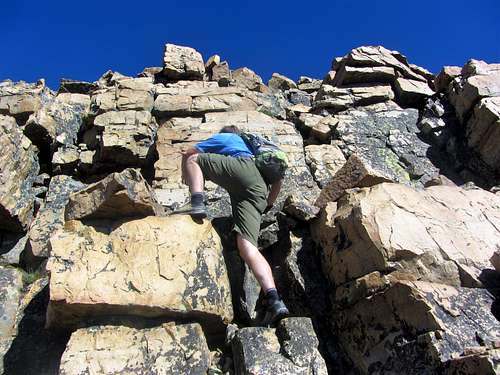 |
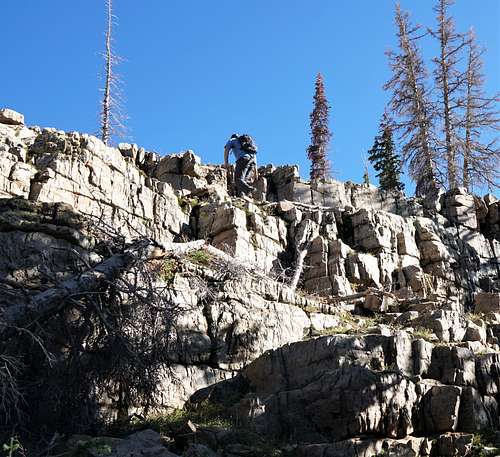
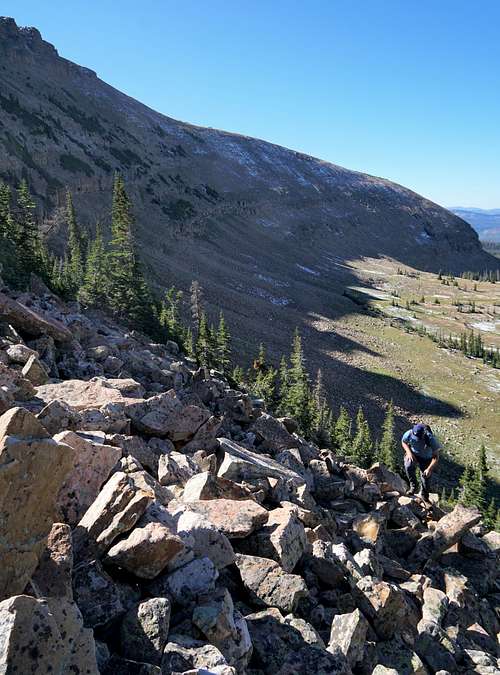
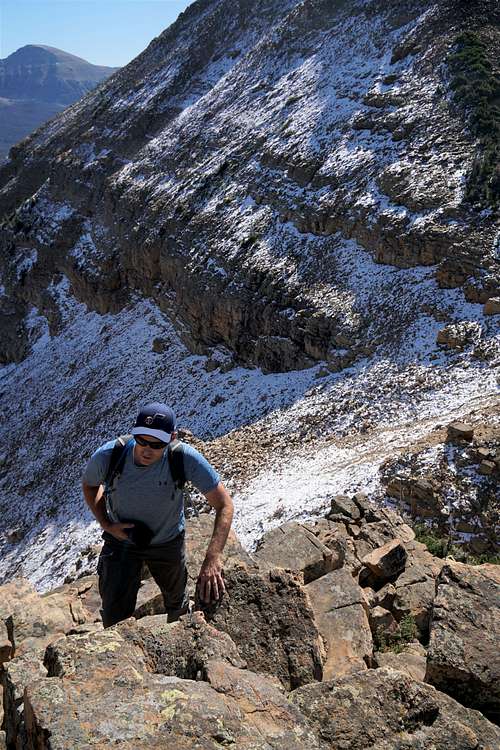
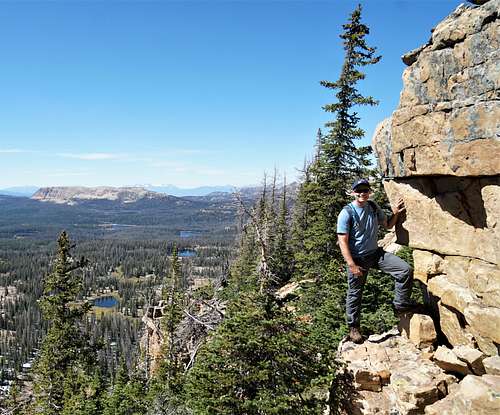
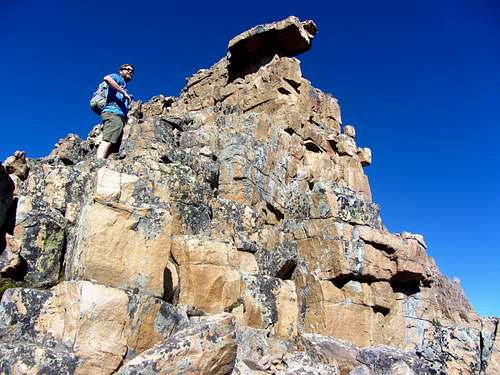
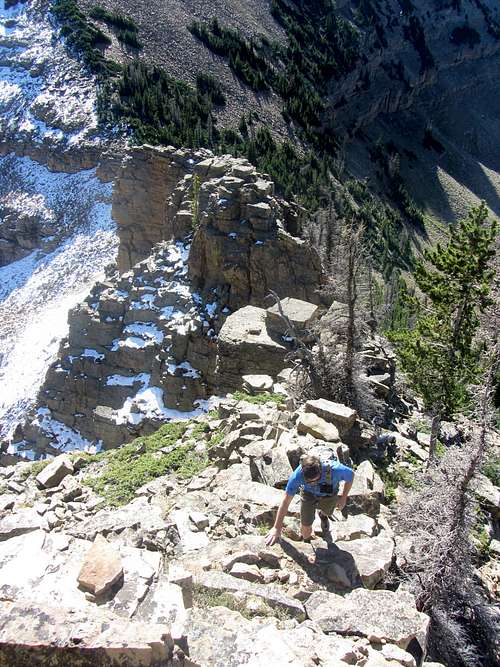
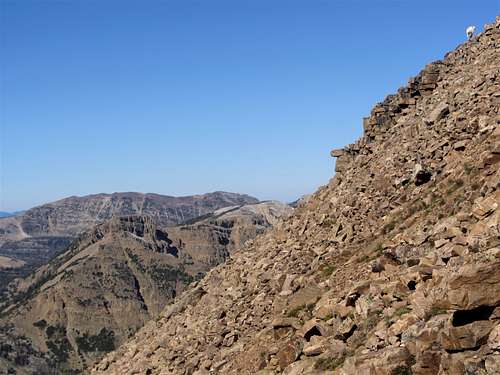
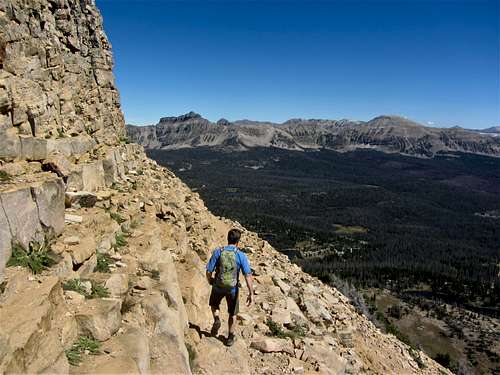
A few times, we ended up having to drop back down a couple dozen feet or so as we made our way up the ridge, which slowed our upward progress, but it was great fun. While we could have kept the difficulty at easy 3rd class scrambling by veering to the left/south side of the ridge if we’d chosen to, the alternative 4th class scrambling terrain directly on the ridge itself proved to be much more interesting.
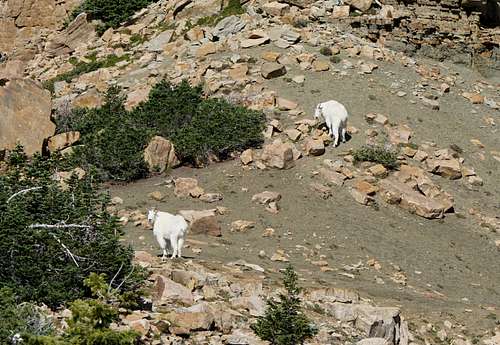
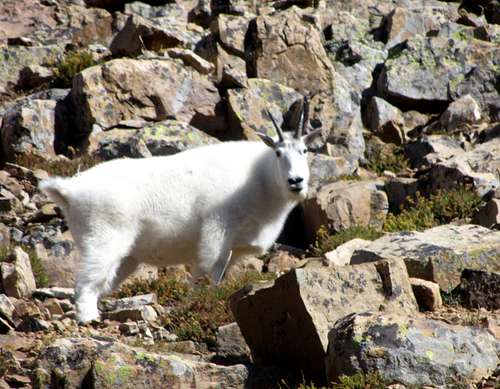
Partway up this slope, I stopped on a large boulder to attempt taking a picture of one of those two goats which was now just above us, when the boulder completely gave way beneath my feet. Luckily, the slope wasn’t that steep (~45 degrees) and I was able to catch myself on some rocks immediately to the side of it, but I did get a few scrapes on both arms in the process, and the boulder in question shot off down the south slopes of Reids Peak without stopping until it reached the bottom over a thousand feet below. I guess it just goes to show that no matter how careful you’re being, loose rock is always a risk, especially on steep routes like this one, and you just have to do your best to mitigate the risk as much as possible.
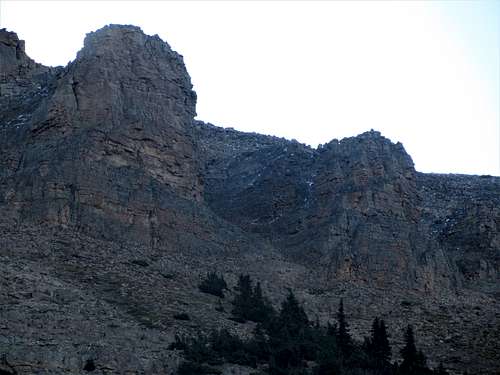
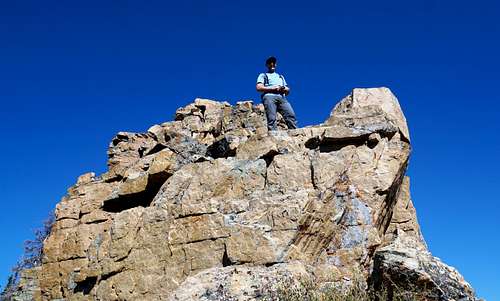
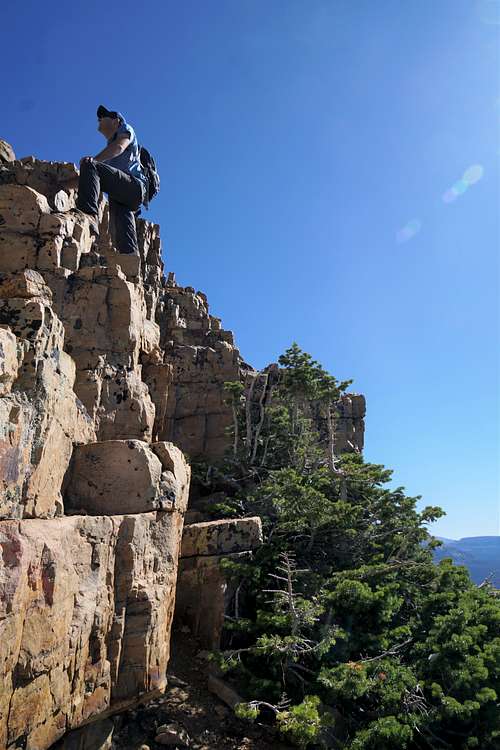
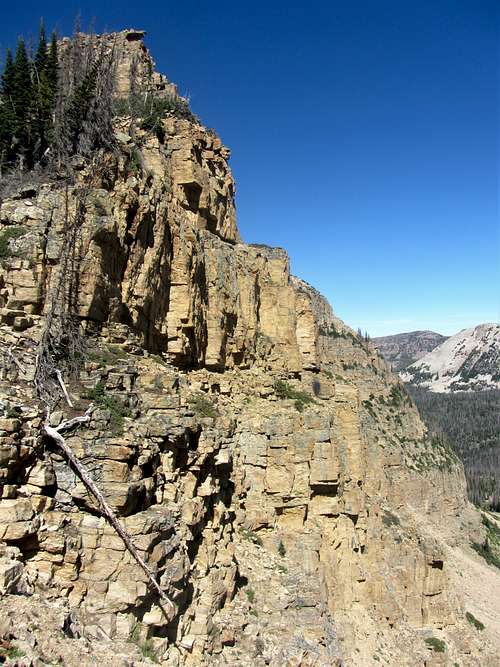
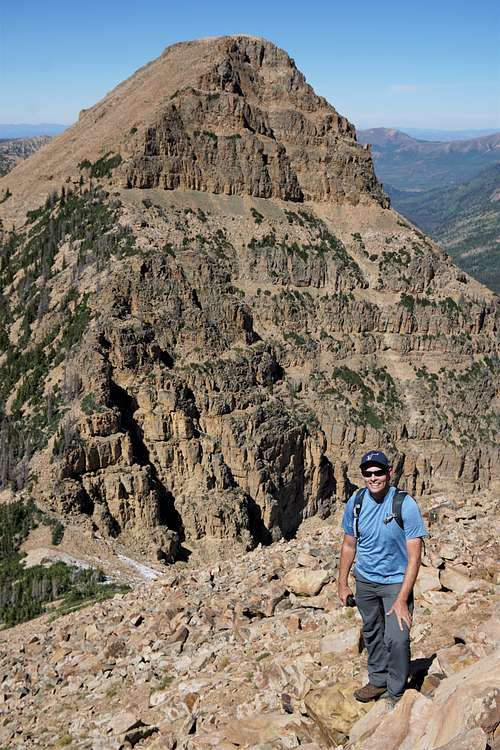
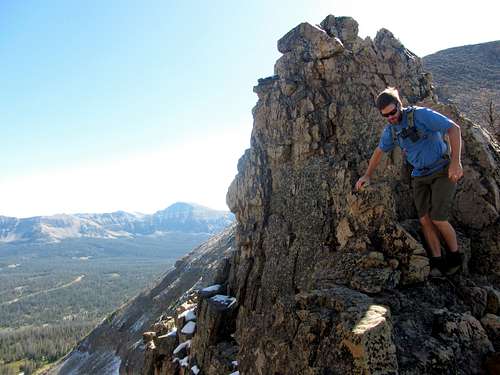
For the remainder of the climb to the top of Reids Peak, we usually opted for taking the slightly easier talus slope on the south side of the peak, instead of the steeper cliffs directly on the southeast ridge. We’d already gotten a good dose of scrambling up until this point, so we didn’t feel that guilty about taking the path of least resistance from here on out.
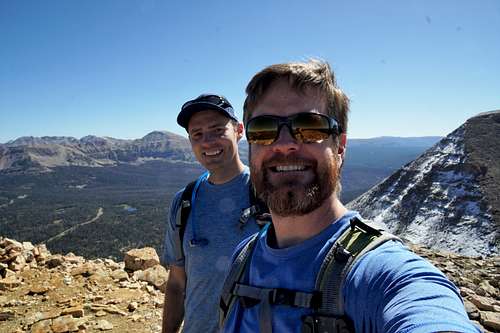
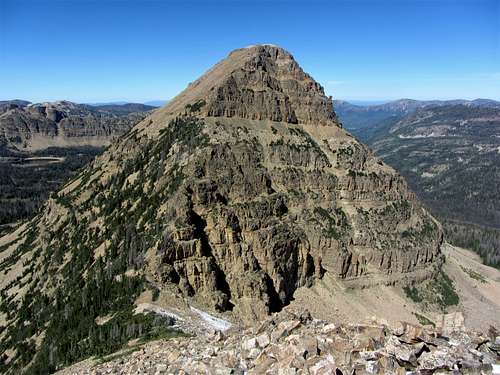
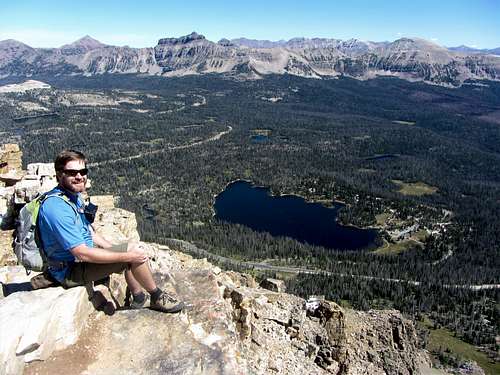
After a nice long snack break on top of Reids Peak we started heading back down the southeast ridge, mostly following the same path we’d come up, with the occasional deviation when an easier alternative presented itself.
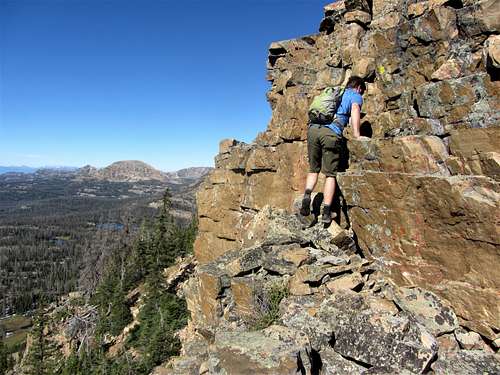
Going back down the southeast ridge, we were able to spot a couple places where the best path wasn’t necessarily the same route we’d taken up. In one case the rock was steeper but more solid and overall safer, and in another case the detour involved avoiding an undulating section of ridge by staying to the right (south) side of the ridge to avoid having to go back up and down so often.
We quickly made it back to the saddle and then started going back up, which my legs didn’t seem that happy about. I’m not sure if it was because of my lack of conditioning, a salt/electrolyte deficiency, or the simple fact that I’m getting older, but I encountered some cramps in both thigh muscles as we got closer to the summit of Bald Mountain, which was a bit unexpected since I’d only ever had them in the past on my most difficult hikes, which this most definitely did not begin to compare to. Perhaps it would serve as a good wake-up call that I need to do a better job of maintaining my conditioning between hikes.
Oddly enough, this hike had taken me the exact same amount of time that both my Mount Watson loop hike and Hayden Peak hike had taken (4.5 hours) in previous years. The Mirror Lake Scenic Byway most definitely does not disappoint when it comes to offering nice half-day hikes and scrambles. I’d highly recommend the southeast ridge of Reids Peak to experienced scramblers, as it’s a great route that’s easily accessible and yet simultaneously devoid of crowds, and it provides plenty of options for you to make it as easy (class 3) or as difficult (low class 5) as you choose to make it.
DISTANCE: 5 miles one way
BALD MOUNTAIN TRAILHEAD: 10,760 feet
REIDS PEAK ELEVATION: 11,708 feet
BALD MOUNTAIN ELEVATION: 11,943 feet
ELEVATION GAIN / LOSS: 1,855 feet
DIFFICULTY: Class 4