So you want to sharpen your tools eh!.
Ever wonder how a guy or gal does M11+?
Are they just stronger and more talented than me?
Most likely, yes, but they also have the special knowledge, that only an initiate of the 7
th circle of the great sun sphere has. I know I will be cursed and spat upon by the likes of Will Gadd and Petra Müller for giving away trade secrets so read on and find out how to sharpen your tools so at least you no longer have that excuse.
First a few basics, I am going to show you how to remake your pick for mixed climbing. If you plan to stay on ice only don’t bother to read further. Just skip to the last paragraph or else you will turn your good ice pick into a mediocre ice pick.
The first basic is the tool you are going to use, a file. Files come in many shapes and sizes and at least two different forms;
- The straight cut file and
- The bastard file.
The Straight cut file, as the name implies, cuts in only one direction, usually one side cuts one way the other side the opposite. A bastard file is one that will cut in both directions. You can tell them apart because the bastard file looks like it has cross-hatching.
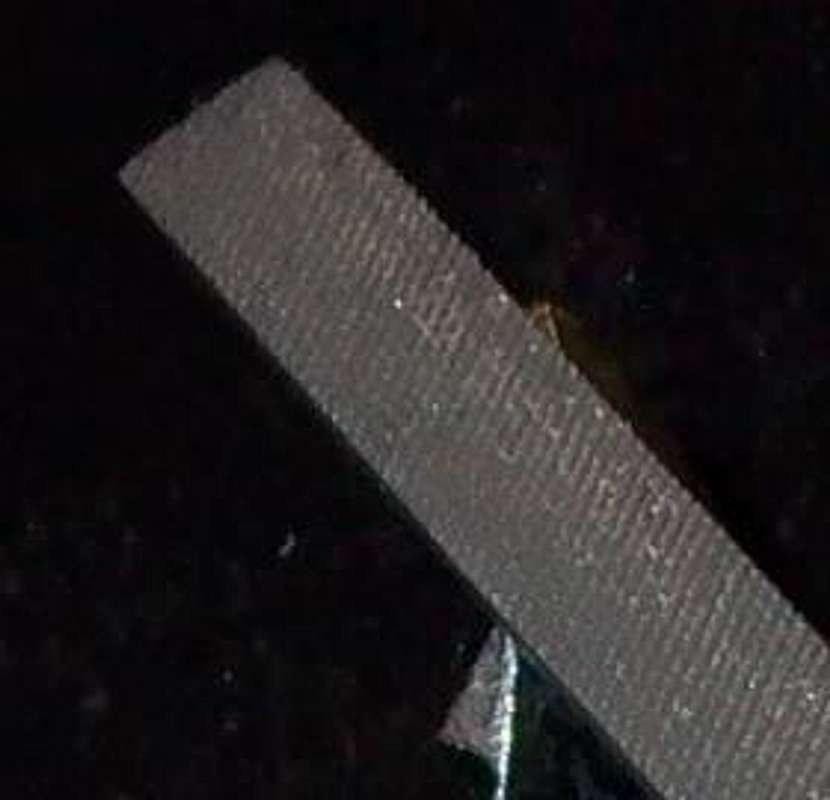
I myself like the bastard file, mainly for the name, but also it gives you more freedom to work in different directions. In Figure 1 are the tools I use.
![sharp1]() My Files
My Files
From top to bottom a small bastard flat, a small bastard awl or rat, a small triangle bastard and a large flat bastard with a real nice hand grip that will save you hands a good deal of pain. No need to spend a great deal of money, none of my files cost more that $5.
Number two is always work in one direction whether you are using a straight or bastard file. The way you work a file is to draw it across what you are sharpening and make contact on only one pass. Going back and forth normally only ruins your file or ruins your pick when you take off too much metal. Anyway, if I wanted you to use sandpaper I would of given you some at the start. This is the golden rule of files.
Number three is always work in one direction whether you using a straight or bastard file.
Number four is always work in one direction whether you using a straight or bastard file.
Number five is to practice with an old pick for the first time. One that you do not mind destroying as it can take a few tries before you get the knack for it and at about $40 a pop for a pick it could get expensive learning how to do this.
The last point is to consider the pick and your tool. In this article I am working with the "Tarago Extreme" pick to be used on the "Madam Hook" tool with the leash-less handle. Some tools have a very narrow window in their swing, so too much off the top and your swing goes for a chop. Others cannot take any aggressive filing, the Monster comes to mind, sharpen that too much and you have to buy a new tool. So before you start take a good look at your pick and ask yourself will this help me?
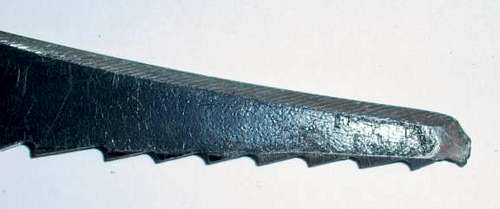
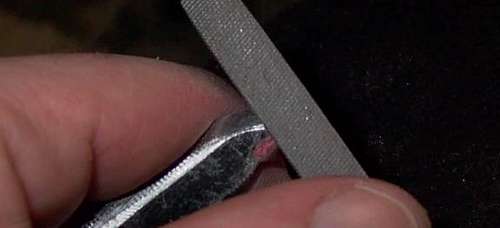
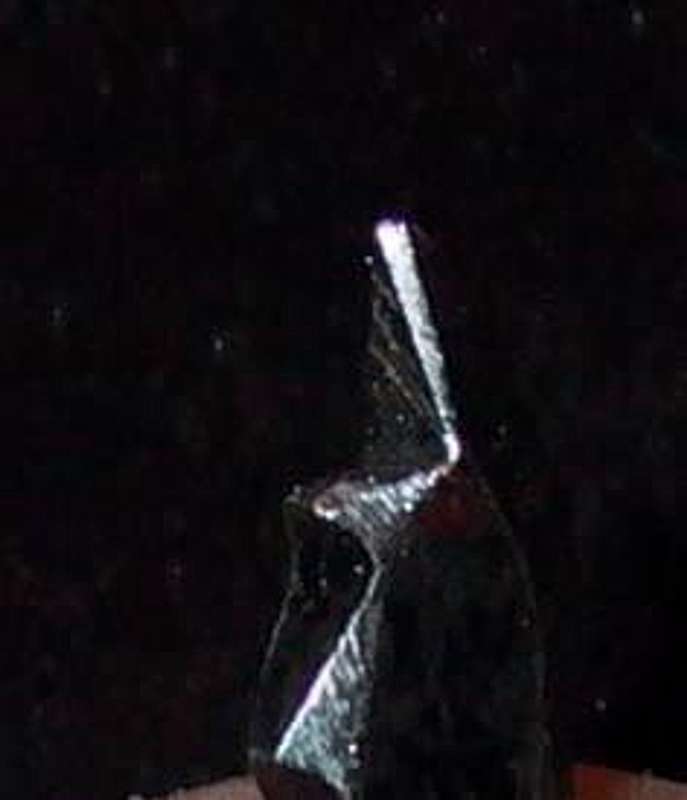
Now lets get started. Figure 2 below is the pick I am going to have a go at.
![sharp2]() Old and Abused
Old and Abused
As you can see it has seem some abuse, as it is well beaked, seen a few field filings and is down about 5mm in front. No need to worry there is still lots of life left in it.
What I want to do is cut down the top to bring the pick to a point and then under-cut the bottom just in front to the last tooth to bring the pick into an aggressive angle. What I want it to do is bipod on rock with the front point and the first tooth in contact with the rock and the tool in balance. In Figure 3 below I added the rough lines of what Iwant to do.
![sharp4]() The correct lines
The correct lines
This is just a rough idea of what I want. When I first started doing this I use to mark the pick with a little nail polish just to give me an outline. I use nail polish mainly because most other markers rubbed off as I worked the pick.
![sharp5]() A little nail polish
A little nail polish
After a few times sharpening my pick I found I could just depend on my eye but I used it this time because it did help the first few times to get my eye right.
Now lets remove some metal. I always start from the top and move down. Finishing one side first and then moving to the other side. My first cut is to aggressively attack the top part of the pick trying my best to keep the file at a 45° angle.
I usually only contact the pick with the file as I am moving the file forward as this cuts the metal nice and fast with a great deal of control. I then work my way down the top of the pick to the point. In Figure 5 I am about ½ way through.
![sharp6]() Lets cut some metal
Lets cut some metal
After a little while one will reach the point and the pick should look something like Figure 6.
![sharp7]() Almost there
Almost there
Which is a very good rough shape but it is still quite rounded in the middle so I have to take off some more. I start at the top again with that 45° angle and this time I am trying to cut more metal away to create a straighter top edge. The end result is below in Figure 7.
![sharp8]() Most of the way there
Most of the way there
What one wants is a nice triangle of uncut metal on the bottom half of the pick with a line of cut metal running from the point all the way back to the top of the pick and with a nice smooth angle. So at this point I have a fairly good roughed out pick. You will still have a rounded top but when you do the other side it should to disappear.
![sharp9]() The other side
The other side
The flip side of the pick should look something like Figure 8 with only a few burrs bent over. Do not work on this side of the pick yet.
![sharp10]() Working the pick with the small flat bastard
Working the pick with the small flat bastard
Now lets whip out our little bustard and start cleaning up this side. Again I use the same 45° angle only this time I am removing less metal. I go at this side trying to even my rough cut out so the file will make 100% contact when placed parallel to the cut as in Figure 10.
![sharp11]() A nearly flush little flat bastard
A nearly flush little flat bastard
In this case I have a little more filing to do. After the file is nice and flush I can start on the other side.
To do the ohter side simply repeat the process above, except this time you can look from either top down or bottom up to ensure you get both sides of the pick even.
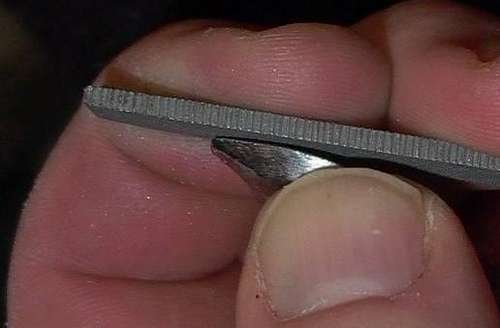
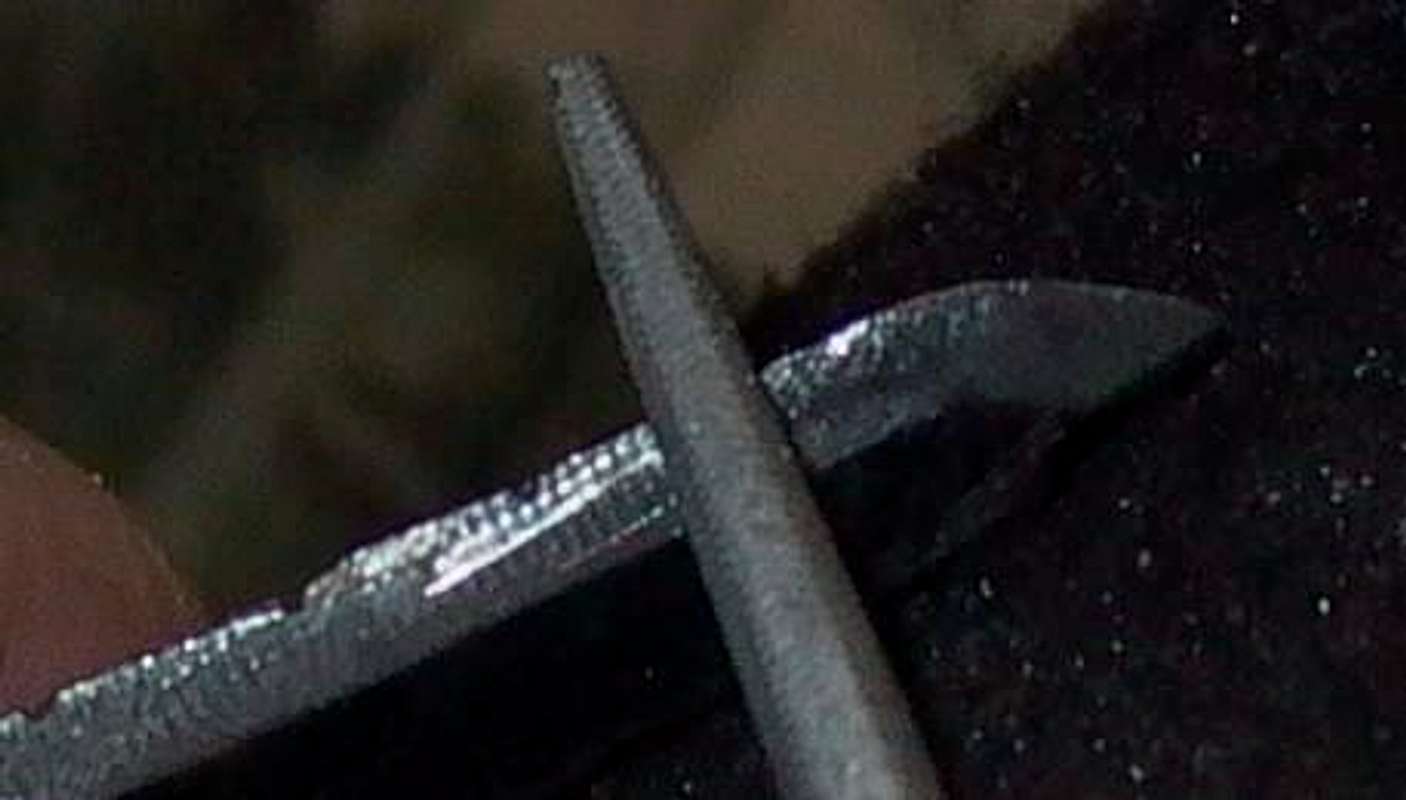
After you have finished the other side the pick it is now time to put the under-cut in by the first tooth. For this cut I use one of the edges of my square bastard file and by pressing extra hard for the first few draws I make the first cut.
![sharp12]() Setting the undercut
Setting the undercut
After I have made my first cut I then switch over to my triangle bustard and start to merrily cut down toward the top until I can use my square bastard again.
![sharp14]() Cutting some more
Cutting some more![sharp15]() Smoothing is out
Smoothing is out
Eventually you want to cut out a notch, as in Figure 14, which you want to come even with uncut metal in front. Be careful when you are making this cut and do not to go too far back, you want to keep the majority of the first tooth in place.
![shar1p7]() Keeping most of the first tooth
Keeping most of the first tooth
After you get it about even you want to get out your triangle bastard again and start cutting out metal from below the first tooth and up towards to top so you get about a 30° angle. The best way to so this is to use one side of a triangle bastard and you will cut very little away from the back.
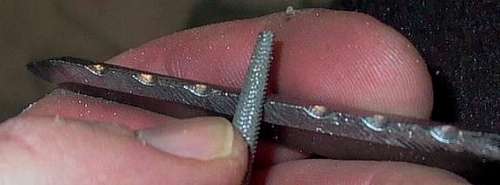
The under cut should be as flat as possible. In Figure 15 I use the same test as in Figure 10 and in this case I still have a little more filing to do to finish it off.
![sharp18]() Checking for flatness
Checking for flatness
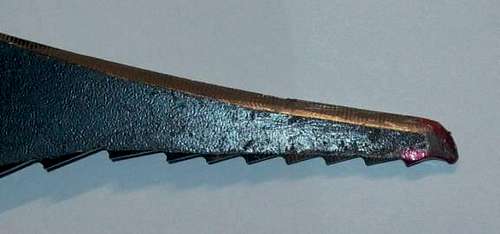
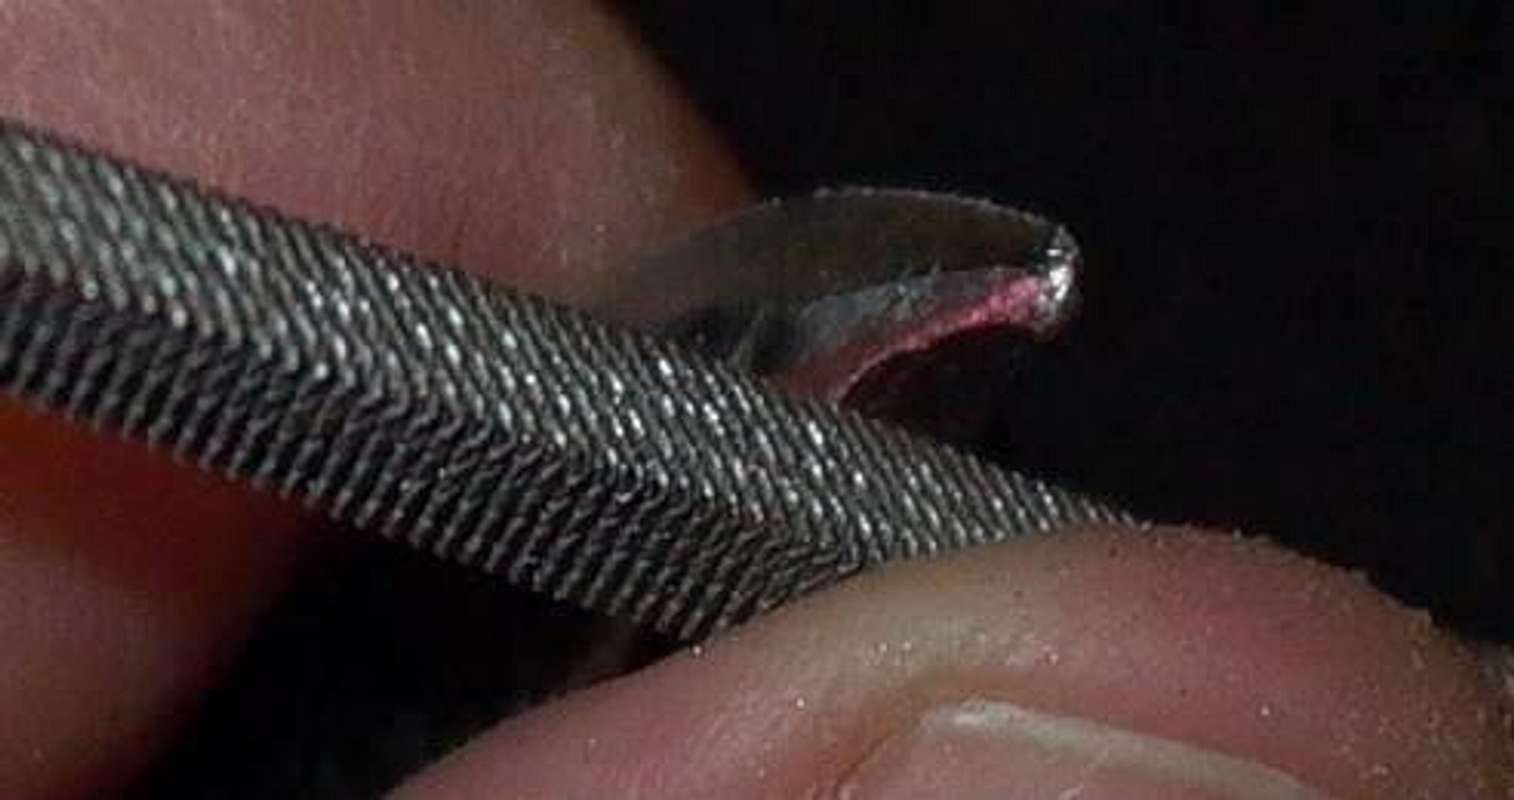
Finally after a little while you pick should look some thing like Figure 16.
![sharp19]() Almost there
Almost there
The next step is to slightly angle off the bottom edges of front point at that good old 45° angle. I use small flat bastard for this and I remove only enough metal to set the angle.
![sharp20]() A little off the side
A little off the side
Next,still with the small flat bastard, I cut the edges of the first tooth in the same manner this time angling in toward the front point.
![sharp21]() Trimming the first tooth
Trimming the first tooth
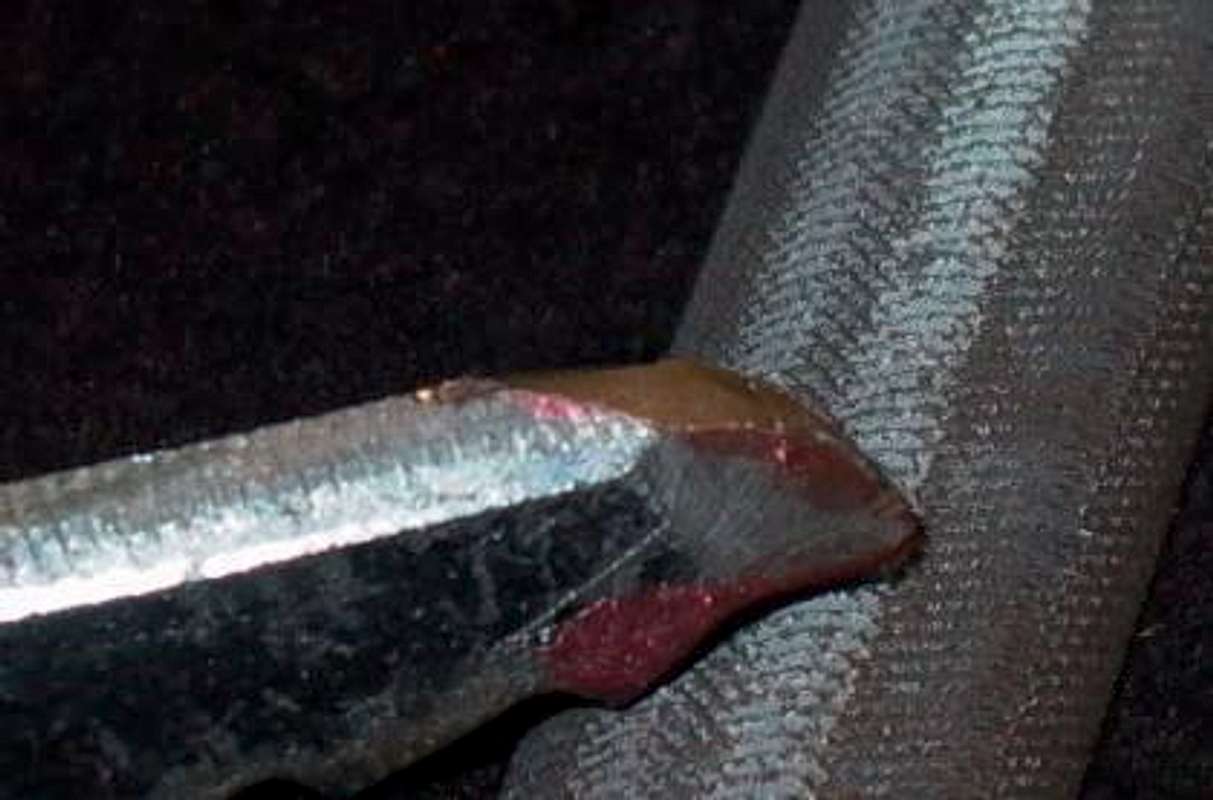
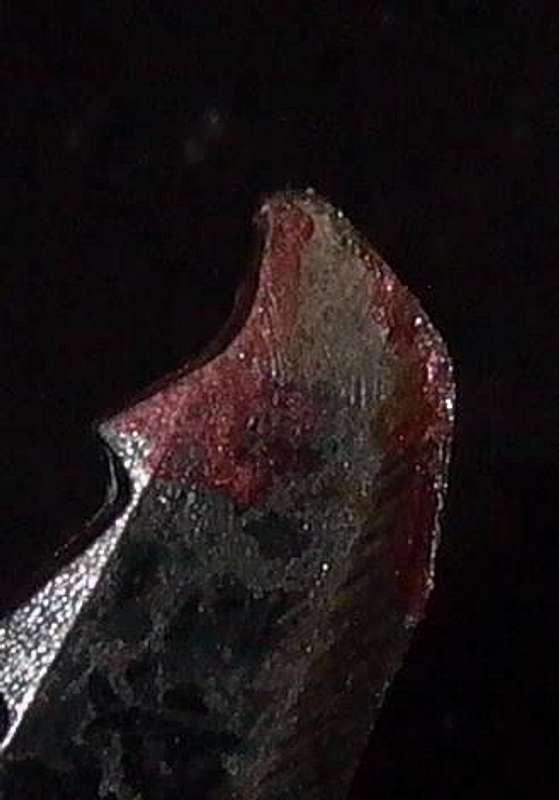
The end product should look something like Figure 19.
![sharp22]() All done allmost
All done allmost
The reason for these cuts is that I intend to use this pick mostly on ice and I find that the ice shatters much less when the pick is cut this way.
Well we are almost there. The last cut we are going to make are a series groves down the top of the pick. These groves come in handy when you stack your tools as they slip less easily. They are also handy when doing a stein-pulls as they make for strong non-slipping contact with the rock. I also find that few groves like these help when you cam your pick in a crack. You get very good contact with the rock and very little movement when a grove straddles the crack edge. That being said some people like them and some don’t. Its you choice.
This process is simple, using you triangle bastard cut a series of small notches along the top of the pick. I usually place them a little under a cm apart.
![sharp23]() Cutting the top groves
Cutting the top groves
So that the end product looks like Figure 21.
![sharp24]() Nice little row
Nice little row
Next take out your rat-tail bastard and start rounding out your notches until they are about 1/4cm deep. When drawing the rat-tail remember to use a twisting motion, as the file will then cut very evenly and cleanly.
![sharp25]() Have at it with the rat bastard
Have at it with the rat bastard
Once you are finished one side flip the pick over and even out the groves on the other side being careful not to make the groves any deeper.
![sharp26]() Even out the sides
Even out the sides
Now get the large flat bastard out again and give a few draws on all the sides of your pick to smooth off any burrs or other rough metal and you are done.
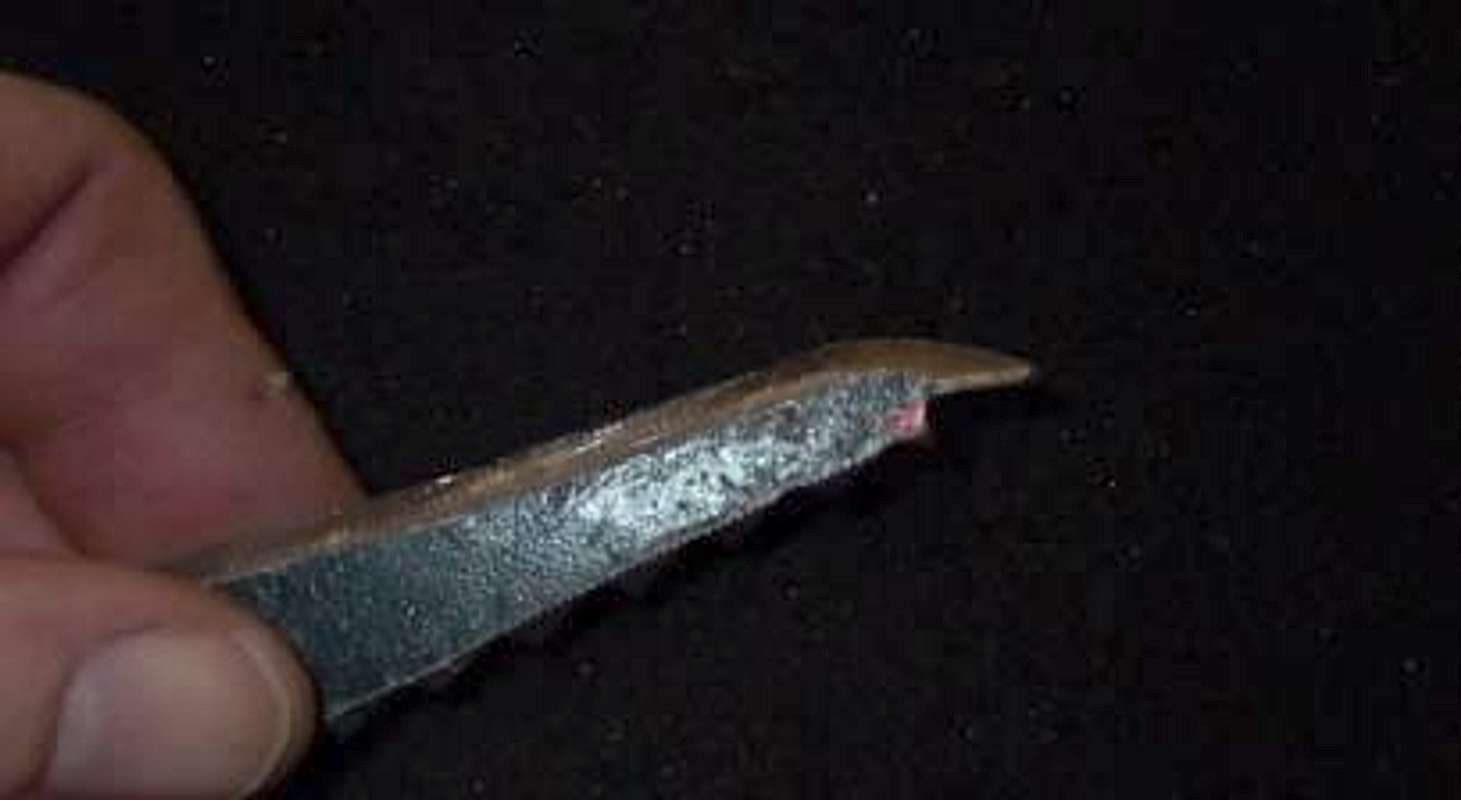
As you can see in Figure 24 when I compare the sharpened pick to its poor abused twin difference is quite dramitic. I have managed to put a new point on the pick without filing it back any great distance.
![sharp27]() Old and New
Old and New
One might ask why all the fuss about this small platform?
Well as you can see in Figure 25 when this pick makes contact with the rock is form very stable bi-pod. Compare this to the near factory fresh pick in Figure 26 and you can clearly see the difference. A pick cut like this just makes much more contact with the rock. This is a great benefit when climbing vertical rock, as for overhangs, that is the domain of mutant-human climbers and they could most likely do such a route with a broken pick let alone a sharp one, but for us mere mortals is will help a lot.
![sharp28]() Nice Bi-pod
Nice Bi-pod![sharp29]() Little contact with Pick sharpend for ice
Little contact with Pick sharpend for ice
In both Figures 25 and 26 I was trying to get my tool to balance by itself against the wall. The sharpened pick stuck like a charm with lots of rock contact and room to spare on the hold, which is rather convenient when you have to stop and place a nut while on lead. While the tool with the unsharpened pick (at least for dry-tooling) had to be placed further back against the wall, made only minimal contact with the rock and fell off at the slightest movement.
I also find that this type of point is much better at tapping little holes though thin curtains for hooking into and later, as you move up, holes for your mono-points. I have also seen people climb on very thin ice ridges as if they were small rock ledges with pick sharpened in this way but that is for braver souls than I.
There are others out there who sharpen the inside points of tools as well. I would advise against that as it does little good and will most likely only ruin you nice Gore-Tex jacket when you have to do a match move and you forgetfully flip your newly sharpened tool over your shoulder.
How long will this last, you ask?
Well if you bash against a rock with any force this type of cut is toast but under normal wear (as if dry-tooling could be called normal in any-ones books) I find it will last most of a weekend warrior's season with only a few touch ups.
The whole process takes me about 30min to complete now that I have done a few.
Well that is all fine and good for mixed and dry-tool picks what about me and my waterfall picks?
Well the main point is to keep as close to the original shape of your pick as possible and always remember to keep the file at that magic the 45° and cut in one direction only. Some people do magic little cuts here and there but that just usually eats up the life of your pick needlessly.
So break out your new pick and your bastard files, as of now you have no excuses, so your next climb should be a M9.


Comments
Post a Comment