
-
 3287 Hits
-
 76.36% Score
-
 8 Votes
|
|
Route |
|---|---|
|
|
35.18915°N / 106.43588°W |
|
|
Hiking, Mountaineering, Trad Climbing |
|
|
Spring, Summer, Fall, Winter |
|
|
Most of a day |
|
|
5.7 (YDS) |
|
|
2 |
|
|
II |
|
|
Overview
This is the ridge the extends from the crest to the summit of the Jawbone south of the Sandia Peak Tramway. It is hardly ever climbed due to its low prominence and low rock quality. In fact, it was difficult gathering beta on this rock due to the fact that so few have been there. An old guidebook offered the only hints, saying it was a 5.3.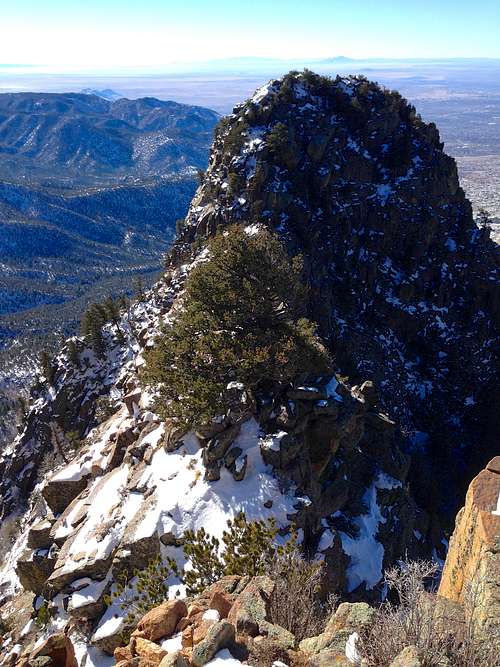
From the highpoint along the ridge. It looks fairly simple but the meandering and loose rocks make for a healthy challenge.
Getting There
Please refer to Jawbone primary page.Route Description
From The Crest Trail to the Ridge:This involves a simple traverse over the crest from the South Crest Trail, bushwhacking through oak into aspen then onto the ridge proper.
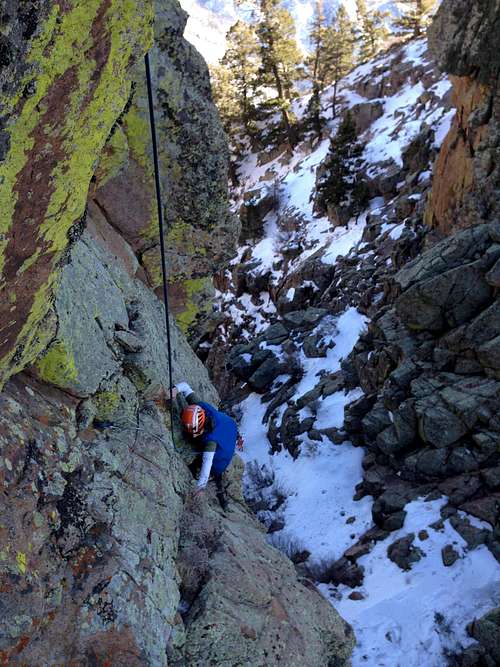
When the rock's wet, sometimes you just have to scoot.
Scramble to the Rappel:
This is mostly 4th class. If with newbies, probably best to rope up whether it's pitched out or simul-climbed.
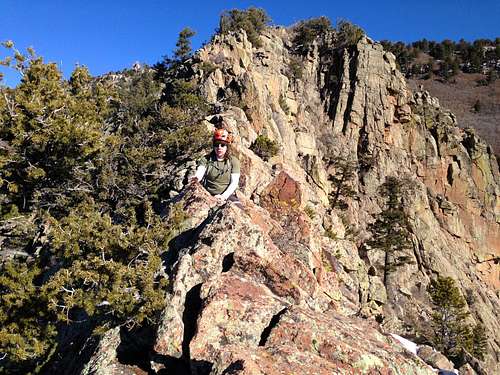
The first section requires a traverse to the right (north) of a horn with a good deal of exposure to a saddle. From the saddle, scramble up to the next high point.
From there, the ridge is clearly visible. It extends to the southwest with a couple 20-foot drops in the ridge made treacherous by loose rock. There are also a couple true knife edges with decent drops to either side.
This section of the ridge ends above the big rappel that allows you to access the main saddle. You can down-climb to the right when facing the tree or set up an anchor and make a short rappel.
The Rappel:
A 60-meter rope was about 12 feet short on this steep rappel. If you move towards climber's left, a couple stances are available from which you can down-climb into the saddle. Watch out for loose rock on the entire face. The first can clean up a little on the way down or the second can clean as those who already rappeled stand clear on the other side of the saddle.
Mason rappelling and cleaning up the loose rocks on the way down. Going down climber's left is the best way down.
Pitch 1:
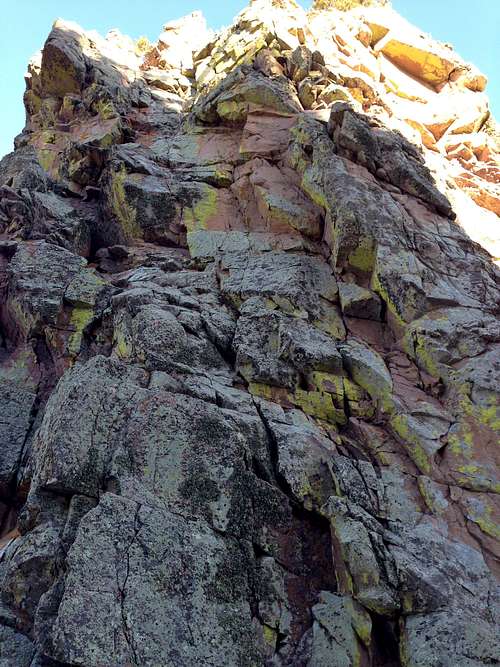
A tricky low-5th class pitch due to loose rock, poor pro (due to loose rock), and tons of lichen. We made a small anchor to the far right of the face where the belayer could stand as the middle of the face was climbed. There are loose boulders the size of a man's torso so be careful with what you grab. The second cleaned a lot on the way up but there is still a lot of choss. Once you clear the face, you can make an anchor at one of the assortment of trees or the hefty boulders.
Scramble to the Summit:
Angle right before beelining it to the top. There is significant exposure in the beginning but relatively good holds. There is a sheltered area that requires some bouldering/chimney moves that gains the easy walk to the summit.
The Return to the Saddle:
After down-climbing to the large ledge above the saddle, find a live tree about 10 inches in diameter. This is the best place to rap from. Cordelette and a hefty rap ring were left at the end of December 2013.
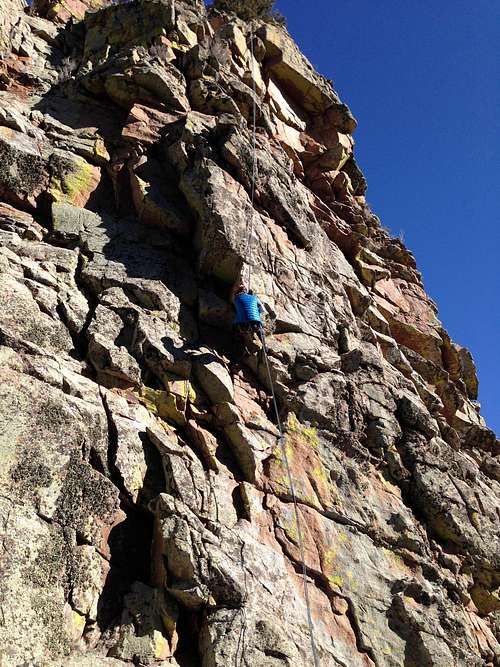
This is the face from the saddle nearest to the crest. This must be ascended to get home. Choose your line considering quality of rock.
Pitch 2/3:
Basically, pick the line that looks the most solid. The right side of the wall had an overhang with loose rock lurking above. The line we chose went straight up an additional 20 feet from the stance where we unroped from the rappel. It then traversed left to avoid the crummy rock directly above. Here there is a sheltered spot where a belayer can take roost. By this time, the rope drag was becoming unbearable partially due to the plethora of lichen around. From there, climb over the roof and onto the face again. There was still plenty of loose rock that the second disposed of on his way up. Traverse to the left-facing dihedral (crux) and ascend. You can climb to the rappel at the tree or all the way up to start of the ridge from here.
Rope drag was too tough for safe climbing on loose rock so a belay station was set up to climber's left. This is the traverse that takes you to that sheltered spot.
Finishing the Ridge:
From the start of the ridge, work you way back to the top of the high point of the ridge. There is a large tree near the top of the slope that drops down into the next saddle where a rap station was created due to the loose mud and snow on sloping rock that made down-climbing too dangerous. You can use this or just scramble the rest of the way off the ridge based on your judgement.
Essential Gear
Standard RackRock shoes
HELMET
Material for rap anchors