
-
 410 Hits
-
 74.01% Score
-
 4 Votes
|
|
Route |
|---|---|
|
|
Trad Climbing |
|
|
Spring, Fall, Winter |
|
|
Most of a day |
|
|
5.5 (YDS) |
|
|
5 |
|
|
Overview
According to the FA party, John Glime and Paul Ross, this route got its name because it is very "holy." It refers to the countless pockets and huecos along the route, and these features also constitute most of the pro placements, though there are some cracks.
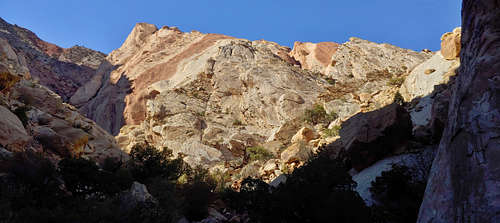
The Road to Mecca is a typical Eastern Reef easy/moderate in that you can expect long runouts and soft rock. On some 200' pitches, you might only get 2 or 3 pieces in, and you might not trust any of them.
So despite the grade, don't run out here if you're a new multi-pitch trad leader. While pitches 2-5 are more like scrambles, P1 is, in my opinion, a little harder than 5.5. Even if I'm wrong, it's awkward climbing on weak rock, and the only pro I had any confidence in was a bolt about halfway up.
Also, although it's just 5 pitches, the approach is somewhat long and complicated, and you may have to rappel a pitch on the way in and reclimb it on the way out, so this will be a longer day than you might expect.
That said, if you're solid leading at least 2 grades above this one and you bring your runout head, you'll enjoy some fun, mostly easy climbing in a beautiful and remote location.
Getting There
There are 2 main ways to access the crags.
The first is from I-70. Two miles west of the exit for UT 24, turn off onto a dirt road to the right. This road leads into Black Dragon Wash, where the well-known Black Dragon pictograph panel is. Open the wire gate, reclose it after driving through, and head for an underpass. Once through it, you'll be on a dirt road that parallels the reef for about 6 miles before bending east.
Before entering the underpass, check to see if it's flooded. If it is, there is another turnoff and gate on eastbound I-70. You can get to it by crossing the highway on a service road, which technically is illegal, or by driving for quite a ways to the first exit (I believe it is 131) that allows reentry to 70 in the other direction. Of course, if you're coming from the west, this turnoff is the one you want in the first place.
The second approach is from UT 24 via a turnoff about 7 miles south of I-70 and just past MP 153. This road is said to be usually in better condition than the one from I-70, and it connects to the road that parallels the Reef.
Note: the road paralleling the Reef receives regular maintenance but does change according to conditions. I've been on it when I could have driven a regular passenger car with little trouble, and I've been on it when there have been washouts making me thankful I was in a Jeep.
2.1 miles south of I-70 on the dirt road paralleling the Reef, there is an obvious parking area on the right. Park here.
|
|
Route Description
The approach:
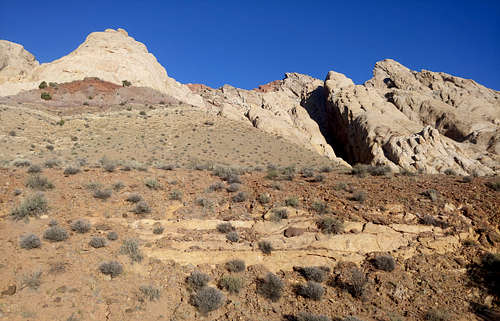
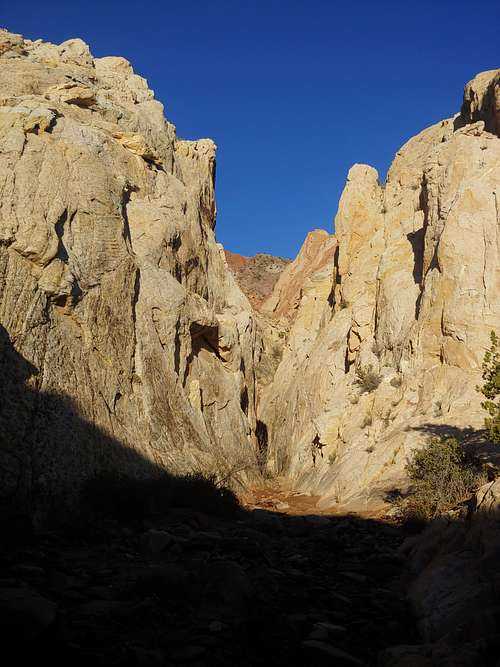
From the parking area, drop into the nearby wash and follow it, keeping a sense of where the mouth of the canyon is. Eventually, head up an easy slab on the right and drop into another wash; this one takes you to the mouth of the canyon. The photo below shows that slab.
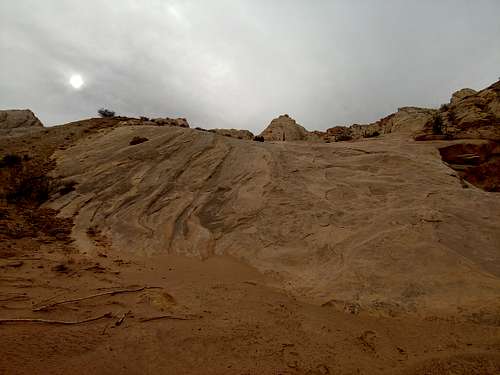
The canyon quickly becomes a slot, and if there's water in it, you won't be happy unless the weather's warm. Even so, it's supposed to be 4th Class, and when I viewed the slot from above, I found myself thinking it didn't look easy.
If the slot has water in it or you just don't want to deal with it, find a scrambling route outside the mouth and just right of it. It will take you to a bolted rappel station where you can make a 100' rappel. You'll have to climb back up on the way out; apparently, the route is called Aquaphobia and goes at 5.4. It's pretty easy, and there are some placements, but rock quality again makes this a don't-fall route.
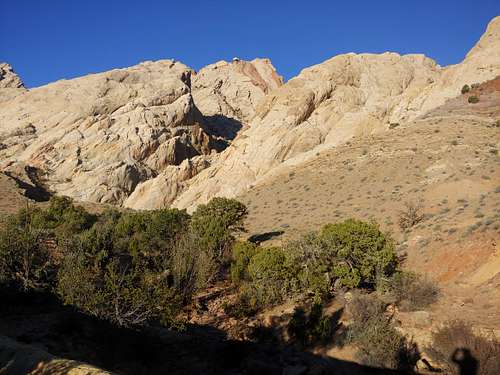
After the slot or rappel, hike and scramble up the canyon for a few minutes until you reach a depression (might be a pool depending on recent weather) and a steeper slab. The route starts on the right side of the depression/pool.
The approach will take around 45 minutes.
The Route:
Pitches 1-4 have bolted anchors.
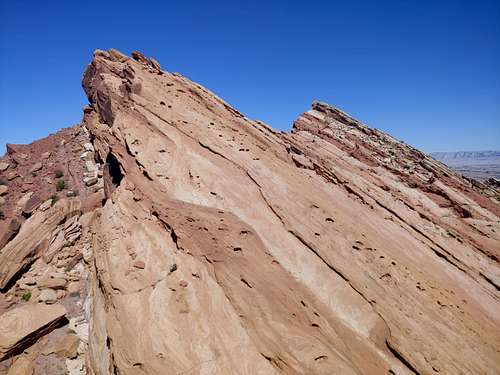
P1: 5.6, 200'-- This is the crux pitch. Climb up the awkward slab to bolted anchors. I placed some pro as I went, but the rock was weak. A bolt about halfway up made me happy and was the only pro I really felt good about on this pitch.
P2: 5.3, 200'-- Up and right to gain the obvious slab system that takes you the rest of the way.
P3: 5.3, 200'-- More of the same.
P4: 5.3, 200'-- More of the same.
P5: 5.0, 200'-- The MP page for this route, written by Ross, says it's 200', but I think it's quite a bit shorter. However, I can't say for certain. There are no top anchors for this pitch (I got behind a boulder and belayed), and my partner wasn't comfortable downclimbing it, so I lowered him and then downclimbed. For most of this pitch, there's a nice crack to follow, and it would take gear well though I didn't bother because it was mostly a scramble. Even if there were bolted anchors, rappelling this pitch would be risky because of all the sharp flakes and other features that might snag a rope when pulling it.

|

|

|

|

|

|
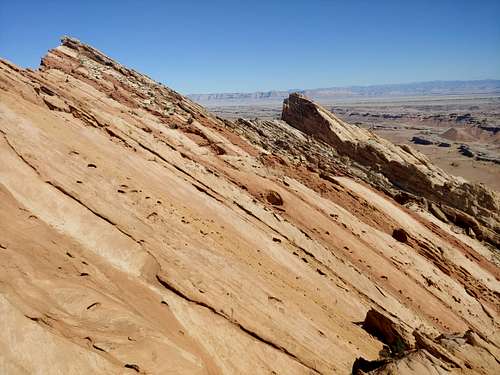
Finally, scramble 3rd Class terrain for 50' or so to the summit and great views.

To descend, rappel the route. Looking at one of my pictures, I think there might be a walkoff, but that's no guarantee. On rappel, be prepared to solo back up or climb a "fixed" rope; there are a lot of flakes that can snag a rope when you pull it.
|
|
Essential Gear
I had a set of cams (Metolius Ultralight Masters 1-8) in sizes approximately equivalent to BD .3-3, a set of DMM offset nuts (never placed), and the 0.5-2 Tricams (used).
Because most pitches are about 200', it might be better to play it safe and climb with 70s. However, except for P1, the climb is so easy that most people won't mind a little simuling. But you will need that second rope for the rappels unless you have an Escaper, which I did. Be warned that due to the low-angle slab on most of the route, releasing the Escaper sometimes took 60+ pulls (normally, it takes 10-20). Nevertheless, it beat packing a second rope and teaching my partner how to belay with 2 ropes, especially since he was then 13 (my son) and new to lead belaying, which was why I preferred he use a Grigri!