|
|
Route |
|---|---|
|
|
39.15020°N / 107.083°W |
|
|
Trad Climbing, Scrambling |
|
|
Summer |
|
|
A long day |
|
|
5.8 (YDS) |
|
|
4 |
|
|
III |
|
|
History

I thought it appropriate to name (label) the buttress after what Louis Hough and Bestor Robinson referred to it as. It just seemed right since they probably had the FA of it.
It’s not often that one can find routes on a Colorado Fourteener that are either unclimbed or infrequently climbed. It’s usually the later if you can. Capitol Peak’s “East Buttress” is one of those routes that firmly fall’s in between. Just the approach alone is enough to turn some people off to the whole idea. It’s roughly 7.5 to 8.0 miles just to access Pierre Lakes Basin. Then there’s the climb itself!
As taken from William M. Bueler’s book, Roof of the Rockies: A History of Colorado Mountaineering, pgs. 132-134,
‘The search for new routes up the spectacular walls and ridges of Capitol Peak began during the 1933 CMC outing, when Bestor Robinson led two climbs up the peak. One of them was up a chimney on the east side to the knife-edge south ridge (even sharper then the better known knife-ridge of the Northeast Ridge), which was followed to the summit.
Another first was up the “Cleaver Ridge”, the steep buttress that drops southeast into Pierre Basin from the summit, done with Glen Strassburg and Louis Hough. This “sharp, spine-like buttress” was very rough, said Hough, but ably led by the visiting Robinson, who was one of California’s leading rock climbers of the 1930’s…’
The only other references I can find that specify this ridge as a possible climb (fishing trips excluded) is from the ‘meet-up’ website, Spectacular Adventures. There is an open invitation to attempt the buttress but I don’t know if this ‘trip’ ever came to fruition.
Surly Kim’s and my climb wasn’t an SA? There’s got to be something else out there. If anyone comes up with details or another past successful climb, I’d love to hear about it!! I just haven’t had an opportunity to make it down to the AAC library in Golden.
Getting There

Pierre Lakes Basin is a long hike. From the Snowmass Creek Trailhead, it’s almost 4,000' of gain to reach the upper basin. The exit point from Snowmass Creek is not marked.
We found an easier place to cross other than what’s listed/detailed on the SP page for Pierre Lakes. We did indeed find the ‘log-bridge’ that is mentioned but it looked too rickety to cross, more than likely due to and weather and snow melt.
Continue up the trail for perhaps another 30' or so to a flat and open area near the creek. Take your shoes off and wade through the water. This open area is about 2.9 miles from the trailhead. A primitive trail starts almost immediately to the left and angles in the proper direction.
Another 4.5 miles, give or take, will deposit you into Pierre Lakes Basin. The trail is semi-primitive but cairned surprisingly well as it winds up Bear Creek (in my opinion, an Elk Range gem!). There are no formal campsites but some good spots exist much lower down not far from the top of Bear Creek Waterfall. They'll be on the right side. Look for the fire rings.
Kane has a great page that details the approach. Pierre Lakes Approach.
The approach is going to be between 7.5 and 8.0 miles. Very similar to the approach to Snowmass Lake actually.
Route Description
This buttress (ridge) is roughly 1,090' in height. It's composed of 3rd class to 5.8. This buttress is a phenominally bad place to be during a thunderstorm. You would more than likely need a double-rope to rap off safely.
Once around the nunatak, there is a fractured chimney that provides access to the ridge crest. This chimney is perhaps 120’-130’ in height and seemed like 4th class.
I can’t really divide the route into pitches. Staying roped in while climbing would provide for some serious rope drag and too many opportunities for rope splices. Rope up only if exposure or comfort dictates. I can see the possibility of staying short-roped for perhaps 3-4 pitches but nothing more than that. This buttress will be easier and safer solo-climbing within proximity. I will however, split the buttress into halves since the climbing was vastly different between the lower and upper sections.
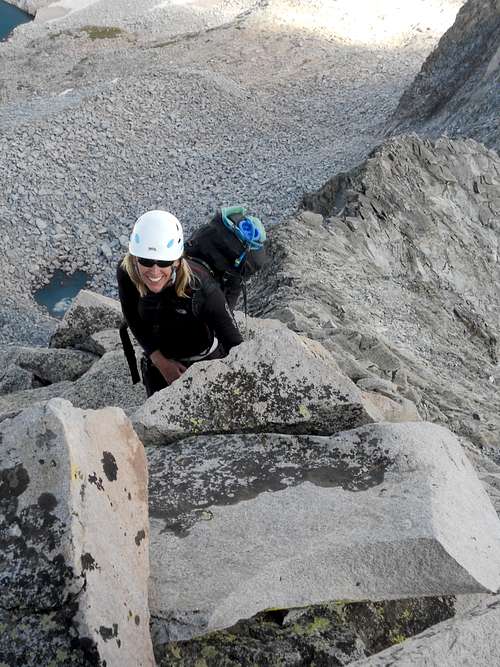
LOWER PORTION:
Once the ridge proper is attained, it is possible to stay on the crest for 50-100 feet. The columns and pinnacles are stubby, solid and don't reach too high as yet. The exposure is fairly moderate and stays consistent.
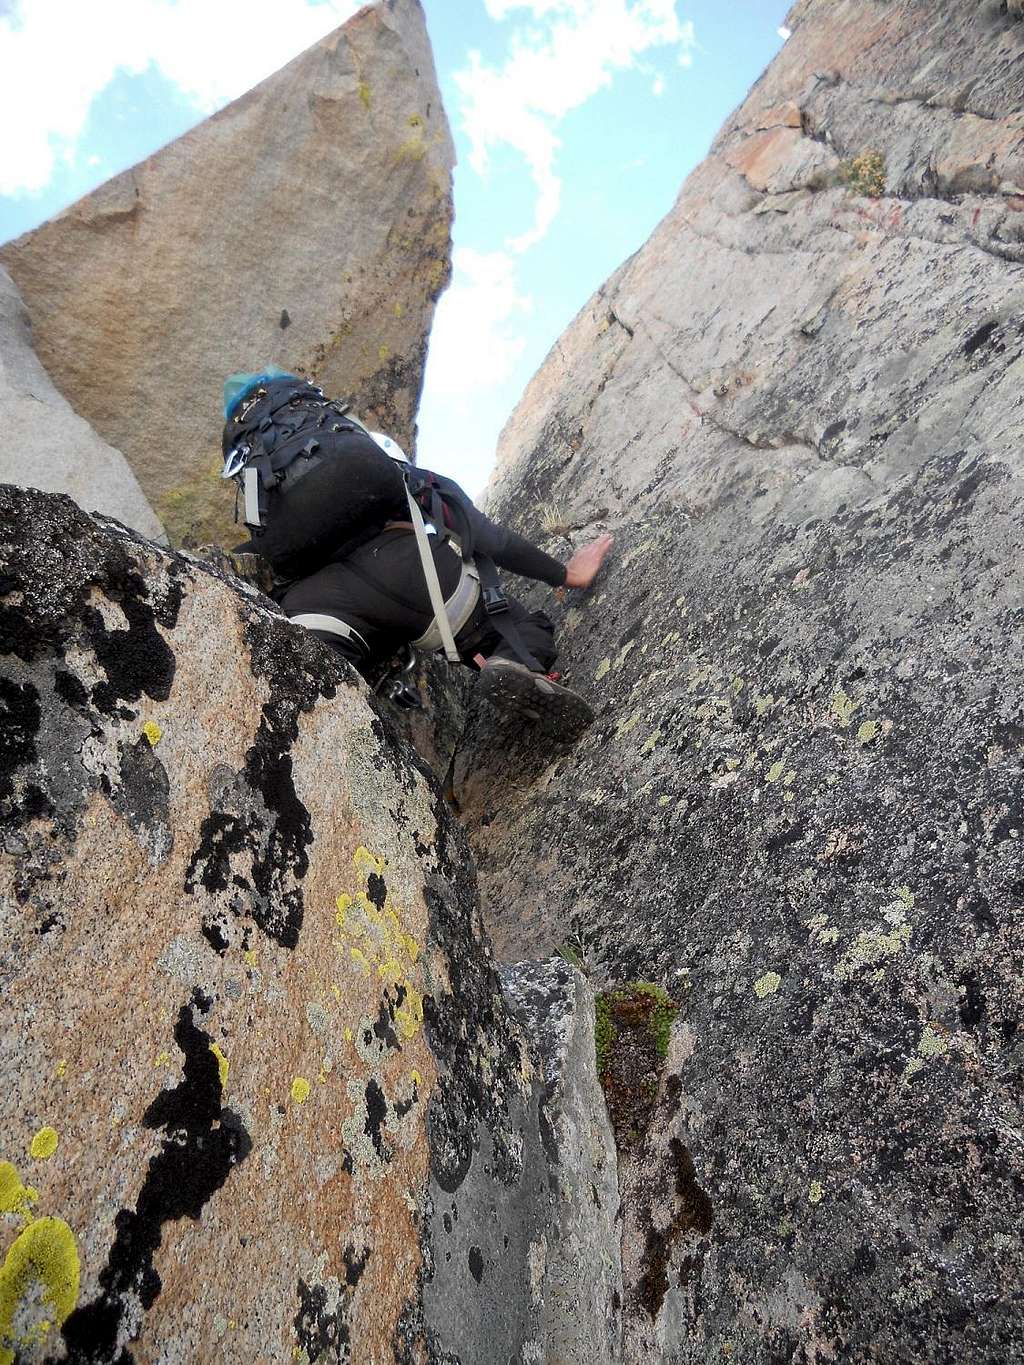
Eventually however, staying to the ridge crest will become impossible. The pinnacles and columns will require low to mid 5th climbing just to reach the crest. When this happens, start to angle out onto the northeast side (climbers right). One's comfort level will dictate when this happens.
The rock along the northeast side is slabby and big but there are a good number of small to medium ledges. Climbing will seem 'jerky' (if that makes sense). The further & higher one climbs along the crest, the difficulties will increase and exposure will increase dramatically. The scrambling is oddly progressionable.
There will be a point where you'll come to a spot involving an insanely exposed move (still on the northeast face below the actual crest). You'll know this area by way of a HUGE spire that guards easy passage on the ridge crest. It is a big step across a vertical shaft. If you look down, there is an additional step about 5ft. straight down to a good platform. Shorter people WILL have problems with this.
owever, the other side of this 'shaft' doesn't really have any decent holds to grab or step onto. The wall inside the shaft has a small step that might work but the exposure here is extreme and the other side will require smearing and fist-jamming to successfully cross. Short-roping someone might not be the best idea either as the rock is suspect.
We choose not to do this move due to the awkwardness, poor station and consequences of a fall.
From the crest, look down the southeast face off the ridge. There is a 15'-20' drop onto tilted granite slabs (maybe 50°-60°) to a SMALL 1'x2' ledge. In fact, due to poor judgement, we didn't set a sling and instead, slung the rope directly around a rock. Needless to say, the rope got stuck. I ended up having to cut my rope. So a short 5'-6' segment will be dangling there, look for it. I suppose a good water knot or fisherman's would suffice for a make-shift sling from this.
This will be the ONLY time you venture out onto the Southeast Face. Once you rap down to this small ledge, gingerly walk across toe holds following a 3" horizontal crack to a slabby chimney about 25' west. Keep mind to keep your weight forward into the slabs. The cliff is only about 10' below. There is a flake we used that proved fruitful to grab while inside the chimney. While inside this narrow chimney, a few more trustworthy flakes will appear that grant passage back to the ridge crest. You will now be on the other side of the massive pinnacle.
Just keep in mind, when your smearing across the slab to reach this chimney, there is a lot of air below you.
At the col, cross over to the northeast side again and keep on an ascending traverse. Holds will become fewer at this point but slightly larger. Keep angling upwards towards the granite wall. You should see snippets of a left-slanted chimney partially hidden by the palisades in front.
Climb and angle for this feature. This is the key in getting off the face!
The second crux of the route is just up ahead. While on the face, look for a small foothold. It will end abruptly at a small protruding corner. There is a good flake here to lock off your left arm while you scout the next move. It's tricky. This entails smearing your inside right foot on a toe-hold (across another shaft), letting go with the left arm and swinging your momentum around into an instant mantle about chest-high. The step across is about 4'-5' across.
Either rope up for this move or put on your climbing shoes. It's slightly awkward and there won't be any second chances if you fall here. Shorter people will probably need a top-rope from the taller folk. Once across, you can anchor to a good, trusty rock for a top-rope.
There will be a upwards slanted ledge (like the top curve of an oval) that looks like it ends at a shard of rock. It's low 5th (maybe 5.2) to climb up and over this large shard to a shelf about 6' down the other side. Counter-pressuring worked pretty well here unless you're tall. Climb another more rounded piece of granite in front of you to a small shelf about 5' high and bingo!! You've found the entrance to the hidden chimney!

This chimney is a 30' straight climb. It's mostly 4th class with good holds except at the top (exit) which will require a move or two of low 5th.
Congratulations! The lower portion is finished!
UPPER PORTION:
At the top of the aforementioned chimey, there is a great platform on the ridge to rest. You can basically see the rest of the route from this perch very clearly. The upper ridge looks like an absolute bear, but the rock to the summit ridge is pretty much all slab granite, mostly 3rd class and 4th class. There are a few moves, mostly near the top below the cairned Northeast Ridge route that will require a few low 5th moves but they're only single moves. This upper section will be quicker because movement will be more fluid. The rock is considerably more stable and trustworthy. Once you gain the regular northeast ridge (standard Knife Ridge Route) the rock quality will deteriorate again.
Follow the cairns to the summit or keep climbing directly to the summit ridge and follow to the true summit. From here, descend the standard (Northeast Ridge) route into West Snowmass Creek via Moon Lake. It's going to be a long 7-8 mile hike out back to the trailhead.
Our consensus on this route was overall, worth the effort in getting there. The approach is long and cumbersome. The actual climb is short and if it wasn't for the 5th class section and occasional insane exposure, it wouldn't be worth the effort. But being able to climb a route these days on a Colorado 14er that doesn't see ascents is a rare thing indeed. Do this route as a two-day trip. Because even though the actual buttress is short, route finding and scrambling the ridge will take longer than expected.
Essential Gear
- Approach Shoes
- Climbing shoes
- 30-45m rope
- Helmet
- Light pro: .75 to 2 BD camelots
- Extra slings
- chalk (useful)
Standard alpine clothes and gear.
There's usually small rivulets of water in the talus field below K2 if you run out.

Pictures