
-
 2756 Hits
-
 75.81% Score
-
 6 Votes
|
|
Route |
|---|---|
|
|
30.50900°N / 98.818°W |
|
|
Trad Climbing, Sport Climbing |
|
|
Spring, Summer, Fall, Winter |
|
|
Half a day |
|
|
5.8 (YDS) |
|
|
3 |
|
|
Overview
Dome Driver is a local classic and is a multi-pitch sport/trad route on the Backside and can be done as two or three pitches. It is one of the best multi-pitches here and packs several different types of climbing into one route.
The Mountain Project page for this route describes it incorrectly, but a correct description is in the comments. It sounds as though that commenter intends for the route to be two pitches, but you can still do it as three, though with some caveats (see description below).
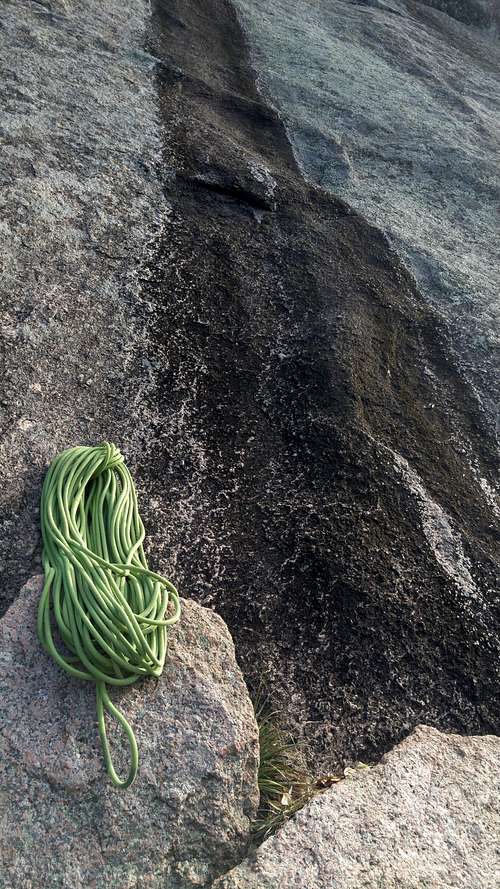
You can lead this with a 40m rope if you intend to top out on the dome and walk off. If you want to climb just the first pitch and rappel, a single 60 will work. But if you plan to rappel all the way back down, you will need two ropes, as each of the raps back down is about 125'.
Other essential gear includes a set of cams and stoppers, plus slings and/or cord needed for a gear anchor.
Getting There
Set out on the Summit Trail and then take the Echo Canyon Trail. When that trail reaches a board with lots of information posted, head right on a good trail that follows the Backside and has several spur trails to various walls. Look for the Yellow Trail and take it to the base of the dome. The trail leads directly to the base of Cheap Wine Wall.
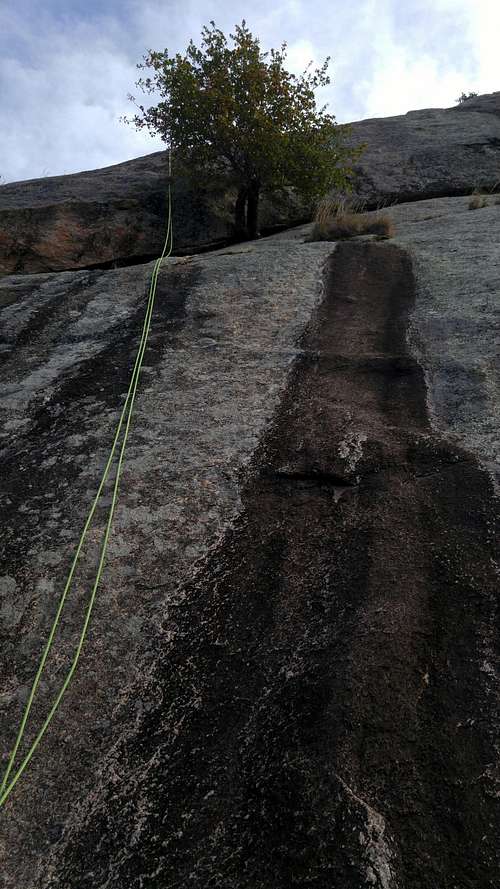
A black water streak with a single bolt on it leads up to an overlap and a large tree. This is the start of P1.
Route Description
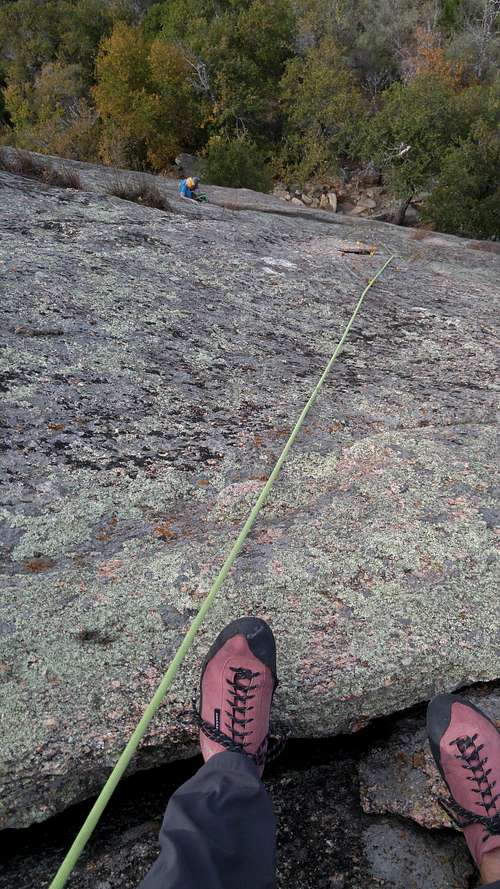
P1-- 90', 5.8. Climb the easy black streak, clipping a bolt along the way (the bolt is actually between two black streaks). At the tree, which you might choose to sling for pro (I did), pull the overlap (5.7/5.8). Clip another bolt and then continue up a section of 5.8 slab to bolted anchors.
 Dome Driver P1 Dome Driver P1 |
 Dome Driver P1 Dome Driver P1 |
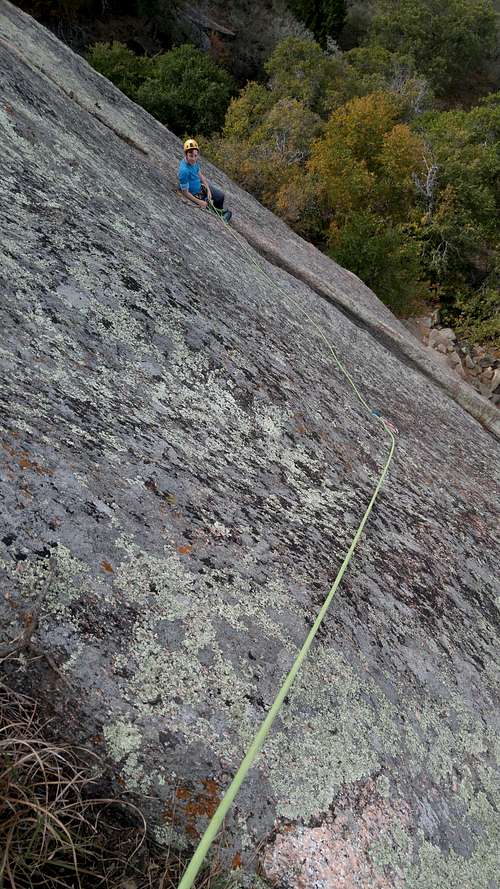
P2-- <100', 5.6/5.7. Traverse left and slightly up to a bolt and clip it. The incorrect MP description tells you to head to a huge ledge where there are bolted anchors. You can do that, and it makes the rest of the climb safer, but you will no longer be on Dome Driver. Instead, head up along a flake that will take some pro and then reach a narrow ledge with a crack at your feet; this is where the route intersects with Boston. At this point, you make the decision for three pitches or two, assuming you have enough rope for two. You can build a belay anchor here, and although the gear will be sticking almost straight up, you can get into a reasonably safe belay stance. However, the next pitch has no pro, so you are risking a Factor 2 fall onto an anchor marvelously placed to withstand an upward pull but questionably able to take a downward one without damaging, breaking, or ripping out the pieces. You can finish just left of the "correct" P3 by clipping bolts on The Kracken; as soon as you clip the first of two or three bolts, that anchor becomes bomber.
 Dome Driver P2 Dome Driver P2 |
 Dome Driver P2 Dome Driver P2 |
 Dome Driver P2 Dome Driver P2 |
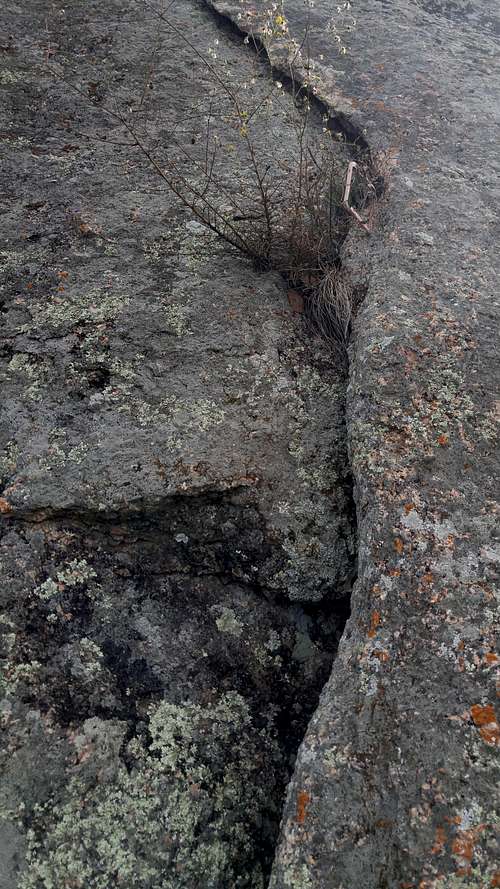
P3-- 80-150', 5.4/5.5. A dark, unprotected water streak is the finish. Slightly left of it are the upper bolts of Kracken's P2. Because of the considerations mentioned above, I clipped the bolts (and I would bet most people do since those bolts went in), but the "true" finish stays right of the bolts and does not use them. Maybe you can have it both ways and clip at least one bolt with a very long sling and then do the classic finish. Kracken ends at bolted anchors, but DD does not. Either use the Kracken anchors or continue up easy ground until you can build a gear anchor.
 Dome Driver P3