-
 3954 Hits
-
 78.27% Score
-
 9 Votes
|
|
Route |
|---|---|
|
|
46.29173°N / 114.29375°W |
|
|
Scrambling |
|
|
Summer, Fall |
|
|
Less than two hours |
|
|
Class 3 |
|
|
Difficult |
|
|
I |
|
|
Overview
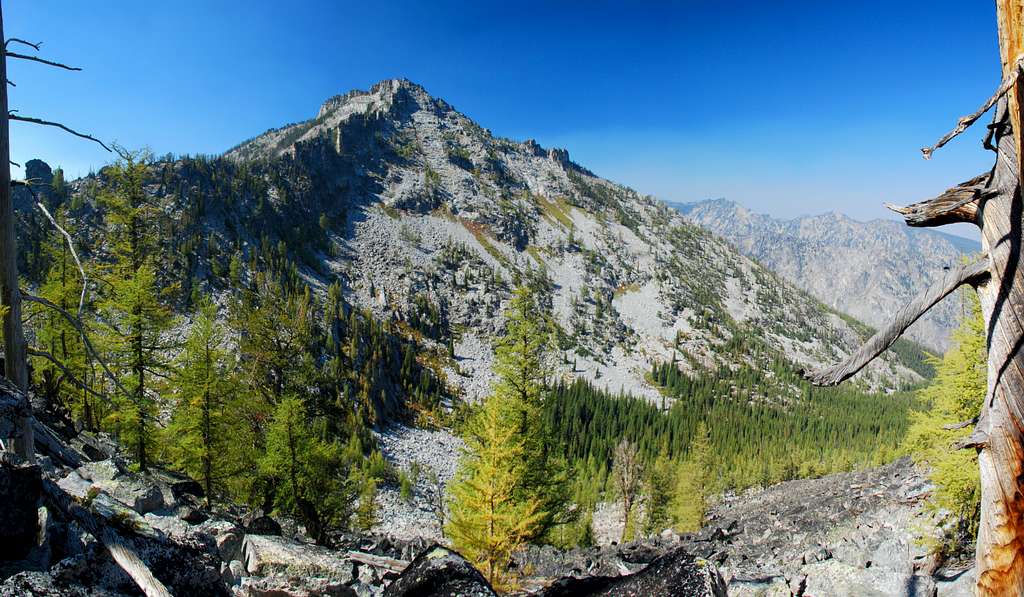
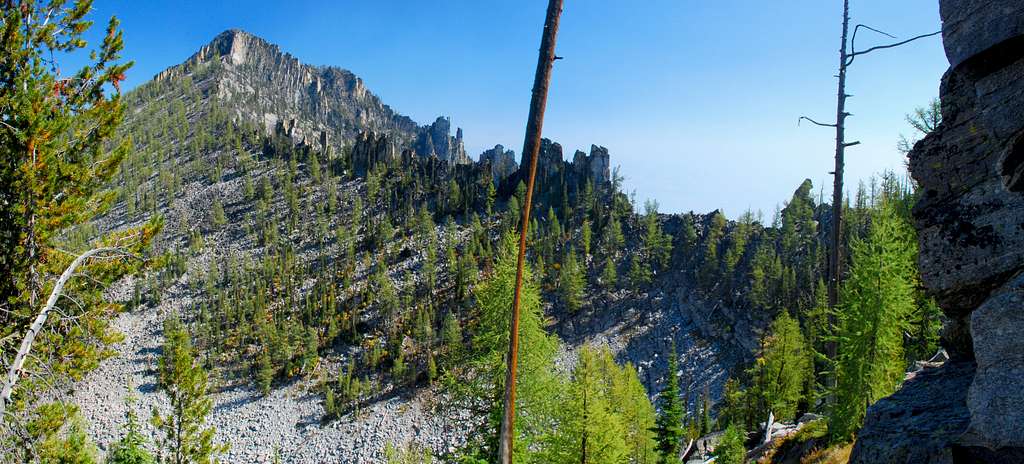
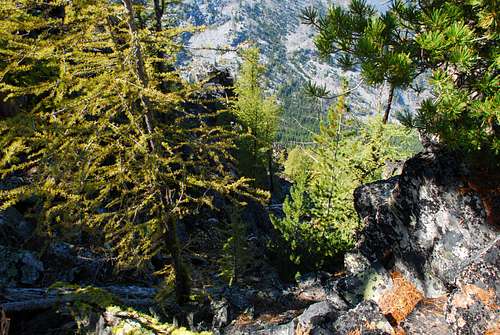
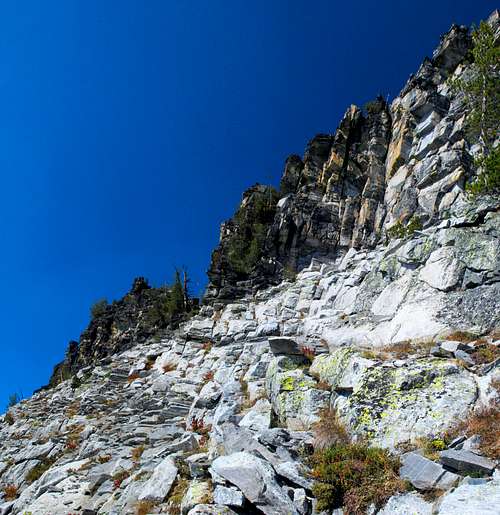
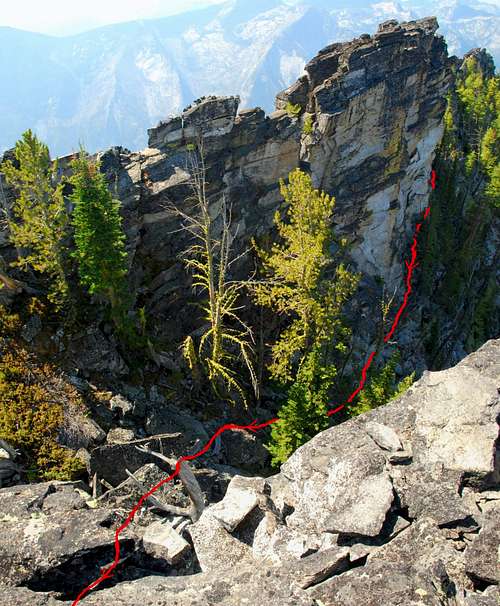
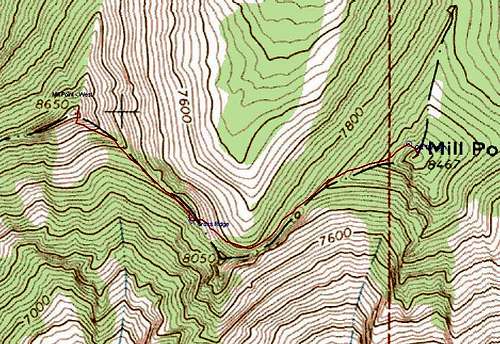
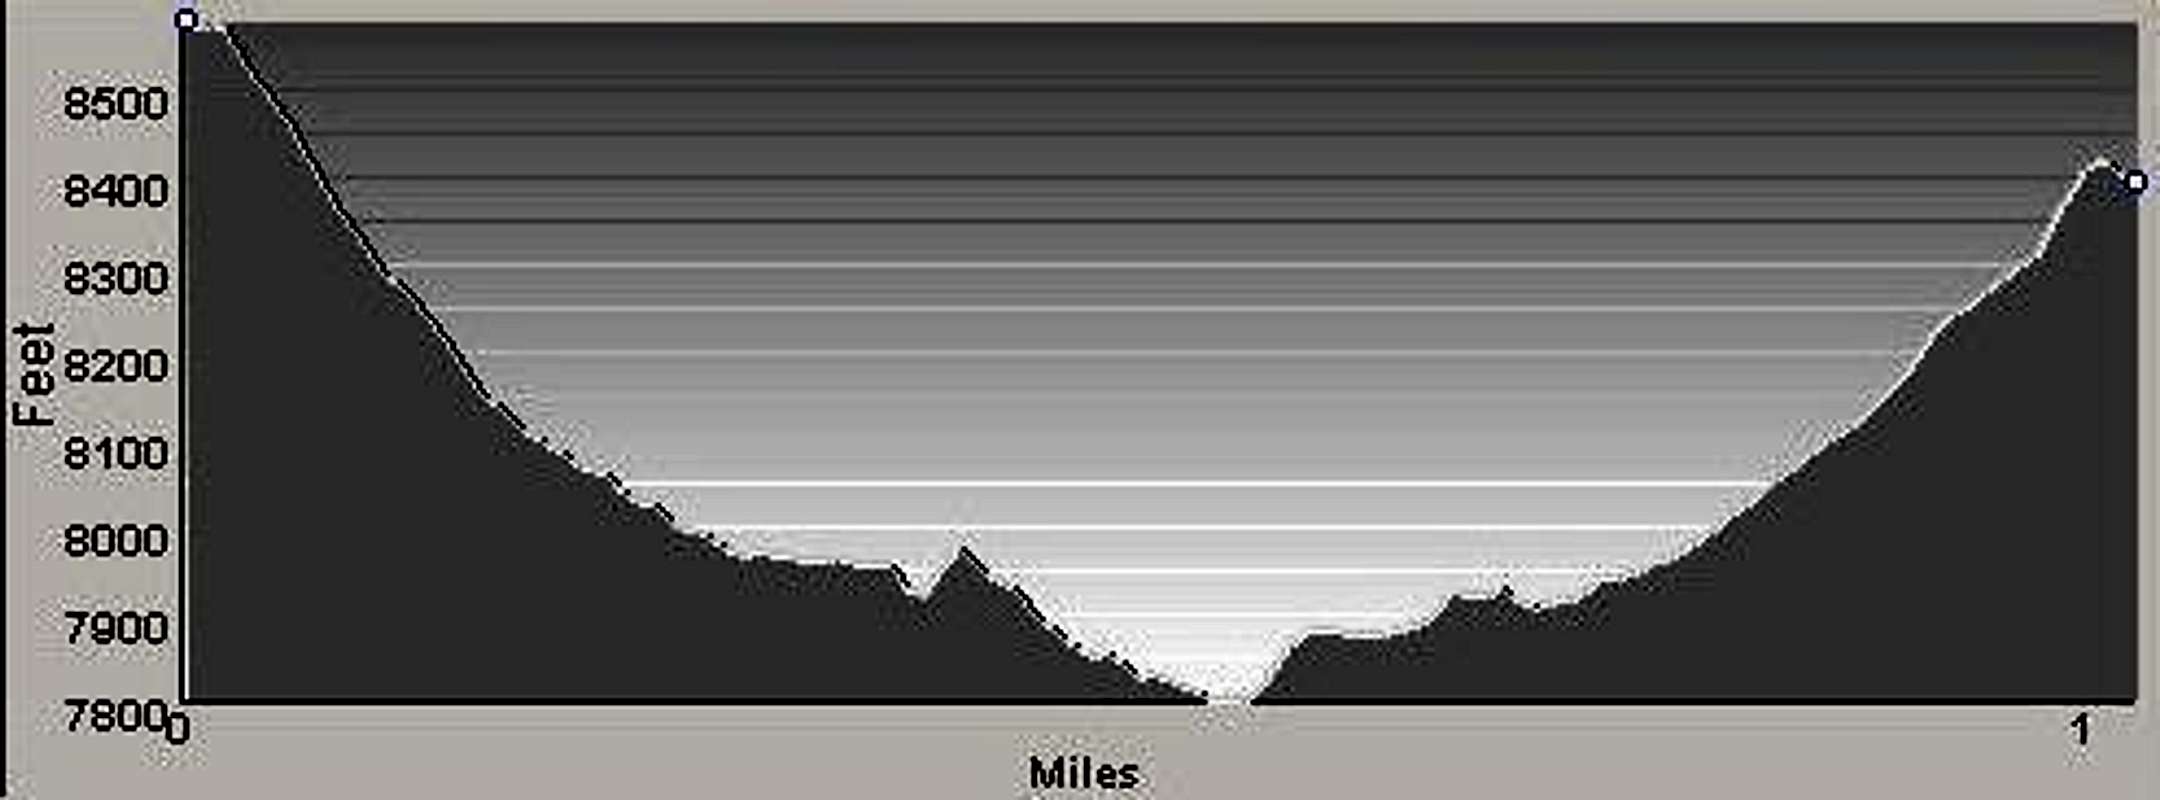
Route Type – Scrambling Class Level – Class 3 Elevation – 8,650’ Gain – 900’ plus 720’ on return Distance - 1.1 Miles (one way) Length of time required to complete route – 2 hours (one way) Though the most-visited highpoint along Printz Ridge is Mill Point, at 8,467 feet it is not the highest near the eastern (and most accessible) end of the ridge. As you move west along the ridge, the next highpoint is Point 8650, often referred to as Mill Point West. Looking at the craggy ridge connecting Mill Point and Mill Point West, it is often assumed that Mill Point West is not easily reachable from the summit of Mill Point. When I climbed Mill Point West during September 2007, I decided to test my theory that there was a Class 3 climb along the connecting ridge to Mill Point. As it turned out, there is. Granted, the gendarmes along the ridge-crest look formidable, but by staying just off the crest of the ridge, climbing can be easily held to Class 3.
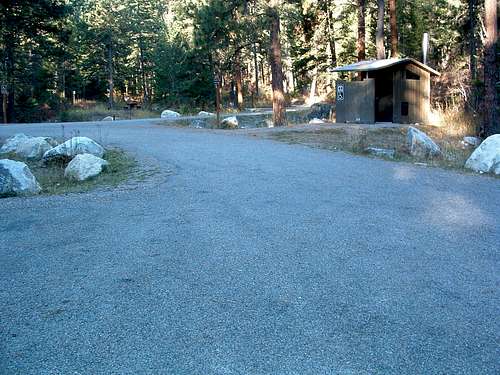
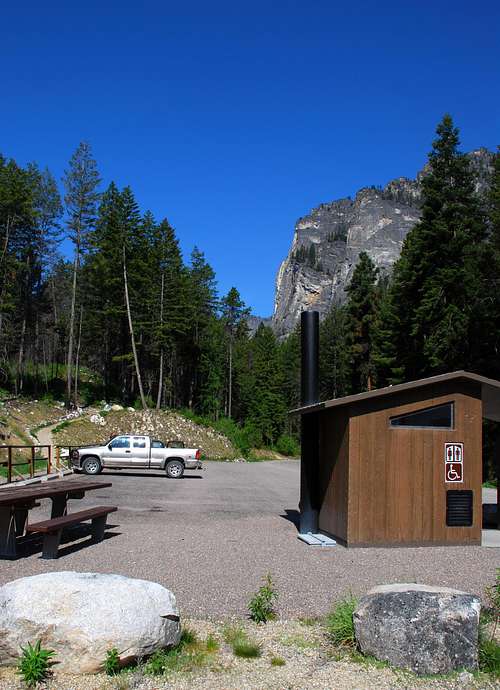
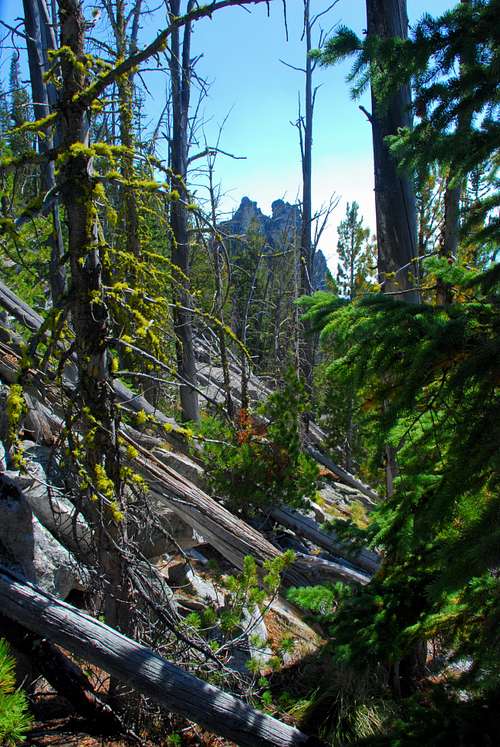
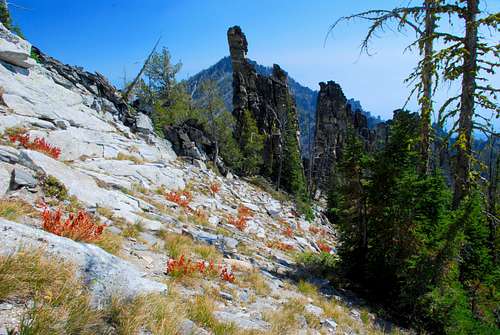
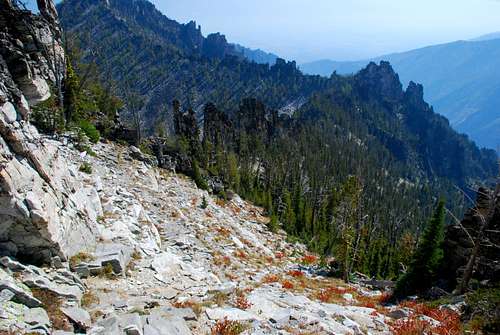
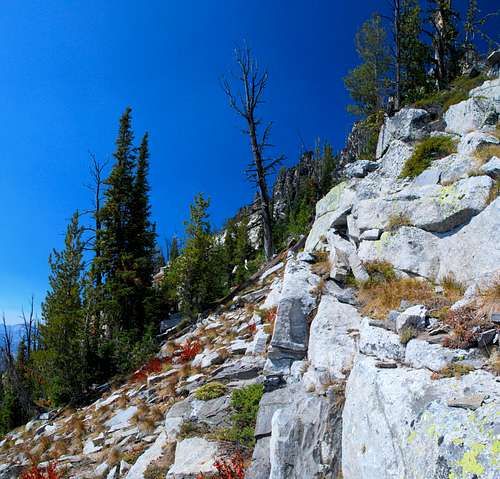
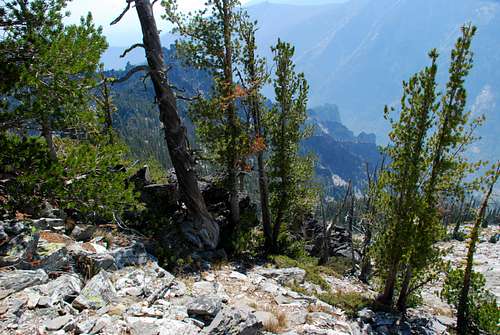
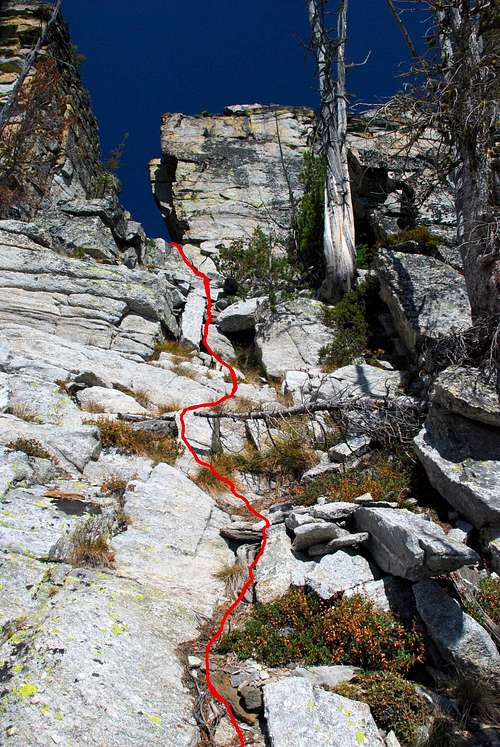
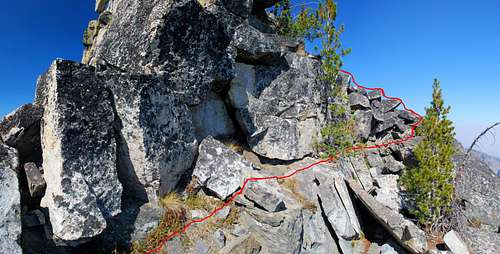
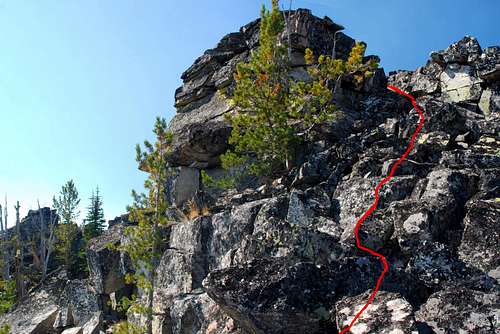
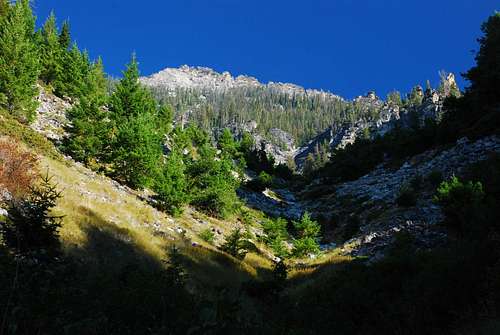
Getting ThereBlodgett Creek TrailheadIn Hamilton, Mt, drive west on Main Street (out of the downtown area) until you reach the bridge over the Bitterroot River. Just past (west of) the bridge, turn right (north) onto Ricketts Road and drive for .5 mile. At the intersection (3-way stop), turn left (west) onto Blodgett Camp Road. Stay right at the intersection with FS 735 in about 2.5 miles. Continue for about 1.5 miles to the combined Blodgett Creek Campground and Trailhead. On your left is parking for a couple of dozen vehicles, stock handling facilities, and an outhouse. This is the trailhead for Blodgett Creek and Canyon. If you continue along the road (past the first parking area), you will cross a bridge and come to a second parking area on your right. Going past the parking lot on the road takes you to the Blodgett Creek Campground. Route DescriptionThis route connects Mill Point (8,467') and Mill Point West (point 8650). It can be climbed beginning at either Mill Point or Mill Point West. I climbed from Mill Point West, but will describe the route for those coming from Mill Point because that is likely to be the most-used direction.Though it is possible to down-climb on the west face of Mill Point to the connecting ridge, it requires Class 5 climbing. The route I’m describing is Class 3 with minimal exposure. You could turn this connecting ridge into a Class 5 route by climbing up and over every gendarme on the ridge-crest. I estimate it would take two people all day (and a long one at that) to complete such a route, which goes a long way toward explaining why I was interested in finding a Class 3 route! From the summit of Mill Point, descend east about 100 feet (distance, not elevation) to an obvious gully along the north edge of the ridge. Drop into the gully and down-climb along the east side of the gendarmes. Stay as close to the gendarmes as you can. Once you’ve descended to an elevation around 8,340’ (46.26066 N/ 114.27829 W), you should see a break in the gendarmes. Climb through that break and climb down a few feet (10’-20’) to reach the talus which covers the northwest slope of the mountain. Pick a line and traverse under the summit block to the southwest ridge of Mill Point. As you walk past the summit block (on your left), see if you can spot any routes to its top which are not over Class 3. If you think you do, try it. If it goes, let me know. As you travel along the ridge toward its low-point and connection to the southeast ridge of Mill Point West, stay on the right (north) side of the ridge-crest. Though the slope is quite steep in places, you will be traveling on fairly stable boulders and talus and shouldn’t find it necessary to be in an exposed position at any point. When you reach the low-point at just under 7,800’ elevation, the ridge begins to turn to the northwest. Though you may be tempted, do not cross over the crest just yet. Using the grassy ledges, do a climbing traverse along the northeast side of the ridge. When you near an elevation of 7,950’ (46.28817 N/ 114.28839 W), cross to the southwest side of the ridge. Drop from the ridge-crest, but not too far, as you continue a climbing traverse in a northwesterly direction. This section of the ridge is forested and you will find yourself climbing closer to and farther from the ridge-crest in order to avoid trees, both standing and fallen. When you near the end of the ridge at about 8,300’, begin moving away from the ridge-crest on nice slab granite toward the summit blocks. Work west-northwest below a series of granite cliff bands on your right (north-northeast). Stay fairly close to their base for easy travel on granite slabs mixed with areas of grass and talus. As you near the summit blocks, you will see an obvious notch or cleft(separation in the blocks) on the ridge. That is the crux. Head north, directly toward it. When you reach it, climb into and through the cleft. From the notch, down-climb to your right (east) through a mixture of trees. While keeping the summit block on your right close, begin climbing upward toward the ridge-crest. You should be going directly east as you climb. When you reach the ridge-crest, you will be between two summit blocks. The block on your left (northeast) is the summit. As you study it, you should see an obvious, exposed, Class 4 route to its top; however there is an easier route to the top. Continue around the block on its southeast side on a small but nice ledge composed of grass and granite. Reaching the northeast corner of the summit block, you will see a short and easy Class 3 climb up talus to the summit. It’s not even exposed! Enjoy the view and the knowledge you’re one of a very few to reach this summit. Return to Mill Point by reversing this route, or descend directly to the Blodgett Creek Trail (and the trailhead) by Mill Point West’s South Face Chute. Essential GearOther than sturdy boots, no other gear is required for this route.But, if you follow this route during winter conditions, you should carry an ice axe and crampons at the very least. Additionally, you should know how to conduct yourself on snow and in areas where avalanches could occur. The climber’s portion of this route is directly up an avalanche chute. Although I saw no sign of recent avalanche activity, it is prone to avalanche, so be aware. And be prepared! When To GoThe Mill Points Connecting Ridge route from Mill Point is probably a safe route with snow on the ground. However, snow will make it more difficult and dangerous. In the winter I would not attempt it alone or without an ice axe and crampons. Many places along the ridge the slope is quite steep and snow could easily slide under the right conditions. Again, know what you’re doing. The best time to ascend this summit using this route is during the summer and fall when no snow is on the ground or in the weather forecast. Route Statistics |


