-
 4308 Hits
-
 80.49% Score
-
 12 Votes
|
|
Route |
|---|---|
|
|
46.29173°N / 114.29375°W |
|
|
Scrambling |
|
|
Summer, Fall |
|
|
Most of a day |
|
|
Streneous |
|
|
Class 3 |
|
|
I |
|
|
Overview
Route Type – Scrambling Class Level – Class 3 Elevation – 8,650’ Gain – 4,682’ (round trip) Distance - 4.8 Miles (one way) Length of time required to complete route – 1 day
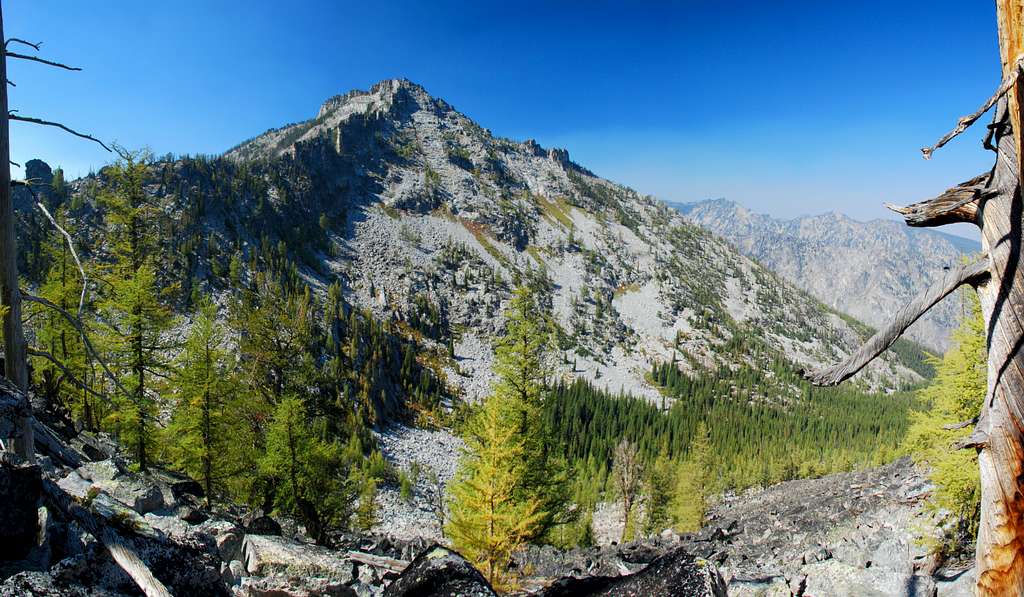
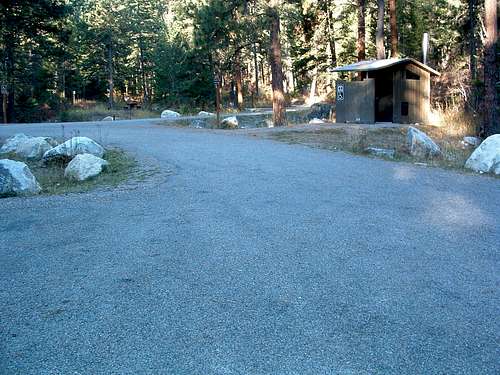
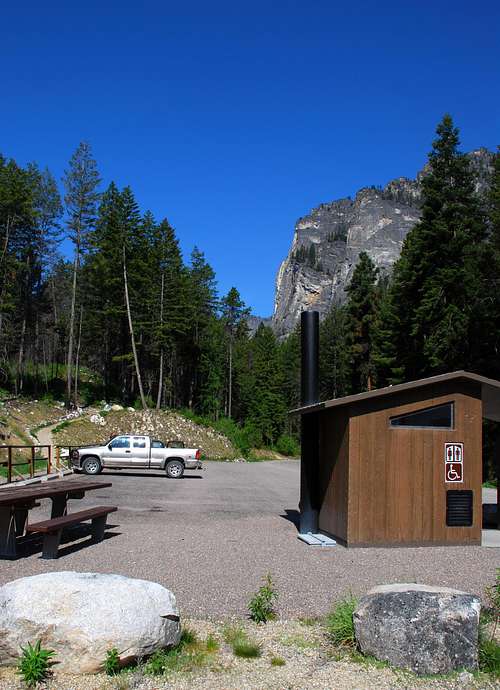
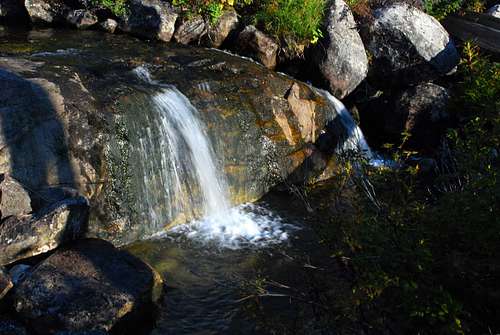
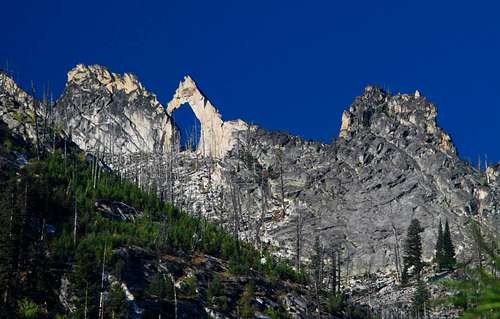
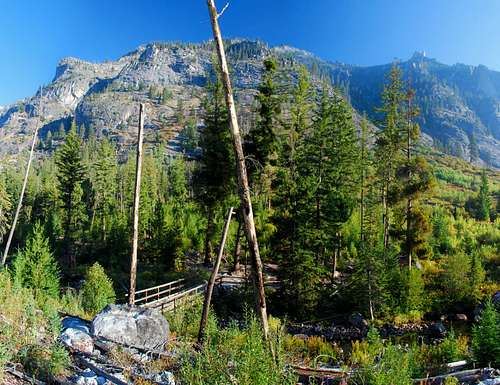
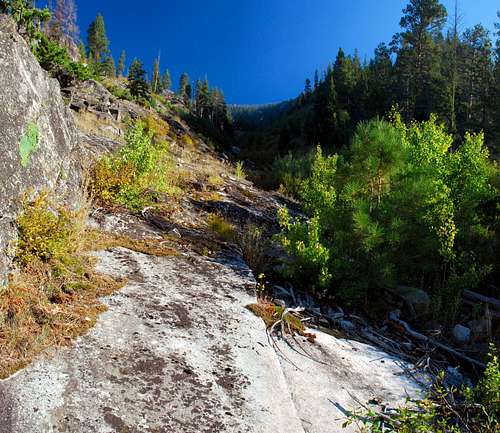
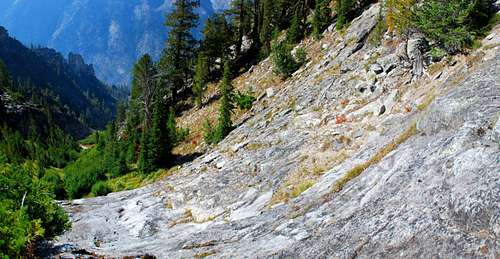
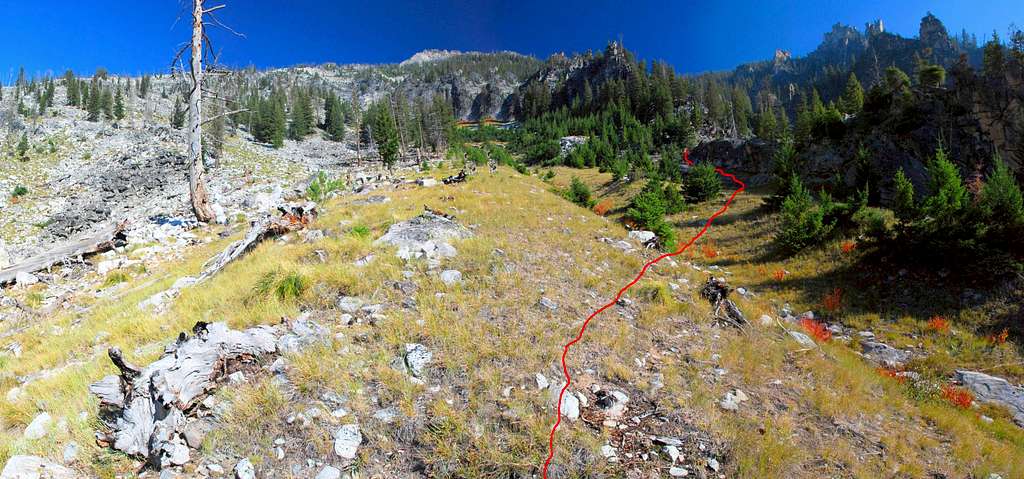
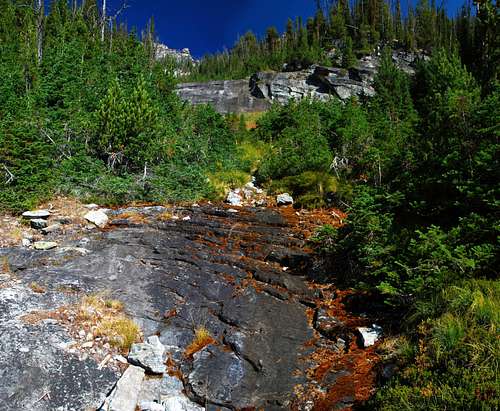
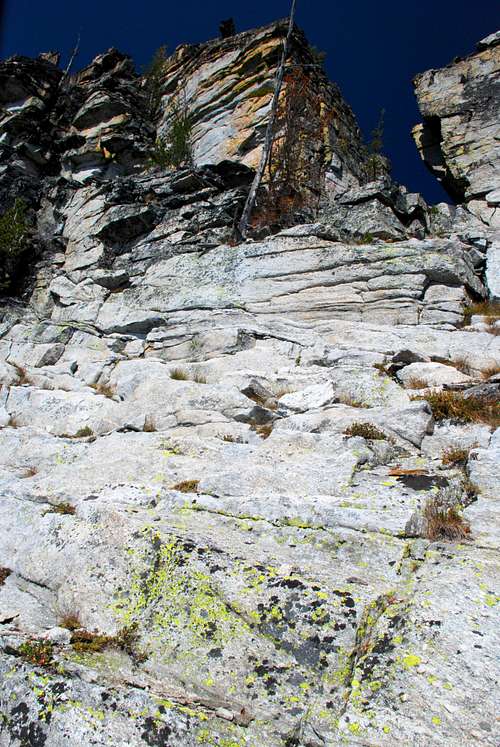
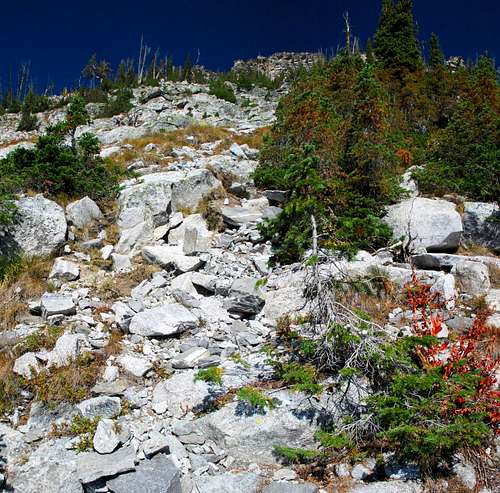
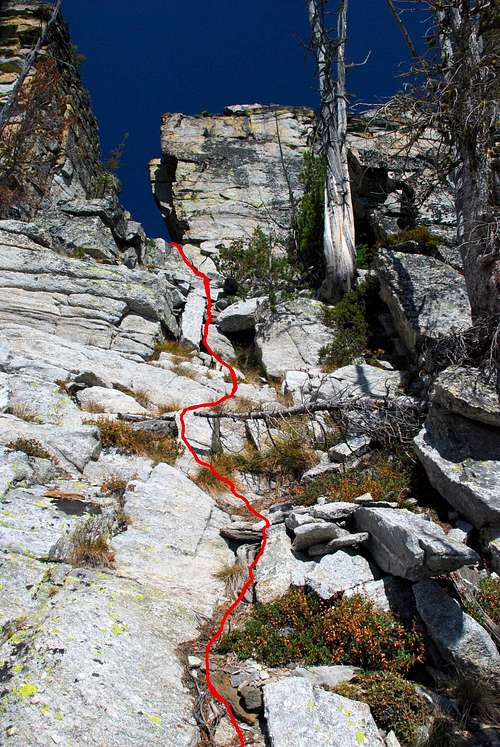
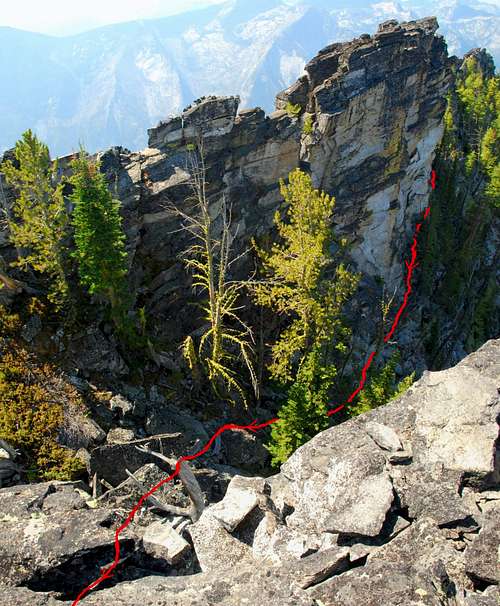
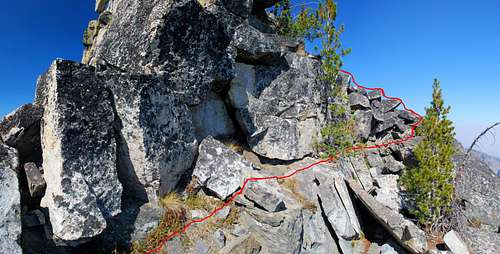
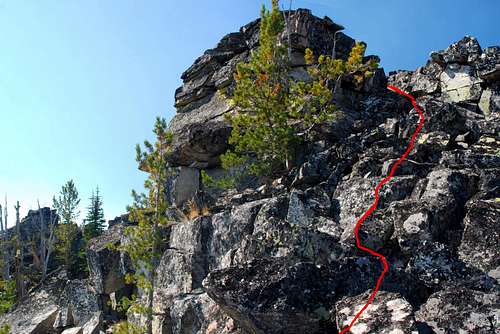
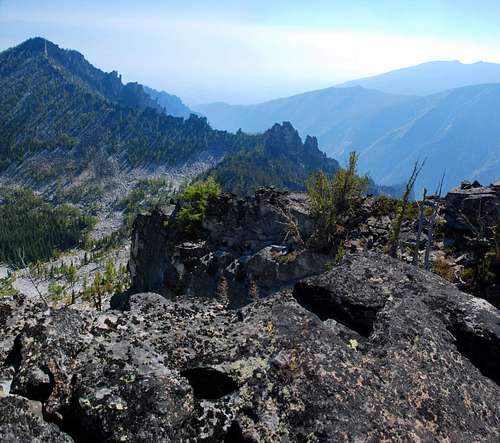
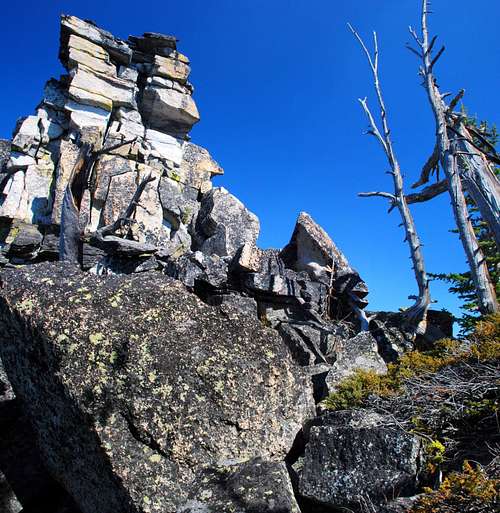
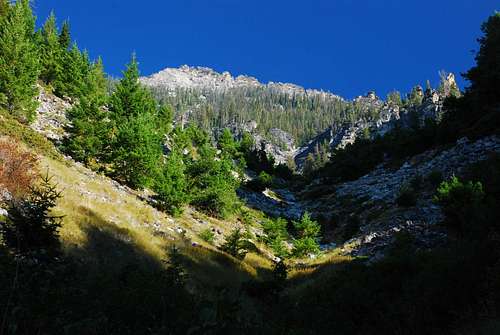
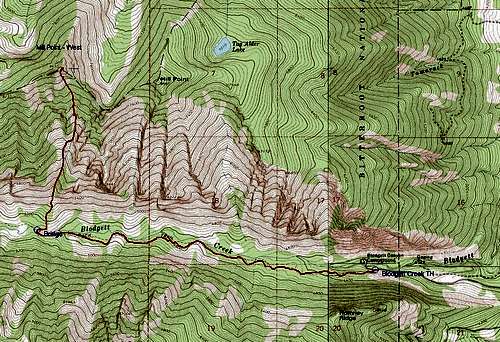
Though the most-visited highpoint along Printz Ridge is Mill Point, at 8,467 feet, it is not the highest near the eastern (and most accessible) end of the ridge. As you move west along the ridge, the next highpoint is Point 8650, often referred to as Mill Point West. Mill Point West is slightly over three quarters of a mile from Mill Point (almost due west) and is visible from many places in the Bitterroot Valley. In fact, from my home on the Valley’s east side, I can make out the summit of Mill Point West peering over Mill Point, though just barely. Getting ThereBlodgett Creek TrailheadIn Hamilton, Mt, drive west on Main Street (out of the downtown area) until you reach the bridge over the Bitterroot River. Just past (west of) the bridge, turn right (north) onto Ricketts Road and drive for .5 mile. At the intersection (3-way stop), turn left (west) onto Blodgett Camp Road. Stay right at the intersection with FS 735 in about 2.5 miles. Continue for about 1.5 miles to the combined Blodgett Creek Campground and Trailhead. On your left is parking for a couple of dozen vehicles, stock handling facilities, and an outhouse. This is the trailhead for Blodgett Creek and Canyon. If you continue along the road (past the first parking area), you will cross a bridge and come to a second parking area on your right. Going past the parking lot on the road takes you to the Blodgett Creek Campground. Route DescriptionApproach - Trailhead to Blodgett Creek Bridge From the trailhead, travel west on the Blodgett Creek Trail. A heavily used path by hikers, fishermen, and stock animals, this trail is also used by climbers to reach a few of the Bitterroot’s truly grand climbing spires. During spring runoff, portions of the trail may be inundated by water from the creek. The wet spots can generally be skirted with a little uphill bushwhacking. The trail passes through fairly open forest and some old burns. It’s quite easy to see the canyon walls, especially to the south. The climbers’ route begins about 3.1 miles from the trailhead, so you might as well enjoy the sights as you hike along beside Blodgett Creek. As you near the bridge crossing (and the beginning of the climbers’ route) you should be able to see the Horsehead Arch high on the canyon’s south side. There is a small (2’-3’ high during late summer and fall) waterfall near the spot where you get a good view of the arch. If you look directly across the creek, you will see the talus field at the base of the avalanche chute you are about to climb. Cross the good bridge over Blodgett Creek. Continuing along the trail a hundred feet or so will bring you to a small camping spot. If you plan to camp before climbing, this is the place to do it. Climbers’ Route - Blodgett Creek Bridge to Summit From the bridge over Blodgett Creek, turn back east. Using game trails whenever you can, bushwhack back to the talus below the avalanche chute. Though the shortest distance to the base of the chute is directly north, it passes through brush and mixed vegetation. The lower portions of the plant growth are fairly easy to pass through (using game trails), but as you near the base of the chute, it turns into some of the thickest growth of willows I have ever experienced. Do yourself a favor and skirt the vegetation on its east side. Don’t make the same mistake I did! When you enter the base of the chute, stay to the left (west) on some nice slab granite, and away from the thick plant growth along the stream. As you continue to climb, you will pas through and over areas of slab granite, grass, and small easily-navigated cliff bands. Pick your own route. As long as you stay close to or in the streambed as you climb, you’ll be okay. If you get too far east, you’ll be climbing through thick vegetation – too far west on what looks like nice talus and slabs, and you’re likely to end up off course and forced to navigate an area of cliff bands. Just stay close to the stream. At an elevation of about 6,100’, leave the stream (temporarily) and veer slight left (west) to stay on slabs with slightly less of an incline. When you reach 6,500’, turn to the right (northeast) and climb over a small grassy cliff band to return to the streambed. You want to stay to the right of the small ridge in the middle of the chute. Continue upward along the streambed. Late in the season, you may find it dry, but still easy to follow. Several places through this section of the route, you will be faced with cliff bands. Fortunately, they are neither high nor difficult to climb. In each case, I found that moving to one end or the other of the various bands, allowed me to keep climbing at a Class 3 or below level. When you reach an elevation near 8,000’, the vegetation thins and you enter an area of mixed talus and slabs. Your destination, the summit blocks, should now be clearly visible. Pick your own route upward as you switchback through the easily-climbable granite. As you near the summit blocks, you will see an obvious notch (separation in the blocks) on the ridge. That is the crux. Head directly toward it. When you reach it, climb into and through the notch. From the cleft, down-climb to your right (east) through a mixture of trees. Keep the summit block on your right close, and, begin climbing upward toward the ridge-crest. You should be going directly east as you climb. When you reach the ridge-crest, you will be between two summit blocks. The block on your left (northeast) is the summit. As you study it, you should see an obvious, exposed, Class 4 route to its top. However, there is an easier route to the top. Continue around the block on its southeast side on a small but nice ledge composed of grass and granite. Reaching the northeast corner of the summit block, you will see a short and easy Class 3 climb up talus to the summit. It’s not even exposed! Enjoy the view and the knowledge you’re one of a very few to reach this summit. You’ve earned it after climbing 3,750’ over the last mile! Essential GearOther than sturdy boots, no other gear is required for this route.By the way, there is water available most of the way up this chute, even during early-mid September. It appears that several reliable, though small, springs feed the stream from very high in the chute. But, if you follow this route during winter conditions, you should carry an ice axe and crampons at the very least. Additionally, you should know how to conduct yourself on snow and in areas where avalanches could occur. The climber’s portion of this route is directly up an avalanche chute. Although I saw no sign of recent avalanche activity, it is prone to avalanche, so be aware. And be prepared! When To GoThe South Face Chute route, beginning from the Blodgett Creek Bridge, goes directly up an avalanche chute. That could make ascent with snow present rather dicey. Although I saw no evidence of recent avalanche activity in the chute, it only takes one avalanche to kill you. Be sure you know what you’re doing if you try this route under winter conditions. The best time to ascend this summit using this route is during the summer and fall when no snow is on the ground or in the weather forecast, and, the chute has dried up a little after the spring runoff. Route Statistics |


