Soda Can Stove
| Page Type | Gear Review |
|---|---|
| Object Title | Soda Can Stove |
| Manufacturer | Homemade |
| Page By | Vic Hanson |
| Page Type | Jun 9, 2007 / Sep 28, 2007 |
| Object ID | 3374 |
| Hits | 18228 |
| Vote |
Product Description
The soda can stove, often called the Pepsi can stove, is a homemade alcohol stove that is very popular with lightweight backpackers, especially thru-hikers. They can be easily made in a few minutes; they weigh less than an ounce, have no moving parts or anything to clog or break and are reasonably fast for boiling water. They also cost nothing to make, except for a little metallic tape or JB Weld. They can burn various forms of alcohol, which are readily available in most places, including ethanol, methanol (gas line deicer, like HEET in the yellow bottle), denatured alcohol and Everclear. They will also work with 91% Isopropyl alcohol, but not as well. Here in Peru, and possibly other parts of South America, you can also use Ron para quemar (alcohol for burning).Things to Consider
I would like to point out that there are some disadvantages that you should consider before deciding to use a soda can stove, or its close cousin the cat (can) stove.1) There is no off switch and they don't blow out easily. It can be done with practice if you are windy enough, but if you aren't careful you can blow the flames away from the stove and start a fire outside of the stove. It is easier to use a slightly larger can, like the bottom of a Foster beer can, as a snuffer. This also needs to be practiced in a safe area, as it can cause the flames to flare out around the snuffer, or you might knock over the stove trying to snuff out the fire.
2) There is no flame control, i.e. you can't turn it down to a simmer. However there are various plans to make a simmer ring, that is supposed to work well, but I have never made one. Many hikers, myself included, mainly use their stove to boil water for instant foods or drinks. If I needed to simmer a little, for soup or mac and cheese, I raised the pot above the flames. Most of the time I used a pot cozy, which allows the food to continue cooking after the fuel runs out, this worked fine for mac and cheese.
3) Alcohol has less BTUs than most other stove fuel so it produces less heat output. Most tests show that it is still lighter to carry the extra alcohol needed, rather than a heavier more efficient stove, if you re-supply every five or six days or less.
4) They are best for one-person meals, although my hiking partners used one for the two of them for almost two months, after starting with a Whisper Light.
5) Alcohol usually burns with a clear or blue flame that is hard to see in bright light, so it can be hard to tell if the stove is burning or not. You can easily tell if it is lit by putting you hand near to feel the heat. With a pot on top, you can usually see the flame, even in daylight. Most thru-hikers (and climbers) will be using it early in the morning and later in the evening, and the flame will be more visible then as well. I very rarely cooked at lunchtime.
6) You need to use a wind or heat shield in most conditions. It doesn't take much wind to affect the stove, increasing cooking time significantly. Likewise it is helpful to use one in cold weather to contain the heat and reduce boiling time. See the photo of the foil wind shield below. It doesn't need to be that high but it good to come up to just below the lid.
How to Make A Soda Can Stove
All the stoves I have made have been regular soda can stoves. Simple instructions on how to make are are available here.Zen Alcohol Stoves
There is also a lot of other information on the site, different variations, fuel info, etc. My stove looks a little different because I only use one can instead of the bottoms of two cans. It works just as well to put the burner holes in the top of the same can as in the bottom of a second can.
An interesting different stove is called the Penny Alcohol Stove, here is the link to information about them and how to make them.
Penny Alcohol Stove
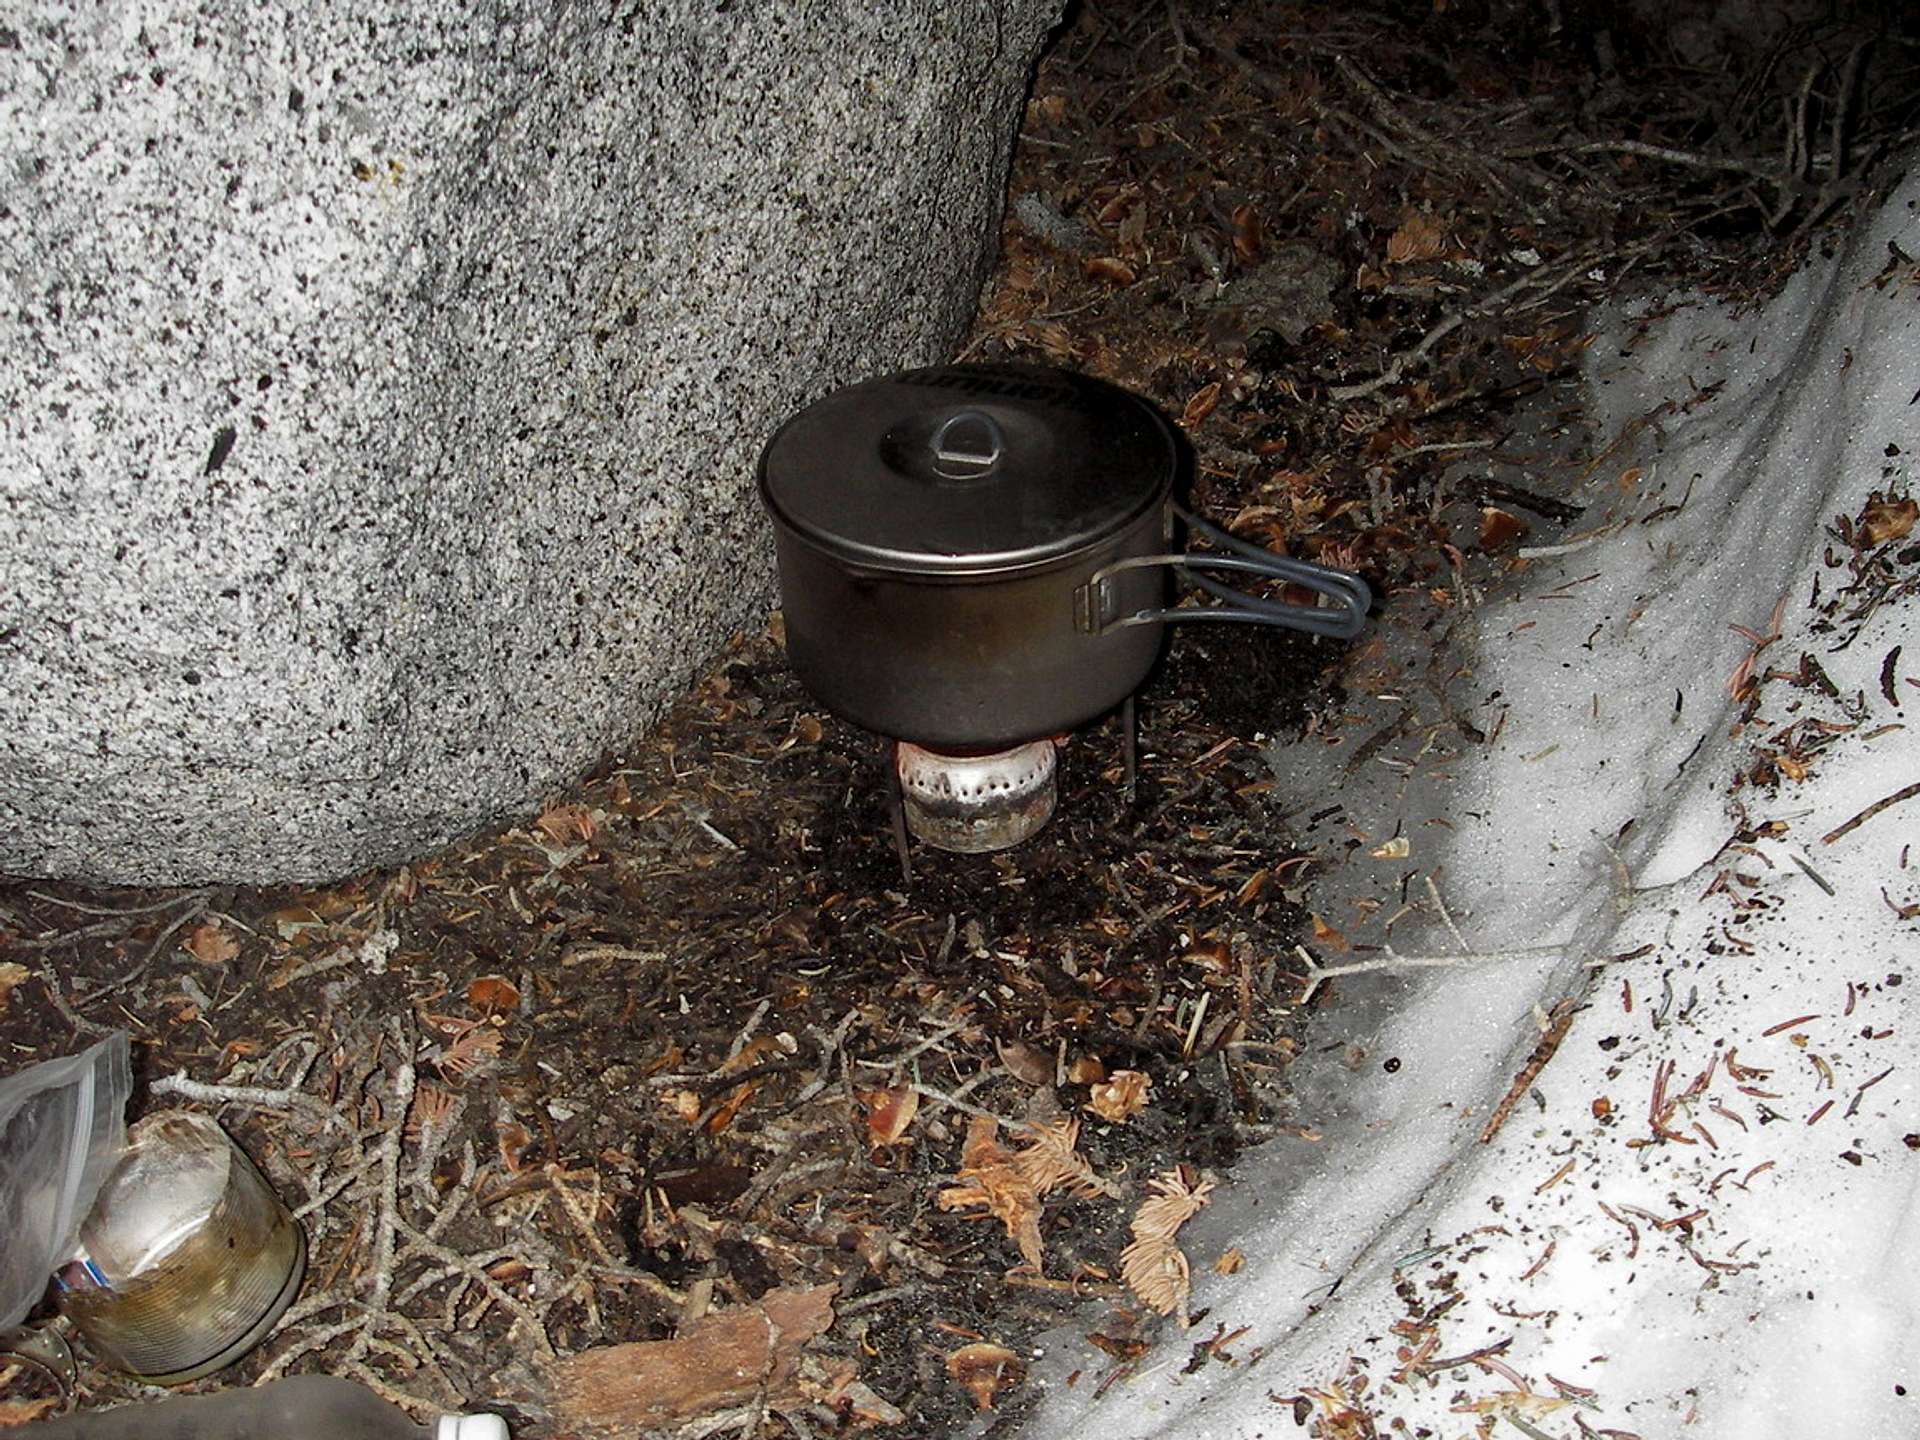
I like the pot stand that he has on this site. It is just two pieces of wire, about 12 inches long, that are bent in a square "U" shape, and held together on one of the sides by wire or sleeves. Another common post stand is stiff "chicken fence" mesh.
A photo of one and instructions to make them are included on one of the pages for the Penny Stove - click on "Original Instructions" and then click on the 7th circle to find the pot stand. This is the stand used in my photos.
My Experience
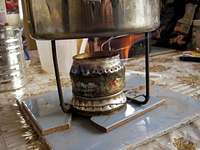
 In the Snow
 Foil Wind Shield
The highest I have used it is at 18,800 feet at about 20° F, other than taking a little longer than normal to start burning smoothly, it worked fine. Normally you need to use a pot stand, and a wind shield. I made a combination pot stand and wind shield out of a 4"x4" can that works well until about 11,000 feet or so, but above that it doesn't get enough air. The wire stand described above is lighter but needs a separate wind shield.
Gas line deicer is what I normally use for fuel in the U.S., metilico here in Peru, both are methanol. HEET is usually available in discount stores, auto parts stores and even supermarkets, and cheaper than at gas stations.
Images
 |  |  |


TorstenW - Jun 9, 2007 8:58 pm - Hasn't voted
This Is So Cool...