

|
|
Route |
|---|---|
|
|
39.96855°N / 105.28752°W |
|
|
Trad Climbing |
|
|
Spring, Summer, Fall, Winter |
|
|
Half a day |
|
|
5.4 (YDS) |
|
|
5.4 |
|
|
5 |
|
|
II |
|
|
Approach
The Seal is often overlooked in the shadow of the larger, numbered flatirons of Green Mountain to the north. This is a shame. The approach is a bit longer than the First or Third and the trail is unmarked and a bit brushy, but you'll have a good deal less company and the scenery is superb. Unlike many of the flatirons, the Seal is not closed for raptor nesting, so you can climb it year 'round. The standard route also features a beautiful, steep, 5.4 hand crack on the upper portions of the climb that takes gear like crazy, an unusual feature on the slabby flatirons. This is also the site of probably the second most exciting rappel in the Flatirons and surely one of the longest.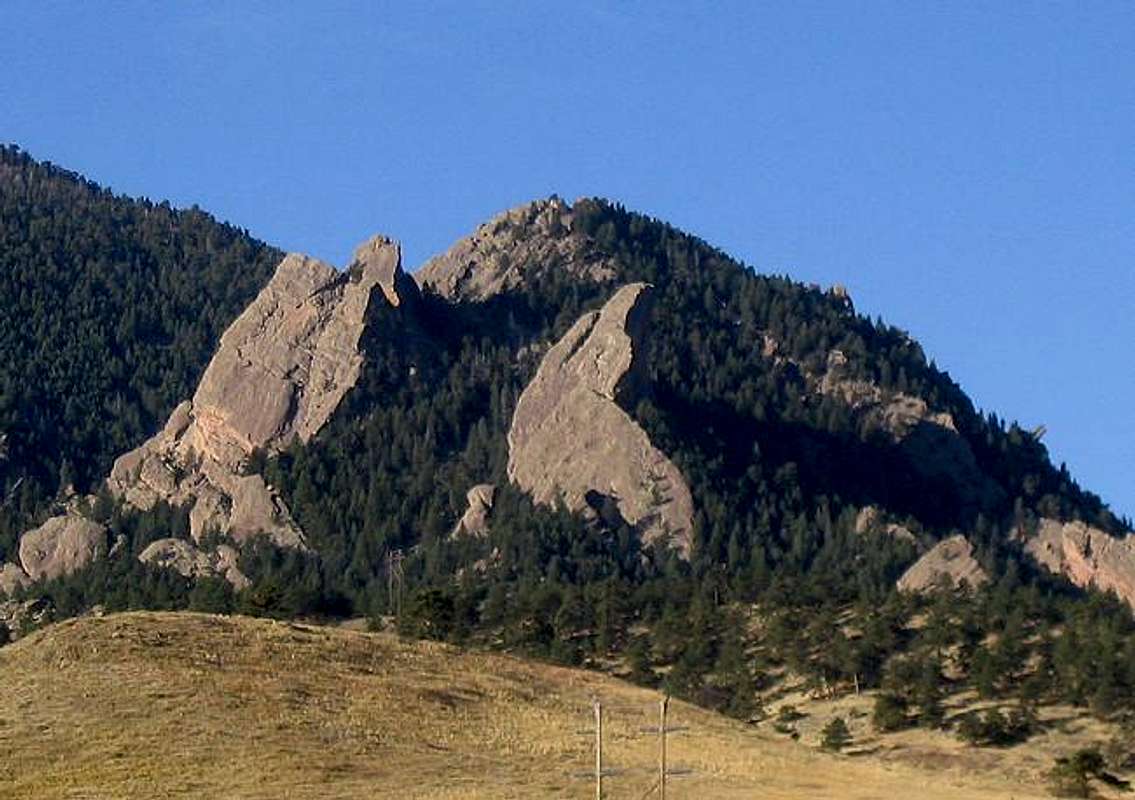
Seal Rock (center) and the Goose (left) from the Bear Creek approach.
There are several options for this approach:
From either direction, the approach is about 2 miles.
Route Description
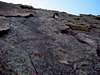
The route is climbed in four to six pitches depending on available anchors and rope length. The first few pitches climb the lower-angle rock best described as 'grungy Flatiron slab'. Protection is scant, but the climbing is easy. The route generally follows the right (north) edge of the rock, but pick whatever line looks best to you. Set up a belay at the 'neck' where the right hand side of the rock makes a sharp turn. There is a large rock chute here and precarious perches for several parties to climb at the same time.The upper half of the route is what makes the long approach worth while. Start up a steep headwall from the neck steering for the middle of the face. For most of this pitch, you'll be climbing along a gorgeous finger crack (5.4) that will take as much 0.5-1" gear as you've brought along. Nuts are ideal in this situation. As the crack ends and the slope eases off, set up another belay and climb one more easy pitch to the broad, bathtubbed summit. There is a lower, western summit below the main block, but getting to it (and getting back) is a dicey proposition.
Upper Seal Shortcut (5.4)
For those wishing to experience the best the Seal has to offer without the three tedious initial pitches, a Shortcut is available. Hike up the very rough trail on the north side of the rock to the base of the overhanging north face wall (base of the rappel). On the left side of the wall is a short gully leading to the Neck and the base of the finger crack. Two pitches of climbing will bring you to the summit from the ground. Rappel as usual.Descent
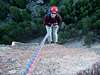
This is arguably the other reason why The Seal is so cool! The Seal rappel is probably the second most exciting one in the Flatirons and probably the longest single-pitch rappel as well. Note that the rappel is a full 50 meters and most of it is free-hanging. You need two ropes for this one! There is no room for mistakes here!From the summit, downclimb to the east a short distance to the rappel station. Look for a narrow, body-width cleft in the north edge of the rock with two bolts and several slings. Wedge yourself in, and rig the rope. Squeeze through the cleft and find yourself hanging on appallingly vertical sandstone with a rather attention-getting amount of air under your heels. The bottom 2/3rds of the rappel is free-hanging. As you descend, take a good look at the rock you pass. This featureless terrain is Sea of Joy (5.13a). Yow!
It is possible to rappel down the east face in several pitches, but this is definitely not recommended. There are no fixed anchors in this section.
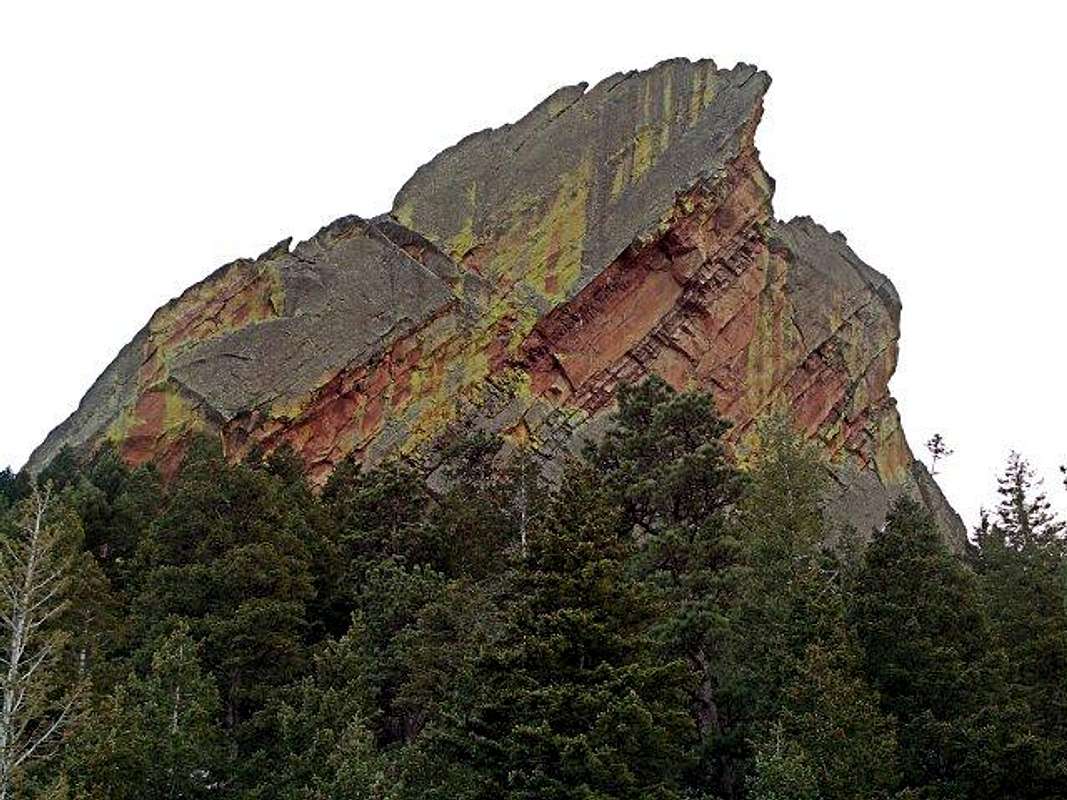
The north face of the Seal. Sea of Joy and the rappel route follow the vertical, lichen-free stripe slightly right of center.
From the base of the rappel, scramble down a rough trail along the base of the rock to your starting point.
 |  |
Essential Gear
Standard flatiron rack (nuts, cams, maybe some mid-sized hexes and tricams for variety?). The upper crack takes mid-sized nuts like nobody's business. Lower down, you'll be doing a lot of horn-slinging and other creative techniques. Make sure you have enough long slings for the purpose.The rappel is a full 50 meters and requires two ropes no matter how you do it.