|
|
Mountain/Rock |
|---|---|
|
|
39.98386°N / 105.29527°W |
|
|
Trad Climbing |
|
|
Spring, Summer, Fall, Winter |
|
|
7460 ft / 2274 m |
|
|
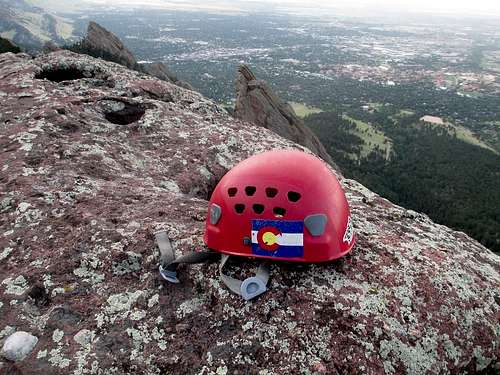
Overview
Standing high on the slopes of Green Mountain, Willy B juts steeply out of the trees. In contrast to many Flatirons, it stands as a formidable objective for a moderate climber. A large overhang interrupts the otherwise friendly east face, and causes a would be climber to engage in some shenanigans to overcome it. The easiest route to the summit is rated 5.7 and a fall from the crux could result in a very bad situation for both leader and belayer. Willy B is a worthwhile climb and should be added to any avid Flatiron climber's list.As a side note, the name Willy B is said to have come from the first ascentionist's play on the words "Will he be?"

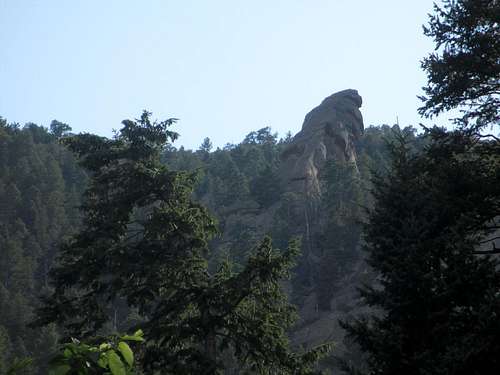
Getting There
Hike the Royal Arch trail all the way to the top of Sentinel Pass. At the pass, leave the trail and work more-or-less uphill while attempting to findthe climber's trail that leads up toward Green Mountain Pinnacle. Stay on the north side of both the Hammerhead and the Last Flatironette, but to the south of the Thing. As you see the Thing come into view, Willy B will become visible above but try to stay to the south of some large boulders below it. Hike up to Willy B and as the east face begins to rise sharply, locate the last easy place to gain access onto the face.

The approach
Route
There are several routes on Willy B, but there is only one route that gets climbed on a pseudo-regular basis and it is considered the standard route.Swing Time (5.7S)
**Most of the pitches are run-out, but no worse than any other Flatiron. I give this a "serious" rating due to extreme fall potential at the crux.
P1 - 5.2 - Find wherever looks like the easiest access point onto the east face and traverse out onto it from the south side of the formation. Once established on the east face, follow the path of least resistance upward. Pass a ledge with a tree mid-way and continue up through a steeper, yet easy, chimney that deposits you on a nice platform below a large left-facing dihedral. 170'.
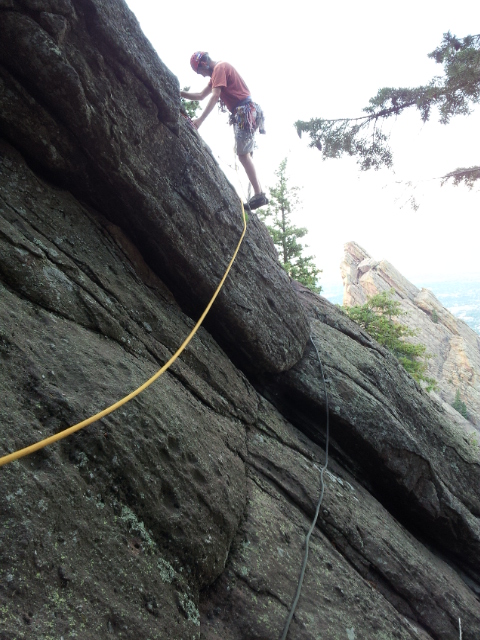
Starting P1
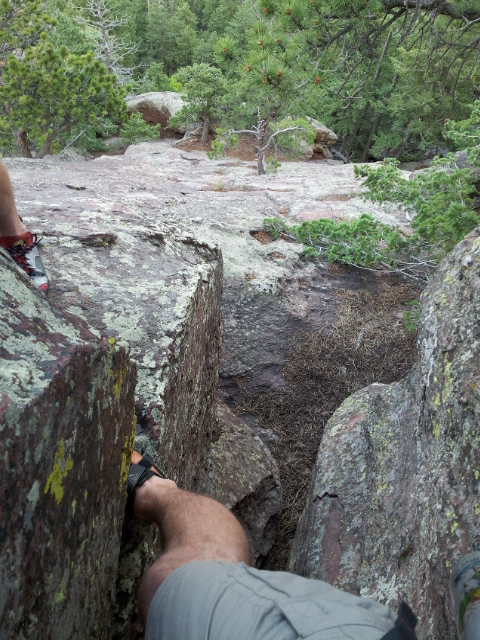
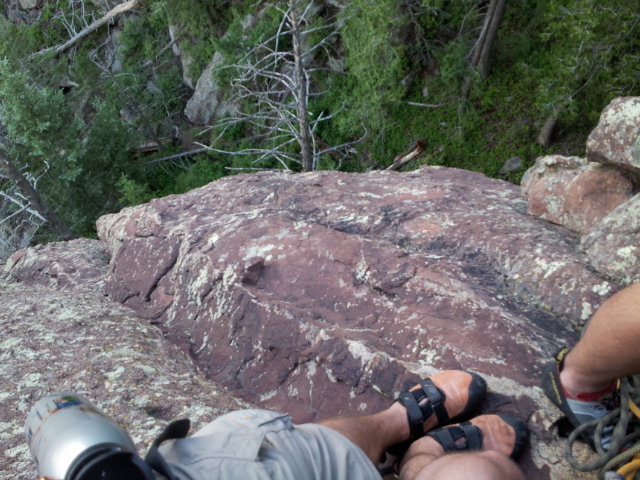
Looking down from the top of P2
P2 - 5.4 - Leave the comfy belay spot and work up the large left-facing dihedral. About halfway up, look for the easiest place to leave the corner and make a thin ascending traverse up and left. The traverse felt closer to 5.6 than 5.4 but is rather short. Arrive at the south face and step down and onto a small ramp that angles upward. At the start of the ramp there is a good crack to build a belay in. 80'
P2
Exposed belay above P2
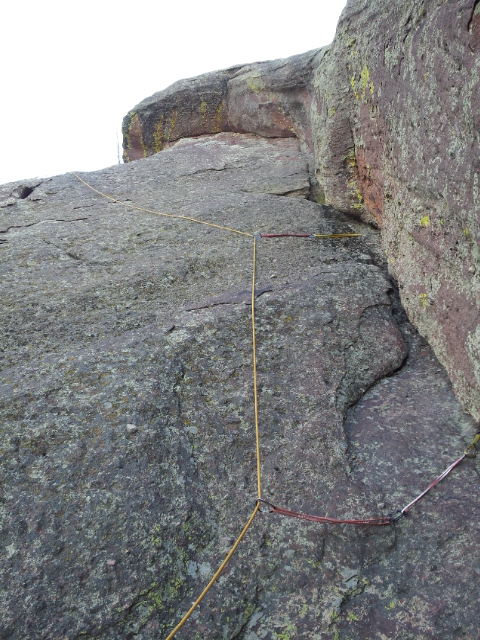
P3 - 5.7S - Work carefully up the "4th class" ramp on sloping holds and zero gear. Keep a sharp eye out for a weakness in the wall that will present itself 20 feet up, slightly past a large dead tree coming up from below. Place several bad pieces wherever you can get them before committing to the moves. Due to the questionable gear, it is likely that a fall would be onto the anchor and have you hanging off the south face so be careful. A few thin moves leads to a "thank god hold" and out onto the east face proper. Traverse horizontally to a nice crack, place a large cam to protect your second (it's called Swing Time for a reason), and blast up the run-out face to the summit. Be cautious of the loose flakes and lichen on the last bit. 180'
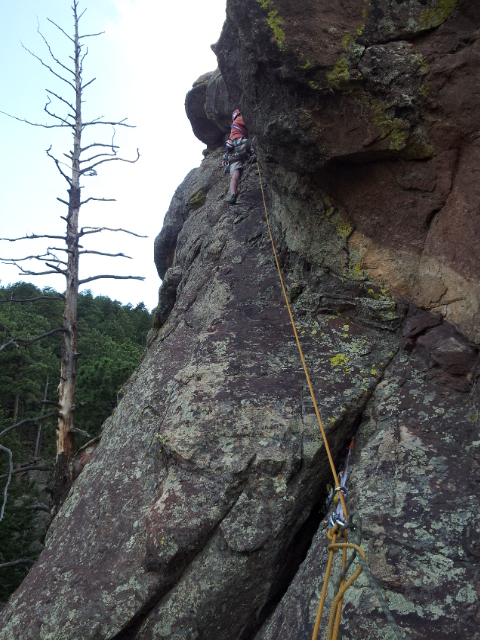
Pulling the crux on P3
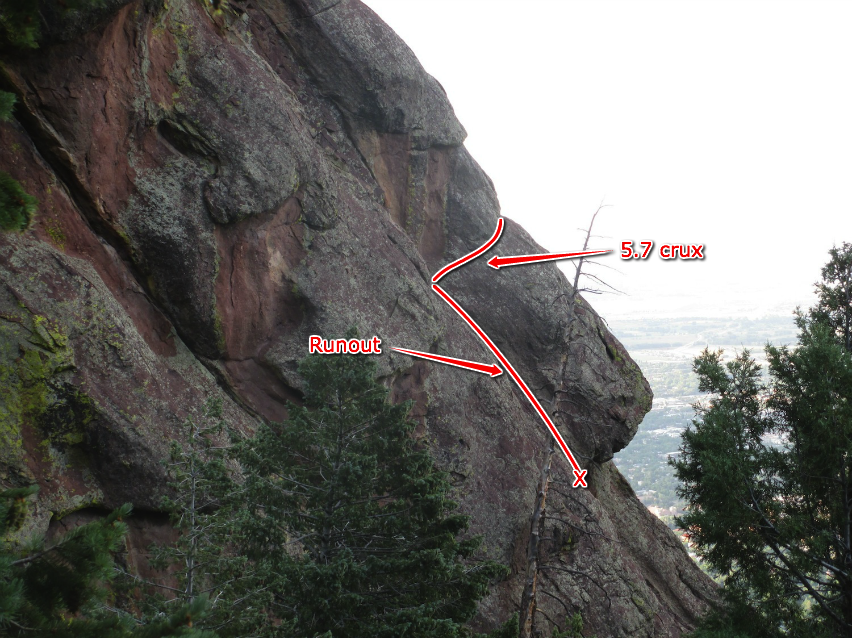
Side-view of the crux
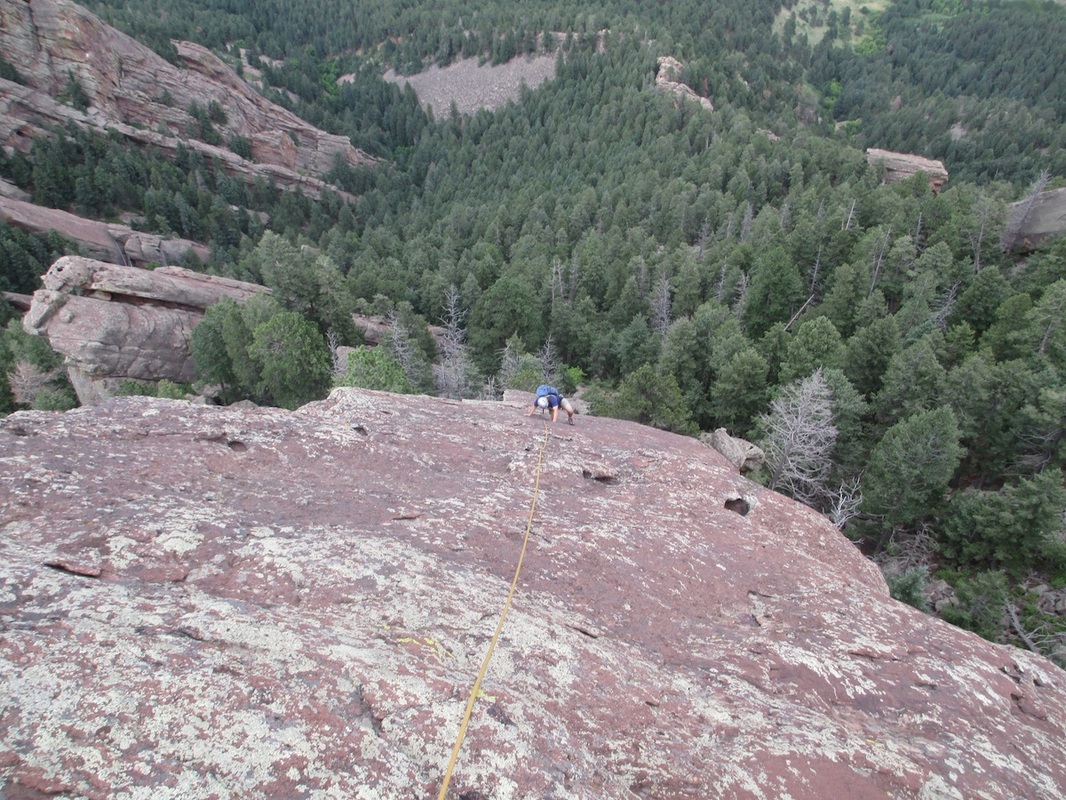
Last bit of P3
Descent: From the summit chains, rappel west and aim for the south side of the rock fin that protrudes out. You will barely make the ground with a 60M.
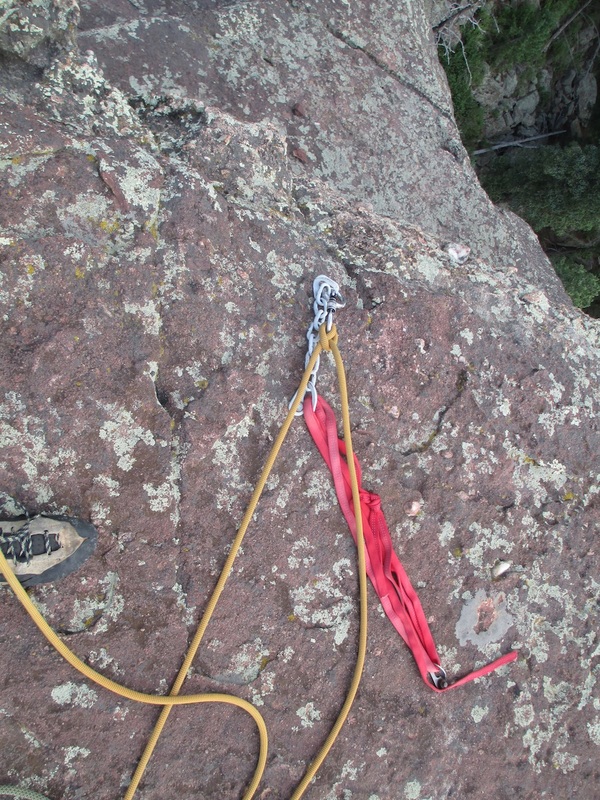
Rap chains.
Gear: This could easily be done with a single set of cams from 0.4-4 and a set of nuts. The crux moves are hard to protect and it is essentially a no-fall zone. Consider bringing offsets as I was able to get in a small offset cam that looked iffy but was far better than anything else. Might have held.
Red Tape
Although Willy B does not fall under any of the regular closures, it's never a bad idea to check with the OSMP to make sure there isn't an unusual closure. Also, the terrain to the north does fall within the annual raptor closure and if you are not careful you can cross into it. Check the map and know where you are.Check HERE to see the formation's status and see if any closures are in effect. Please be respectful of the closures.

Know where you are.
Also, please only use clean climbing techniques so leave that hammer at home. This may seem obvious but I have discovered new pitons on routes.
When to Climb
This can be done during any dry spell anytime of the year. It can be brutally hot in the summer, so keep that in mind.Camping
There is no camping allowed in the Flatirons.External Links
Here is a great interactive MAP of the area.Here is a LINK to NOAA's weather site.
The OSMP website provides a ton of good information and can be found HERE.
Trip Reports: Brian in the Wild, 13erGirl